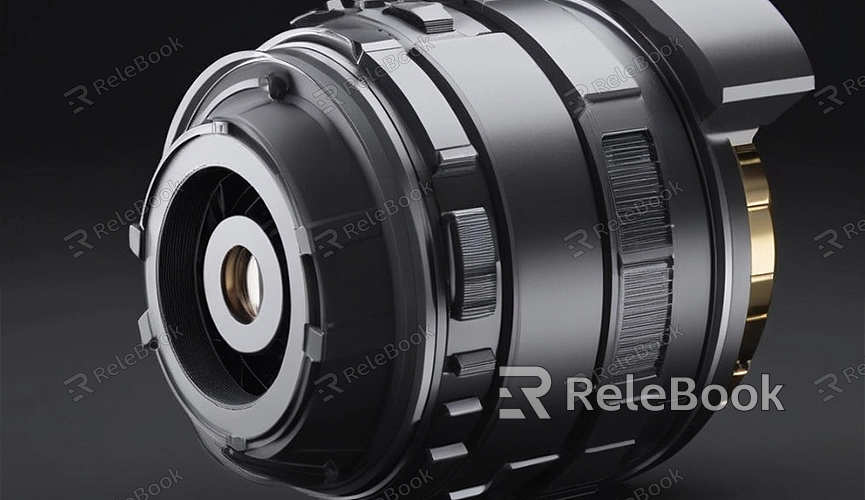
How do i render in blender
Interested in rendering in Blender? As a powerful 3D modeling and rendering software, Blender offers various rendering options, allowing you to choose the most suitable rendering method according to your needs. In this article, we'll introduce you to how to render in Blender and provide some practical tips to help you create high-quality rendering images or animations.
1. Preparation
Before starting rendering, make sure you have installed Blender and are familiar with its basic operations. If you haven't installed Blender yet, you can download and install the latest version of the software from the official website.

2. Set Up the Scene
Before rendering, you need to set up the scene. This includes adding models, setting up lighting, camera, etc. Ensure the scene layout is reasonable, the model positions are correct, and the lighting setup is appropriate to achieve the desired rendering effects.
3. Choose the Rendering Engine
Blender offers several different rendering engines, including Cycles and Eevee. Each rendering engine has its own characteristics and applicable scenarios. For example, the Cycles rendering engine is suitable for rendering high-quality realistic effects, while the Eevee rendering engine is suitable for real-time rendering and previews. Choose the appropriate rendering engine based on your needs.
4. Adjust Rendering Settings
Before rendering, you can adjust some rendering settings to control the rendering effects. For example, you can adjust rendering resolution, sampling rate, lighting effects, etc., to achieve satisfactory rendering results.
5. Set Up Materials and Textures
In Blender, you can add materials and textures to models to enhance rendering effects. By adjusting parameters such as material color, reflectance, refraction, etc., and adding texture maps, you can make the rendering results more realistic.
6. Add Camera
Before rendering, you need to set up the camera position and view angle. In Blender, you can set the rendering view by adding a camera object and adjusting its position and rotation.
7. Start Rendering
Once everything is ready, you can start rendering. In Blender, you can start the rendering process by clicking the render button or using keyboard shortcuts. The rendering process may take some time depending on the complexity of your scene and rendering settings.
8. Save Rendering Results
After rendering is complete, you can save the rendering results as image or video files. In Blender, you can choose different output formats and quality options to meet different needs.
9. Further Optimization
After rendering, you may find some areas where the rendering effects are unsatisfactory. You can further optimize them by adjusting parameters such as materials, lighting, camera, etc., or using post-processing software.
By following the above steps, you have learned how to render in Blender. Rendering is a crucial step in 3D production, as it can make your work more vivid and realistic. If you need high-quality 3D textures, HDRI, or downloadable 3D models while creating models and virtual scenes, you can download them from Relebook and import them directly into your models for immediate use.

