How to Render a Photo in Blender
In the realm of 3D art and design, Blender stands out as a powerful software for both modeling and rendering. Not only can it be used to create intricate three-dimensional scenes and animations, but it can also render static photos. This article will introduce you to the process of rendering photos in Blender, allowing you to effortlessly bring your imagination to life!
1. Open Blender and Import the Image
Firstly, launch the Blender software. Within Blender's default interface, navigate to the "File" menu, then select "Import," followed by "Images as Planes." Next, choose the image you wish to render from the file browser and click the "Import Image as Planes" button.
2. Adjust the Camera and Lighting
In Blender, the camera and lighting are crucial elements for rendering photos. Begin by switching to the camera view by pressing the "0" key, then use the "G" key to move the camera to the desired angle for rendering. Afterwards, adjust the position and intensity of the lighting to ensure adequate illumination and shadowing in the photo.
3. Configure Rendering Parameters
Within Blender, you can control the rendering effects by adjusting various parameters. In the rendering settings, you can specify the resolution, rendering engine, rendering style, and other settings according to your requirements. Choose appropriate rendering settings and make necessary adjustments accordingly.
4. Fine-tune Materials and Textures
Materials and textures play significant roles in rendering photos. In Blender, you can alter the appearance and texture of the photo by adjusting materials and textures. Add materials and textures, and adjust their properties such as color, glossiness, and transparency to enhance the realism and appeal of the photo.
5. Render the Photo
Once all settings are configured, initiate the rendering process by clicking the "Render" button within the Blender interface. Blender will render the photo frame by frame based on the specified rendering parameters and scene settings. Upon completion, preview the rendered result within Blender and make any necessary adjustments or optimizations.
6. Export the Photo
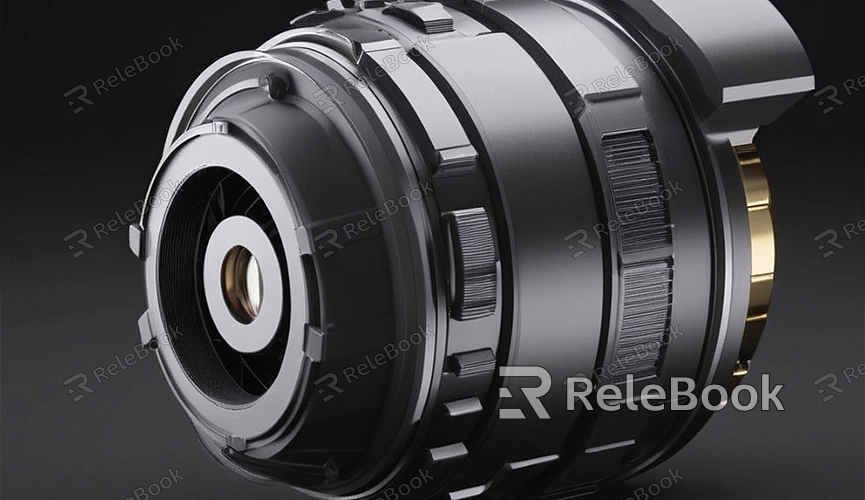
Finally, when you are satisfied with the rendered result, export the photo in common image formats such as PNG or JPEG. Within Blender, select the "Image" menu, then choose the "Save As Image" option. Specify the file path and format for saving, then click the "Save" button to complete the export. If you require high-quality 3D textures, HDRI, or downloadable 3D models while creating models and virtual scenes, you can obtain them from Relebook. Simply download the textures and 3D models and import them directly into your models for use.
