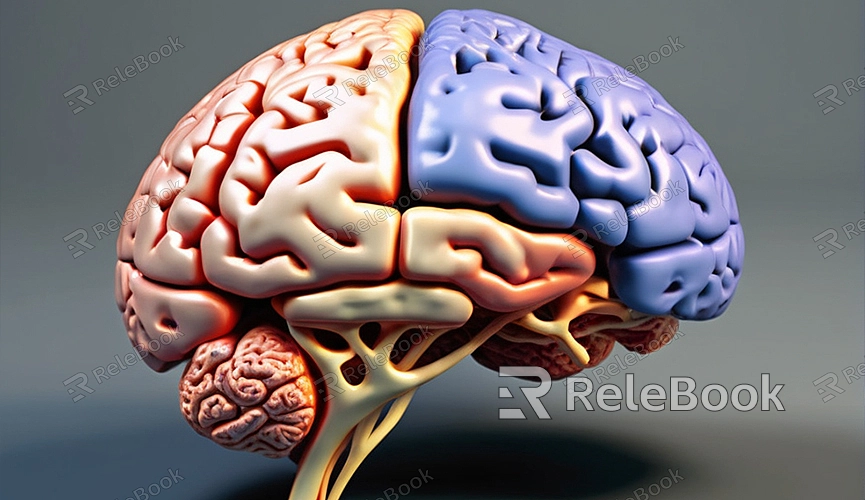
Maya how to make a 3d model of brain
In the field of 3D modeling, Autodesk Maya is a powerful tool highly esteemed by professionals. This guide will explain how to create a 3D model of a brain in Maya. Whether you're a beginner or an experienced user, this guide will help you grasp the basic steps and techniques for creating a brain model.
Preparations
1. Install Maya: First, ensure that the latest version of Autodesk Maya is installed on your computer. If not, you can download and install it from the Autodesk website.
2. Reference Material: Prepare some reference images or medical diagrams of the brain to assist you in better understanding the shape and details during the modeling process.
1. Creating Basic Shapes
1. Open Maya: Launch Maya and create a new project.
2. Create a Sphere: From the top menu bar, select "Create" > "Polygon Primitives" > "Sphere". This will serve as the basic shape of the brain.
3. Adjust Size and Position: Use the "Scale Tool" (shortcut key R) to adjust the size of the sphere to roughly match the proportions of the brain. Then, use the "Move Tool" (shortcut key W) to place it at the center of the view.
2. Refining the Shape
1. Add Subdivisions: In the "Attribute Editor," increase the subdivisions of the sphere to make it smoother and more suitable for further editing.
2. Use Soft Selection Tool: Press the B key to enable the soft selection tool and adjust the influence range. Then, use the "Selection Tool" (shortcut key Q) and "Move Tool" to shape the sphere, making it closer to the outer shape of the brain.
3. Sculpting Details
1. Use Sculpting Tools: From the top menu bar, select "Modeling" > "Sculpting Tools" > "Sculpt Geometry Tool." Use various sculpting brushes (such as Pull, Smooth, etc.) to add grooves and folds to the surface of the brain.
2. Reference Images: Based on the prepared reference images of the brain, meticulously sculpt various parts of the brain, including the cerebral cortex, fissures, and gyri.
4. Adding Textures
1. Create UV Maps: In the top menu bar, select "UV" > "Automatic UV Mapping" to create initial UV maps for the brain model.
2. Adjust UV Layout: Open the "UV Editor" and adjust the UV layout to ensure the texture can be correctly applied to the model.
3. Apply Texture: In the "Hypershade" window, create a new material (such as Lambert or Phong) and load the brain texture image. Apply the material to the brain model.
5. Setting Lighting and Rendering
1. Add Lights: From the top menu bar, select "Create" > "Lights" > "Point Light" or "Spotlight." Adjust the position and intensity of the lights to ensure good lighting effects during rendering.
2. Set Up Camera: In the "View" menu, select "Create Camera." Adjust the position and angle of the camera to showcase the brain model from the best angle.
3. Rendering Settings: Open the "Render Settings" window, choose a suitable renderer (such as Arnold or Maya Software), and set the resolution and quality.
4. Start Rendering: Press the render button (shortcut key F12) and wait for the rendering to complete. Save the rendered result.
Tips for Use
Utilize Reference Material: Throughout the modeling process, reference material is crucial. Multiple-angle and detailed reference images can help you accurately recreate the shape and structure of the brain.
Step-by-Step Saving: Remember to save files at different stages of modeling to allow for rollback in case of issues.
Use Plugins: Maya offers many powerful plugins that can expedite the modeling and rendering process. For example, use ZBrush for sculpting and then import into Maya for refinement and rendering.
By following the above steps, you should be able to create a detailed 3D model of a brain in Maya. While this process may take some time and practice, with accumulated experience, you'll find your modeling skills gradually improving. If you need high-quality 3D textures and HDRI or 3D model downloads when creating models and virtual scenes, you can download them from Relebook and directly import the textures and 3D models into your project.
