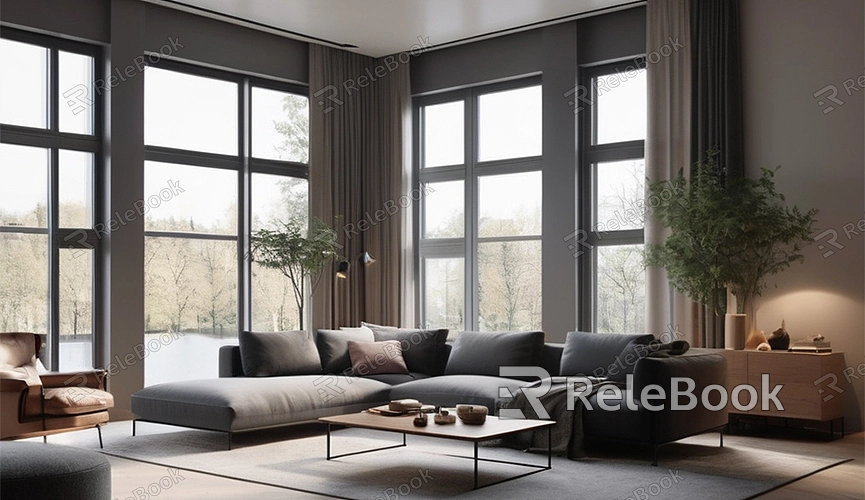
How to Render an Object in Blender
Rendering objects in Blender is a crucial step in 3D production. Whether creating still images or animations, rendering objects correctly is vital to ensuring the quality of the final outcome. Below are the simple steps to render objects in Blender.
1. Prepare the Scene
Before rendering, ensure the scene and objects are prepared. Make sure your objects are modeled and the scene is set up with the necessary lighting, cameras, etc. You can use Blender's built-in modeling tools to create objects or import other 3D models.
2. Set up Materials
Prior to rendering, you need to set up materials for objects to define their appearance. In Blender, you can create and edit materials by opening the "Shader Editor" panel. By adding different nodes, you can adjust properties such as color, texture, reflection, etc., to make them look more realistic.

3. Adjust Rendering Settings
After preparing the scene and objects, it's time to adjust the rendering settings. Click on the "Render" tab at the top of the Blender interface to access the rendering settings. Here, you can choose the rendering engine (such as Cycles or Eevee), set resolution, frame rate, and other parameters.
4. Set up the Camera
Before rendering, ensure the camera is set up and positioned correctly. You can set up the camera by selecting it in the 3D view and adjusting its position and angle. Make sure the camera's field of view captures the object you want to render.
5. Render
Once everything is set up, click the "Render" button at the top of the Blender interface to start rendering. Depending on your settings, Blender will begin rendering the objects in the scene frame by frame. You can choose to render the entire animation sequence or individual still images.
6. Save the Rendered Result
After rendering is complete, you can preview the final result in the render result preview window. If satisfied, you can save the rendered result as an image sequence or video file. Click "Save As Image" under the "Image" tab to save the rendered result to the specified location.
Rendering Tips
Optimize the Scene: Ensure the scene does not have too many objects to avoid affecting rendering speed and quality.
Use Ambient Lighting: When setting up lighting, consider using ambient lighting to enhance the overall brightness and atmosphere of the scene.
Adjust Materials: Experiment with different material combinations and node settings to achieve more realistic effects.
Use Renderers: Choose the appropriate renderer based on your needs; Cycles is suitable for high-quality rendering, while Eevee is more suitable for real-time previews and dynamic effects. If you need high-quality 3D textures, HDRI, or 3D model downloads for creating models and virtual scenes, you can download them from Relebook and directly import textures and 3D models into your project.

