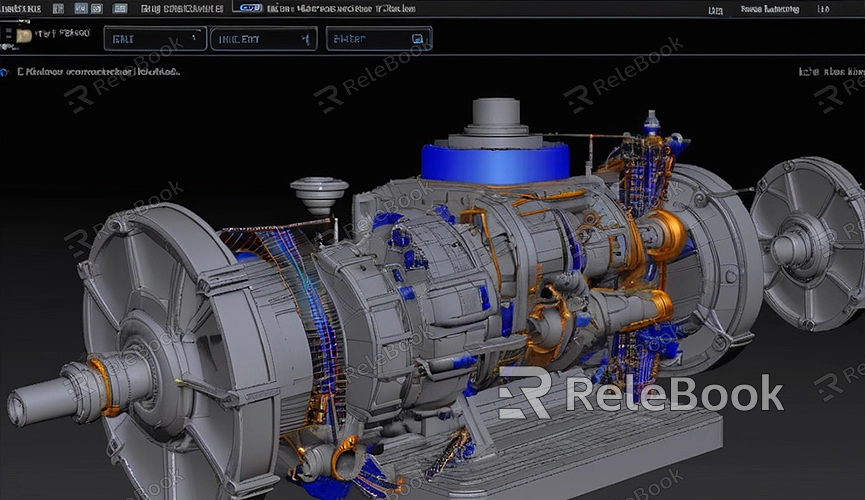
How to Preview Render in Blender
When crafting 3D models in Blender, real-time previewing of rendering effects stands as a pivotal step. It not only aids in promptly identifying and rectifying issues but also enables a better grasp of the final work's visual impact. This guide elucidates how to preview render in Blender, covering basic setup, utilizing different preview modes, and optimization techniques.
I. Basic Setup
1. Launch Blender:
Ensure Blender is installed and opened. Initiate a new project or access an existing one.
2. Add Base Model:
Select a foundational model such as a cube, sphere, or the specific model under development. In the viewport, press Shift + A, navigate to Mesh, and choose the desired basic shape.

3. Material Configuration:
In the properties panel on the right, locate the material option (Material). Click "New" to establish a new material for your model. Adjust material parameters as necessary.
II. Preview Render Modes
1. Real-Time Preview Modes (Viewport Shading)
(1) Real-Time Preview (Rendered):
In the top-right corner of the 3D viewport, find an icon with four small spheres representing different view modes. Click the rightmost spherical icon to switch to the real-time rendered preview mode (Rendered). Here, you can witness the model's rendering effect in real-time.
(2) Material Preview:
Click the second-to-last spherical icon to switch to the material preview mode (Material Preview). In this mode, you can inspect the model's material effects, excluding advanced rendering elements like lighting and reflections. This mode is apt for swiftly assessing material texture effects.
2. Render Settings:
From the top menu bar, navigate to Render Properties to configure the rendering engine. Blender offers two primary rendering engines: Eevee and Cycles.
(1) Eevee:
Eevee is a real-time rendering engine renowned for its rapid rendering speed, suitable for previewing and real-time operations. Opting for Eevee allows swift visualization of rendering effects in the preview mode, albeit with relatively simpler details and lighting effects.
(2) Cycles:
Cycles, a path-tracing rendering engine, boasts high rendering quality, ideal for final output. Choosing Cycles unveils more realistic lighting and shadow effects in the preview mode, albeit at a slower rendering pace.
III. Optimizing Preview Effects
1. Reduce Sampling:
In the Render Properties panel, locate the Sampling option. Lower the sample count during preview to enhance preview speed. Amplify sample count for final rendering to uphold image quality.
2. Adjust Lighting:
Introduce and fine-tune lighting in the 3D viewport, such as point lights, directional lights, or HDRI maps, to better showcase model material and lighting effects.
3. Employ Lower Resolution:
Within the Render Properties panel, access the Dimensions option. Opt for a lower resolution during preview to bolster preview speed. Increase resolution for final rendering.
4. Enable/Disable Extra Effects:
In the Render Properties panel, find additional rendering effect options like reflections, refractions, and volumetric lighting. Disable these effects during preview to expedite the process, enabling them when scrutinizing details.
IV. Real-Time Preview Techniques
1. Utilize Local View:
Press the N key to unveil the sidebar, access the View tab, and locate the Local View option. Select the model portion necessitating previewing, press the / key to shift to local view, and exclusively preview the rendering effect of that segment, enhancing preview speed.
2. Render Single Frame Preview:
Press F12 to swiftly render a single-frame image, facilitating prompt examination of the current frame's rendering effect. Post-rendering, scrutinize details in the image editor and make adjustments as needed.
3. Leverage Region Preview:
Press Shift + B in the viewport, drag to select a region, and solely render the preview effect of that area. This aids in focusing on inspecting local details sans rendering the entire scene.
By employing these methods, one can efficiently preview rendering effects in Blender. Real-time preview modes, varied rendering engine selections, and diverse optimization techniques contribute to timely issue detection and adjustment during the creation process. If high-quality 3D textures, HDRI, or 3D model downloads are required for crafting models and virtual scenes, they can be sourced from Relebook, allowing direct importation of textures and 3D models into your project.

