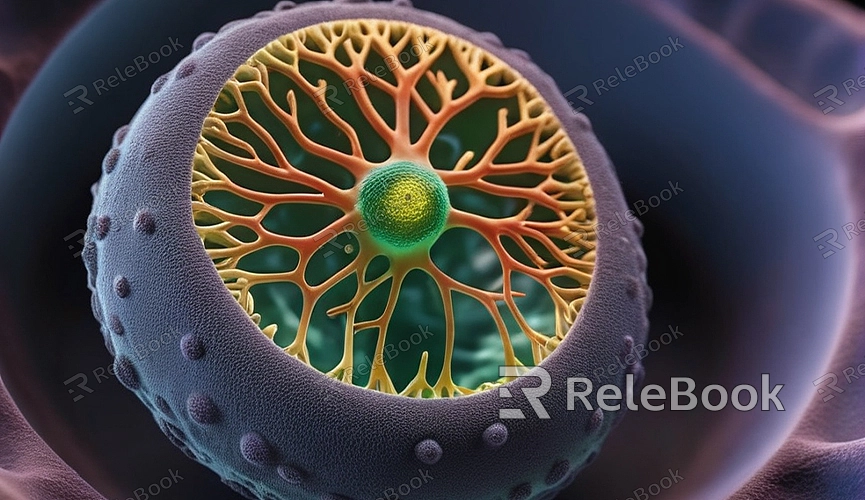
Blender How to Build a 3D Model of a Plant Cell
Blender is a powerful open-source 3D modeling software widely used in animation, game design, scientific visualization, and more. This article will introduce you to building a 3D model of a plant cell in Blender, covering basic modeling to detailed sculpting, helping you master the relevant techniques.
Preparation
1. Install Blender:
First, make sure you have installed the latest version of Blender. You can download and install it from the Blender official website.
2. Familiarize Yourself with Blender Interface:

If you're a beginner, it's advisable to spend some time familiarizing yourself with the basic interface and operations of Blender. Understanding view control, object manipulation, and basic modeling tools is crucial for the upcoming work.
Creating the Basic Shape of the Plant Cell
1. Launch Blender:
Open Blender, and by default, you'll see a cube. We'll use this cube as the basic shape for the cell wall.
2. Adjust the Cube Shape:
Select the cube and enter Edit Mode. Use the Scale Tool to stretch the cube into a flattened rectangular shape, simulating the basic structure of a cell.
3. Adding Cell Membrane:
To create the cell membrane, you can use the Extrude Tool to extrude a thin shell from the outer surface of the rectangular shape. Press the E key to extrude, then use the Scale Tool to adjust the thickness.
Detail Modeling
1. Nucleus:
The nucleus is an essential part of a plant cell. Add a UV Sphere as the nucleus, scale it down, and move it inside the cell.
2. Chloroplasts:
Chloroplasts are unique structures in plant cells and can be represented using multiple ellipsoids. Add ellipsoids, scale and duplicate them, placing them appropriately inside the cell.
3. Mitochondria:
Mitochondria are also vital structures within the cell. You can use smaller spheres or ellipsoids to represent them. Add multiple mitochondria and distribute them randomly inside the cell.
4. Cytoplasm and Vacuole:
The cytoplasm can be represented using fluid-like or gel-like objects with transparent materials, while the vacuole can be represented using large, transparent spheres. Adjust their positions and sizes to make them look natural.
Materials and Textures
1. Apply Basic Materials:
Apply basic materials to each cell organelle. Use deep blue for the nucleus, green for chloroplasts, orange for mitochondria, etc. Select objects, enter Material Properties, add new materials, and set colors.
2. Add Textures:
To add realism, you can apply textures to the cell organelles. Enter UV Editing mode, unwrap UV maps for objects, then load appropriate texture images in Texture Properties.
3. Adjust Transparency:
Cytoplasm and vacuole should have some transparency. Enter Material Properties and set transparency to around 0.5 to make them look more natural.
Lighting and Rendering
1. Set Up Lighting:
Lighting is crucial for the final effect. Add multiple light sources (such as point lights, directional lights, and ambient lights), adjusting their positions and intensities to ensure proper illumination of each part of the cell model.
2. Rendering Settings:
Enter Render Properties, select a rendering engine (such as Cycles or Eevee), and adjust rendering quality and resolution as needed. Make sure to enable effects like shadows and reflections to enhance rendering.
3. Rendering Output:
Once lighting and rendering parameters are set, you can proceed with rendering. Press F12 to render, and after rendering is complete, you can select "Save" from the "Image" menu to save the rendered result as an image file.
Final Adjustments and Output
1. Fine-Tune Details:
In the rendered result, carefully inspect each part of the cell model and adjust any areas you're not satisfied with. You can continue modifying the model, materials, and lighting until you achieve the desired effect.
2. Exporting the 3D Model:
If you need to export the 3D model, you can choose a suitable file format (such as OBJ, FBX, or STL), select "Export" from the "File" menu, and save it to your local hard drive. If you need high-quality 3D textures and HDRI when creating models and virtual scenes, you can download them from Relebook and import them directly into your models for use.

