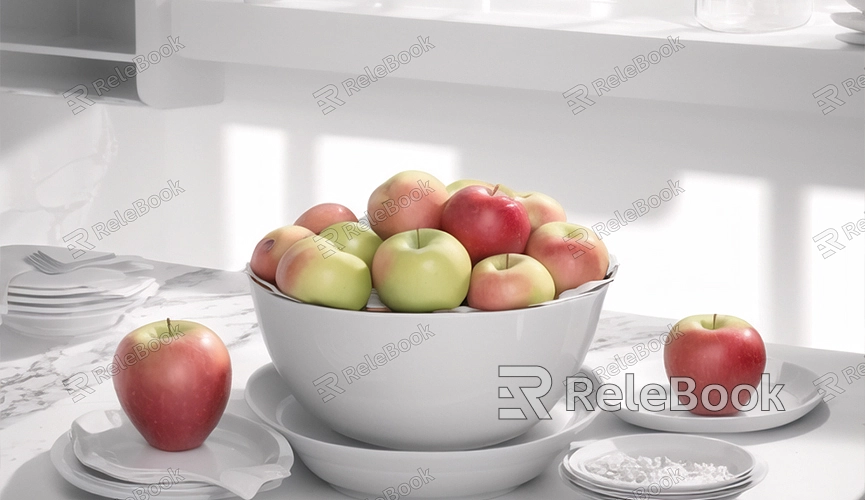
How to Render Color in Blender
Rendering color in Blender is an essential step in creating various 3D images and animations. By properly setting up the rendering engine and parameters, as well as appropriate materials and lighting, you can render vivid and realistic colored scenes. This article will introduce you to rendering color in Blender and provide some practical tips and suggestions.
1. Choose Rendering Engine and Set Parameters
Blender offers two main rendering engines: Cycles and Eevee. Cycles renderer provides realistic ray-tracing rendering, while Eevee offers real-time rendering and quick previews. When rendering color, you can choose the appropriate rendering engine based on your needs. After selecting the rendering engine, you need to set parameters such as resolution, frame rate, and sampling to ensure the final render meets your expectations.

2. Create and Edit Materials
In Blender, you can achieve color rendering by creating and editing materials. Materials define the appearance and properties of object surfaces, including color, glossiness, transparency, etc. You can use Blender's node editor to create complex materials or quickly add materials using the built-in material library. By adjusting properties such as color, reflection, and refraction, you can achieve various colorful effects.
3. Adjust Lighting and Environment
Lighting is one of the crucial factors affecting color rendering effects. In Blender, you can use various types of lights to adjust the scene's lighting effects, including point lights, spotlights, ambient lights, etc. Additionally, you can adjust environment maps and background settings to change the scene's lighting and atmosphere, achieving more vivid and appealing color rendering effects.
4. Add Textures and Maps
In addition to adjusting materials and lighting, you can enhance color rendering effects by adding textures and maps. Blender provides a rich library of textures and maps, allowing you to choose suitable textures and apply them to object surfaces to add details and realism. By adjusting properties such as color, transparency, and reflection of textures, you can achieve more vibrant rendering effects.
5. Render the Scene
Once you have finished setting up materials, lighting, and textures, you can start rendering the color. In Blender, you can initiate the rendering process by clicking the render button and wait for the render to complete. Rendering time may vary depending on the scene's complexity and rendering settings, so be patient.
6. Export the Rendered Result
After rendering is complete, you can export the rendered result as an image or video file for use in other software or sharing with others. Blender supports various output formats such as PNG, JPEG, AVI, etc., so you can choose the appropriate format for export as needed.
Following these steps, you can successfully render color in Blender and create vivid and realistic colored scenes. Color rendering is a process that requires patience and skill, but through continuous practice and experimentation, you will gradually master the necessary skills and create more fantastic works. If you need high-quality 3D textures, HDRI, or 3D model downloads for your modeling and virtual scene creation, you can obtain them from Relebook, where you can directly import textures and 3D models into your project after downloading.

