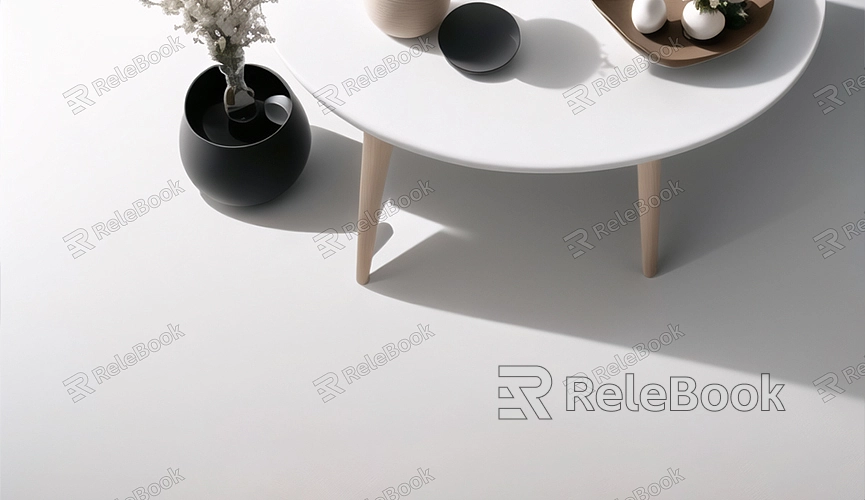
How to Render Only Shadows in Blender
Rendering only shadows in Blender is a common requirement, especially for compositing and post-processing. By rendering only shadows, you can overlay them onto other images or videos to make the effect more realistic. This article will introduce how to render only shadows in Blender, helping you master this technique with ease.
Preparation
First, make sure you have Blender installed and have a basic understanding of its operations. If you haven't installed Blender yet, you can download it from the [official website]
Creating Scene and Objects
1. Open Blender:
Launch Blender and create a new project.

2. Add Objects:
Add a simple object to the scene, such as a cube (Shift + A -> Mesh -> Cube).
3. Add Ground Plane:
Add a plane as the ground to receive shadows (Shift + A -> Mesh -> Plane).
Setting Up Lighting
1. Add Light Source:
Add a light source, such as a spotlight (Shift + A -> Light -> Spot), and adjust its position and angle to cast shadows.
2. Adjust Light Source Settings:
Select the light source and adjust its intensity and shadow settings in the properties panel on the right to ensure clear shadow projection.
Setting Materials
1. Add Material to Ground:
Select the ground plane and choose the material option in the properties panel on the right. Click "New" to create a new material.
2. Enable Shadow Catcher:
In the material settings, find the "Shadow Catcher" option and check it. This option will make the plane only receive shadows without showing itself.
Adjusting Rendering Settings
1. Choose Rendering Engine:
In the top menu, select "Render Properties" and set the rendering engine to "Cycles" or "Eevee".
2. Set Transparent Background:
In the "Render Properties" panel, find the "Film" option and check "Transparent". This ensures that only shadows are rendered without showing the background.
Rendering Shadows
1. Render Image:
In the top menu, select "Render" -> "Render Image" (F12). Blender will now render only the shadow part.
2. Save Rendered Result:
After rendering is complete, click "Image" -> "Save As" in the bottom left corner to save the rendered shadow image as a PNG format to preserve the transparent background.
Post-Processing
1. Composite in Other Software:
Import the saved shadow image into your preferred post-processing software (such as Photoshop or After Effects) and overlay it onto other images or videos.
2. Adjust Shadow Effects:
Adjust the opacity, color, and position of the shadow as needed to blend with the background image or video.
Common Issues and Solutions
1. Blurry Shadows:
Check the light source settings to ensure the intensity is moderate and the shadow settings are configured correctly.
2. Visible Ground Plane:
Make sure the ground material has the "Shadow Catcher" option enabled and "Transparent Background" is enabled in the rendering settings.
3. Incorrect Shadow Position:
Adjust the position and angle of the light source to ensure the shadow is cast in the correct position.
By following these steps, you have learned how to render only shadows in Blender. This technique is very useful for compositing and post-processing, helping you create more realistic and natural effects. I hope this article has been helpful to you and enables you to use Blender more proficiently. If you need high-quality 3D textures, HDRI, or 3D model downloads while creating models and virtual scenes, you can download them directly from Relebook and import textures and 3D models into your project for use.

