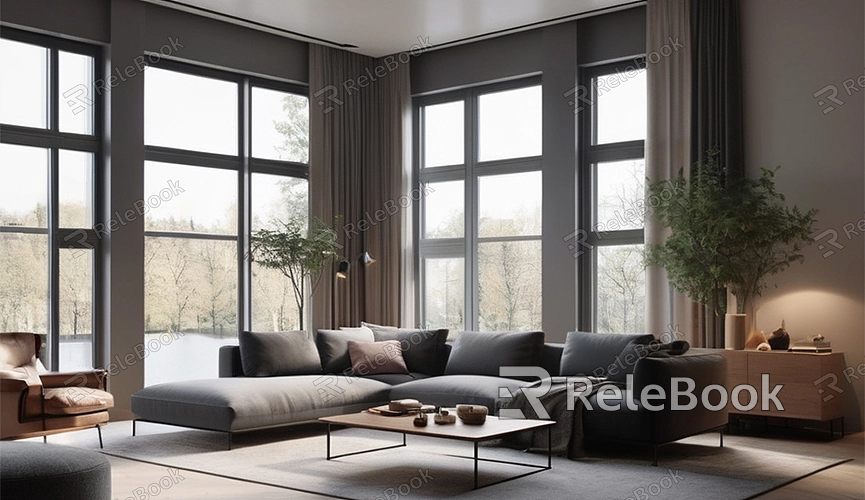
3dsmax how to match ceiling texture
Matching ceiling texture is a crucial task in interior design and decoration. With 3ds Max, you can create realistic ceiling textures to achieve professional results. This article will introduce how to match ceiling texture in 3ds Max, helping you achieve the best outcome in your projects.
Preparation:
Tools and Software
1. 3ds Max: This is the primary software used in this tutorial.
2. Material and Texture Library: Ensure you have an extensive library of materials and textures to choose and apply suitable ceiling textures.
3. Reference Images: Use high-quality reference images to help you accurately match textures.

Creating the Base Model:
Open your project file in 3ds Max or create a new file and create a basic ceiling model. You can use a basic plane object to represent the ceiling.
```plaintext
1. In 3ds Max, select "Create" > "Geometry" > "Standard Primitives" > "Plane".
2. Draw a plane in the view and adjust its dimensions to match your ceiling.
```
Applying Texture:
Selecting Suitable Texture
Choose a texture from your material and texture library that resembles the existing ceiling texture. Common ceiling textures include sprayed texture and patterned plaster texture.
Creating Material:
1. Open the "Material Editor" (shortcut key: M).
2. Create a new standard material.
3. Add your selected texture to the "Diffuse" channel.
```plaintext
1. Click the "None" button next to "Diffuse" and choose "Bitmap".
2. Browse and select the texture image you want to use.
```
Applying Material:
1. Drag and drop the material onto the ceiling model or select "Assign to Selection" in the Material Editor.
2. Check the application effect of the material in the view. If the texture orientation or scale is incorrect, you can adjust it using the "UVW Map" modifier.
Adjusting UV Mapping:
1. Select the ceiling model and apply a "UVW Map" modifier.
2. Choose an appropriate mapping type (usually "Planar" mapping).
3. Adjust the "UVW Map" parameters to make the texture display more naturally and uniformly on the ceiling.
```plaintext
1. Select "UVW Map" in the modifier list.
2. In the "Parameters" rollout, choose "Planar" mapping.
3. Adjust the "Length," "Width," and "Rotation" parameters to align the texture with the ceiling.
```
Fine-tuning:
Adding Detail Texture
To increase realism, you can overlay detail textures such as stains, cracks, or shadows on the base texture. You can use a "Blend" material to achieve this effect.
1. Create a "Blend" material in the Material Editor.
2. Use the base material as "Base Material 1" and the detail texture as "Base Material 2".
3. Use a mask to control the display area of the detail texture.
Adjusting Material Properties
Adjust the material properties such as reflection, specular, and bump effects to make the ceiling more realistic.
```plaintext
1. Select your material in the Material Editor.
2. Adjust the "Specular" parameters to increase or decrease specular intensity and glossiness.
3. Add a bump map in the "Bump" channel to enhance the texture's three-dimensional appearance.
```
Rendering Settings:
Setting up Lighting
Lighting is crucial for showcasing texture effects. Use standard lights or V-Ray lights in 3ds Max to set up appropriate lighting to showcase the ceiling texture more clearly in rendering.
1. Create and place suitable light sources, such as point lights, spotlights, or directional lights.
2. Adjust the intensity and angle of the light sources to illuminate the ceiling and highlight texture details.
Rendering Preview:
After applying all material and lighting settings, perform a rendering preview to check the effect of the ceiling texture. If any issues are found, you can go back to the Material Editor or UVW Map modifier for adjustments.
```plaintext
1. Open the "Render Setup" (shortcut key: F10).
2. Choose the appropriate rendering engine (such as Scanline, V-Ray, or Arnold).
3. Set rendering parameters such as resolution, anti-aliasing, and light bounce.
4. Click the "Render" button to preview the rendering effect.
```
By following these steps, you can successfully match ceiling texture in 3ds Max to achieve professional results. The key is to choose suitable textures, apply materials correctly, and finely adjust UV mapping and lighting settings. If you need a variety of high-quality 3D textures, HDRI, or 3D model downloads for creating models and virtual scenes, you can find them on Relebook. After downloading, you can directly import textures and 3D models into your project.

