How to Make a Wood Texture in Blender?
Creating a realistic wood texture in Blender is a key skill for many 3D designers, whether you're designing a scene, a model, or adding finishing details to an environment. Understanding the process involves working with Blender’s powerful texture creation and manipulation tools, enabling users to create textures that feel natural and lifelike. This article will delve into the methods and techniques you can use to create a convincing wood texture in Blender, covering everything from basic principles to advanced tips.

Introduction to Wood Textures in Blender
Wood textures are essential in many 3D applications, from architectural visualization to gaming and animation. In Blender, you can create wood textures either through procedural generation or by using image textures. Procedural textures are highly flexible and don’t require image files, while image-based textures can often achieve more intricate and detailed results. In this article, we will explore how to create both types of wood textures, starting with the basics and progressing to more advanced techniques that will help you achieve a realistic look.
Understanding Procedural Wood Textures
Procedural textures in Blender are generated using mathematical algorithms rather than image files. These textures can be modified and adjusted in real time, offering significant flexibility. To start creating a procedural wood texture in Blender, you can use the "Noise" texture, which is the foundation for creating natural variations found in wood grain.
1. Setting Up the Noise Texture
Begin by adding a “Noise Texture” node to your Shader Editor. Adjust the scale and detail to make the grain pattern look more like wood. You may need to use the "ColorRamp" node to fine-tune the contrast between the light and dark areas of the wood, allowing for a more defined grain pattern.
2. Adding Distortion for Realism
To make the wood grain more realistic, use a “Vector Distort” node. This will create slight, natural variations in the grain, similar to the imperfections seen in real wood. You can also experiment with the "Musgrave" texture, which can simulate more complex patterns of grain and knots, making your wood texture even more detailed.

Creating Wood Textures with Image Maps
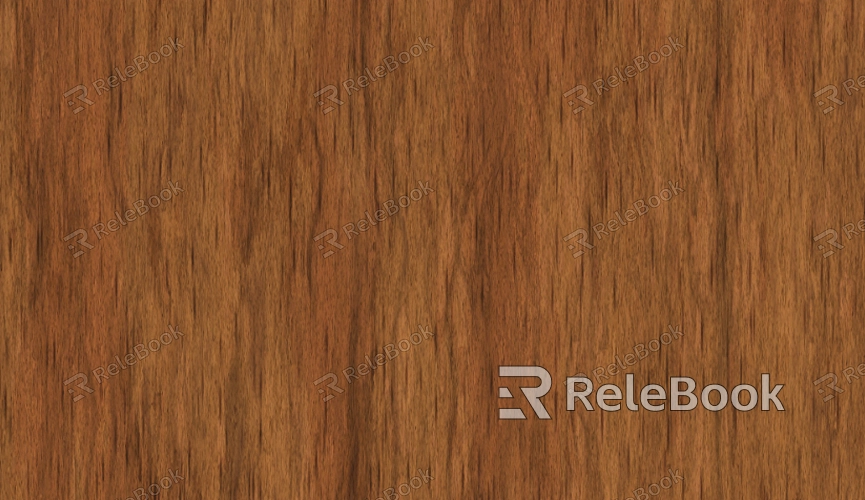
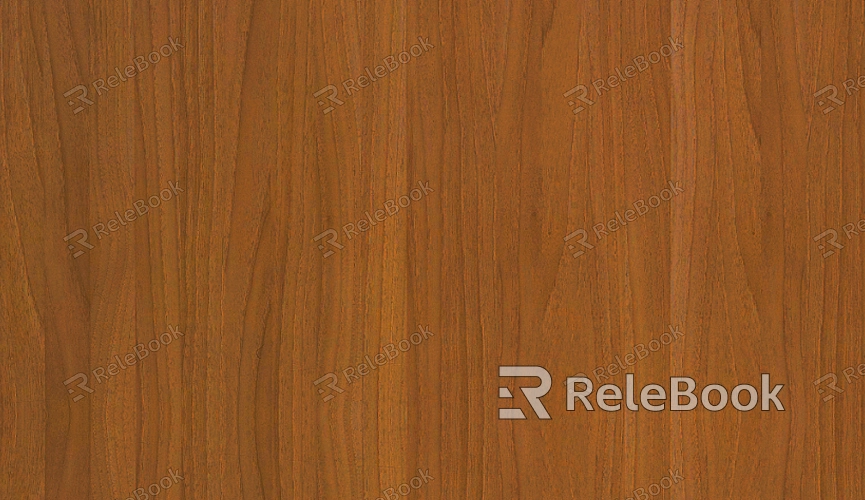
While procedural textures are versatile, using image maps for wood textures often results in more photorealistic and detailed surfaces. Image maps provide high-resolution textures of real wood, which can be applied to 3D models using Blender's material system.
1. Selecting or Creating an Image Texture
The first step is to either find a high-quality wood texture or create one. You can use freely available textures or scan pieces of wood to create your high-resolution images. Ensure that the image you use has the necessary details for the type of wood you wish to replicate, such as grain patterns, knots, and color variations.
2. Mapping the Image Texture
After you’ve selected or created the image texture, apply it to the 3D model by using the "UV Mapping" technique. Proper UV unwrapping ensures that the texture is properly aligned with the model. You may need to adjust the scale and orientation of the texture to ensure it fits the geometry of the object accurately.
Combining Procedural and Image-Based Textures
In many cases, a combination of procedural and image-based textures can provide the best results. By blending the randomness of procedural textures with the detail of image maps, you can create highly realistic wood surfaces. For example, you can use an image texture for the overall wood grain and then apply procedural noise to add small imperfections or variations in the wood surface.
1. Mixing Nodes
Use the "Mix Shader" or "Add Shader" nodes to combine the two types of textures. By blending them, you can control how much each texture contributes to the final result. The procedural texture can add random variation, while the image texture ensures the overall appearance remains accurate.
Adding Details to Enhance Realism
Once you have your base wood texture, you can add further details to make the texture more convincing. These details can include imperfections like scratches, bumps, and reflections, all of which contribute to the wood's realism.
1. Bump Mapping and Normal Maps
Bump mapping and normal maps can be used to simulate the subtle variations in surface height that you would expect to find on wood. Using a bump map derived from your wood texture will make the surface appear more tactile, even though it’s still flat.
2. Specular and Roughness Maps
Wood doesn’t have a completely uniform shine. The specular map controls how light interacts with the surface, while the roughness map controls the sharpness of reflections. By adjusting these maps, you can create the right level of glossiness or matte finish for your wood texture.
Lighting and Rendering
The final step in achieving a realistic wood texture is to ensure proper lighting and rendering. The way light interacts with the wood will have a significant impact on how realistic it looks. Experiment with different lighting setups, such as using HDRI lighting for environmental reflections or placing spotlights to highlight the wood grain.
1. Using the Cycles Render Engine
For the best results, it’s recommended to use Blender’s Cycles render engine, which offers realistic light simulations. Adjusting the material’s shader settings in Cycles can make a significant difference in how the wood appears, especially when it comes to reflections and shadowing.
Troubleshooting Common Problems
While creating wood textures in Blender, you may encounter some common problems. These include unrealistic grain patterns, tiling issues with image textures, and overexposed or underexposed lighting.
1. Fixing Grain Patterns
If the wood grain looks too repetitive or unnatural, try increasing the randomness of the procedural texture or experiment with different noise types. You can also mix multiple textures to break up the repetition.
2. Avoiding Tiling in Image Textures
To prevent the texture from appearing tiled or repeating too much, make sure that your UV mapping is well spaced. You may also want to use a texture with a higher resolution to avoid pixelation.
3. Lighting and Exposure
Ensure that your scene has appropriate lighting, and be mindful of exposure settings in the render options. Incorrect lighting can make the wood texture appear flat or washed out.
In this article, we’ve explored how to create realistic wood textures in Blender, whether you prefer to use procedural techniques, image maps, or a combination of both. By understanding the core principles behind texturing and experimenting with various tools, you can achieve high-quality results for your 3D models. Whether you’re working on architectural models, props, or environments, mastering wood textures will elevate the realism of your projects. To further enhance your creations, consider downloading 3D models and textures from the Relebook website, where you’ll find an extensive library of resources to take your work to the next level.
FAQ
How do I make wood textures look less repetitive?
Try using higher-resolution textures, applying procedural noise, and experimenting with different mapping methods to break up the repeating pattern.
Can I use a combination of procedural and image textures for a more realistic result?
Yes, blending both types of textures can give you more control over the appearance, allowing for greater realism.
Why is my wood texture looking too flat or shiny?
Adjust your bump maps and specular maps to add depth and control the shininess. Lighting plays a major role in how the texture looks as well.
How do I fix seams when applying an image texture to a model?
Make sure your UV unwrapping is clean and avoid overlapping seams. You may also need to use a higher-resolution texture to reduce visible seams.

