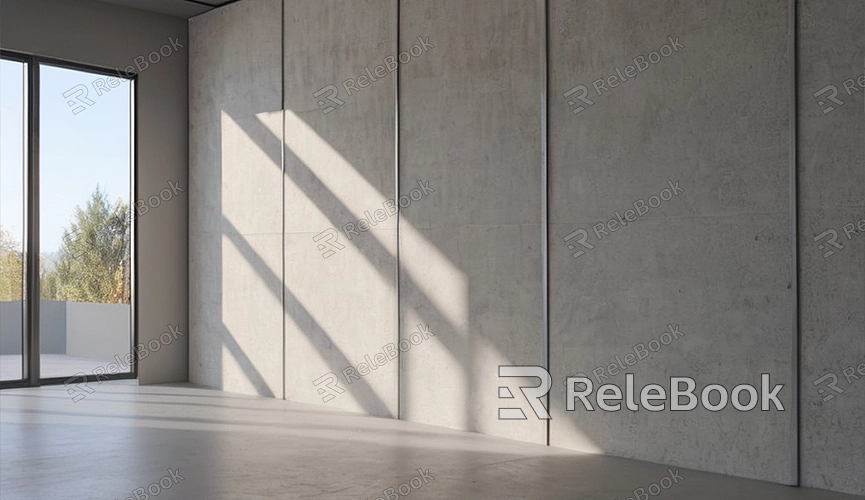
How to Make HDR Image in Photoshop
HDR (High Dynamic Range) imaging is a photographic technique that captures a wider dynamic range, displaying more detail in both the highlights and shadows within a single image. Creating an HDR image in Photoshop is not complicated; it just requires following some simple steps. This article will provide a detailed guide on how to make an HDR image in Photoshop, helping you easily master this technique.
Preparation
Before you begin, you will need the following tools and materials:
1. Multiple photos with different exposures: Typically three or more, each with a different exposure value (-2EV, 0EV, +2EV).
2. Adobe Photoshop: Make sure you have the latest version of Photoshop installed.
Step One: Import the Photos

1. Open Photoshop.
2. Select "File" > "Automate" > "Merge to HDR Pro" from the menu bar.
3. In the dialog box that appears, click "Browse" and select the multiple exposure-varied photos you have prepared.
4. After selecting the photos, click "OK" and Photoshop will automatically process these photos and enter the HDR Pro dialog.
Step Two: Adjust HDR Settings
In the HDR Pro dialog, you can see a preview of the composite image. There are several important settings to adjust:
1. Presets: You can choose from presets provided by Photoshop or customize your settings.
2. Edge Glow: Adjust the smoothness of edge transitions to reduce halo effects.
3. Tone Mapping: This section helps you adjust the detail and contrast of the image, including parameters like "Gamma," "Exposure," and "Detail Enhance."
4. Curves and Histogram: Fine-tune the image's brightness and shadow details by adjusting the curves.
After adjusting these parameters, click "OK" to proceed with the merge.
Step Three: Further Adjustments and Touch-Ups
Although HDR Pro has already helped you merge a high dynamic range image, to make the image more striking, we can further adjust and touch up in Photoshop.
1. Levels and Curves: Use "Image" > "Adjustments" > "Levels" or "Curves" to further adjust the image's brightness and contrast.
2. Saturation and Hue: Adjust the image's colors through "Image" > "Adjustments" > "Hue/Saturation" to make the image more vivid.
3. Sharpening: Use "Filter" > "Sharpen" > "Smart Sharpen" to enhance the details of the image and make it clearer.
Step Four: Save and Export
When you are satisfied with the effect of the HDR image, you can save and export it.
1. Select "File" > "Save As," and choose an appropriate file format (such as JPEG, TIFF, etc.).
2. If you need to share online, it is recommended to choose the JPEG format and compress the file size appropriately.
3. If you need to further edit or save a high-quality version, you can choose the TIFF format to retain more image details.
Some Tips
1. Avoid Ghosting Effect: When taking multiple exposure-varied photos, try to use a tripod and lock focus before each shot to reduce ghosting effects caused by camera shake or movement.
2. Post-Processing Details: After merging the HDR image in Photoshop, you can use masks and layer blending modes for local adjustments to further enhance the texture of the image.
3. Use RAW Format: Whenever possible, shoot in RAW format as it retains more image details, which is convenient for post-processing.
Creating an HDR image may seem complex, but by following the steps outlined above, you will quickly master the skills. Making HDR images in Photoshop not only improves the quality of your photographic work but also makes you more adept in photographic creation. If you need many high-quality 3D textures and HDRIs, or 3D model downloads when creating models and virtual scenes, you can download them from Relebook. After downloading, simply import the textures and 3D models directly into your model for use.

