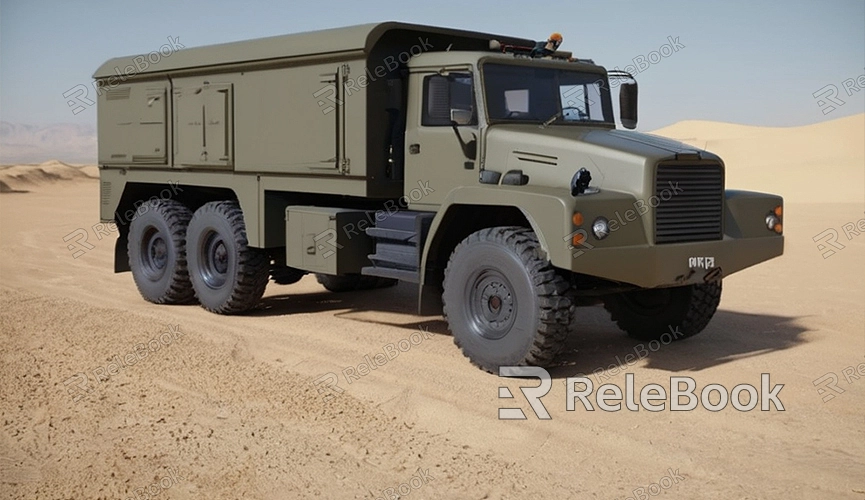
How to 3D Model a Car in Blender
Modeling a car in 3D using Blender is a challenging yet highly rewarding task. This article will provide a detailed guide on how to create a car model in Blender, suitable for beginners and intermediate users alike. By following these steps and techniques, you'll be able to master the basic process of car 3D modeling in Blender.
Step One: Preparation
Choose the Right Software Version
First and foremost, make sure you have the latest version of Blender installed. Blender is a powerful free 3D modeling software available for various operating systems. You can download the latest version from the Blender official website.

Gather Reference Material
Before modeling, gathering as much reference material as possible is crucial. You can find car blueprints online, such as on Relebook, including front, side, top, and rear views of the car. These blueprints will help you maintain accuracy during the modeling process.
Step Two: Import Blueprints
Create a New Project
Open Blender and create a new project. Delete the default cube by pressing `X` and selecting `Delete`.
Import Blueprints
In the viewport, press `Shift + A`, select `Image > Reference`, then choose the car blueprint you prepared earlier. Place the blueprints in different views (front, side, top) to use as references during modeling.
Step Three: Create Basic Shapes
Build the Car Body
In the side view, press `Shift + A`, select `Mesh > Plane` to create a plane. Scale and move the plane to match the side view of the car. Then use extrusion (`E` key) and vertex manipulation (`G` key) tools to shape the basic form of the car body.
Refine the Body
Repeat the above steps in the front and top views to ensure the shape of the body is accurate in all views. Use subdivision surfaces (`Ctrl + 2`) to smooth the model and add details.
Step Four: Add Detail
Create Wheels
Use cylinders (`Shift + A`, select `Mesh > Cylinder`) to create wheels. Adjust the size and position to match the wheel locations on the blueprint. Then use boolean operations (Boolean Modifier) to create wheel hubs and tire details.
Add Lights and Windows
Use extrusion (`E` key) and inset (`I` key) tools to create lights and windows. Ensure these detail parts match the positions and sizes on the blueprint.
Interior and Other Details
Continue adding other details as needed, such as door handles, side mirrors, and interior. Use Blender's various modeling tools to ensure each part looks as realistic as possible.
Step Five: UV Unwrap and Texture
UV Unwrap
Select your model, enter edit mode (`Tab` key), press `U`, then select `Smart UV Project` to unwrap the UVs. This will generate a UV map for applying textures to the model.
Create and Apply Textures
Use image editing software (such as Photoshop or GIMP) to create textures for the car. This includes color, reflection, and normal maps for the body. Then apply these textures to the model in Blender to make the car look more realistic.
Step Six: Materials and Rendering
Set Materials
In Blender, set up different materials for your model. Use Blender's node editor (Shader Editor) to create different material properties for the body, glass, tires, etc. Adjust parameters such as reflectivity, glossiness, and transparency to make the materials more realistic.
Set Up Lighting and Rendering
In Blender, set up appropriate lighting environment, choose a rendering engine (such as Cycles or Eevee), and perform the final render. Adjust rendering settings like resolution, sample count, and render time to ensure the final result meets expectations.
Step Seven: Post-Processing
After rendering, you can use image editing software for post-processing. Adjust contrast, color balance, add backgrounds, etc., to enhance the final result.
Modeling a car in 3D with Blender requires patience and attention to detail. By following the steps and techniques outlined in this article, you can gradually master the basic process of modeling and create high-quality car models. Continuous practice and learning new techniques will help improve your 3D modeling skills. Hopefully, this article will be helpful on your modeling journey in Blender.

