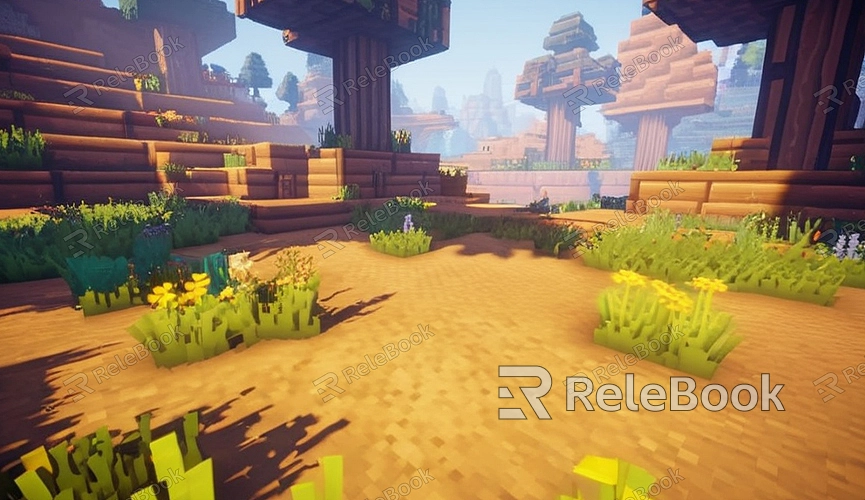
How to Add 3D Models to Minecraft
Minecraft is a widely popular sandbox game that allows players to create and explore within a world made up of blocks. While Minecraft originally features block-style models, players can enhance their gaming experience by adding more complex and detailed 3D models using certain tools and methods. This article provides a detailed guide on how to add 3D models to Minecraft, along with optimization tips and considerations.
I. Preparation
Before you begin, you'll need the following tools and resources:
1. Minecraft Java Edition: This guide is based on Minecraft Java Edition.
2. MCEdit or Amulet Editor: Powerful Minecraft map editors that support importing external 3D models.
3. Blender or other 3D modeling software: Used to create or edit 3D models.
4. OBJ2MC or Binvox: Tools for converting standard 3D model formats into Minecraft-compatible formats.

II. Creating or Downloading 3D Models
Firstly, you'll need a 3D model, which you can create in Blender or download from online sources.
III. Converting 3D Models to Minecraft Format
Since Minecraft uses blocks to represent all objects, you'll need to convert standard 3D model formats (such as OBJ or STL) into Minecraft-compatible formats using the following tools:
1. OBJ2MC: This Python script converts OBJ format 3D models into Minecraft's NBT format. Use it as follows:
- Download and install Python.
- Download the OBJ2MC script.
- Run the script in the command line, specifying the OBJ file to convert:
```bash
python obj2mc.py input.obj output.nbt
```
- The script will generate an NBT file containing the Minecraft version of your 3D model.
2. Binvox: This tool voxelizes 3D models, breaking them down into small blocks suitable for Minecraft. Use it as follows:
- Download and install Binvox.
- Run Binvox in the command line, specifying the OBJ file to convert:
```bash
binvox -d 256 input.obj
```
- Binvox will generate a .vox file representing the voxelized 3D model.
IV. Importing 3D Models into Minecraft
Use MCEdit or Amulet Editor to import the converted 3D model into your Minecraft map:
1. Using MCEdit:
- Open MCEdit and load the Minecraft map you want to modify.
- Select the "Import" option and choose the previously converted NBT file.
- Place the 3D model in the appropriate location within the map.
- Save and exit MCEdit.
2. Using Amulet Editor:
- Open Amulet Editor and load the Minecraft map you want to modify.
- Select "Import Structure" and choose the previously converted NBT file.
- Place the 3D model in the appropriate location within the map.
- Save and exit Amulet Editor.
V. Viewing the Model in-game
Once you've completed the above steps, launch Minecraft and load the modified map. You should be able to see the newly imported 3D model. If the model doesn't display correctly, you may need to adjust its position or review the conversion steps.
VI. Optimization and Considerations
1. Model Simplification: Due to Minecraft's block limitations, complex 3D models may lose detail during conversion. Consider simplifying the model in Blender to reduce polygon count.
2. Block Selection: Choose appropriate block textures to represent different parts of the model for better visual effects. For example, use glass blocks for transparent areas.
3. Testing and Adjustments: Before final import, test the model in a separate test map to ensure it meets your expectations.
By following these steps, you can add complex 3D models to Minecraft, enriching the game's content and visual appeal.

