How to Make Animal Textures for 3D Models
Animal textures are widely used in fields like animation, game design, advertising, and virtual reality, adding rich detail and lifelike qualities to characters or scenes. Popular 3D software such as Blender, Maya, and 3ds Max support complex texture mapping and editing, while image-editing tools like Photoshop and Substance Painter are essential for texture painting and refining details. This article will guide designers through the process of creating realistic animal textures, covering texture analysis, base color setup, detail addition, and texture testing to bring a natural look to animal surfaces.

Analyzing Animal Texture Features
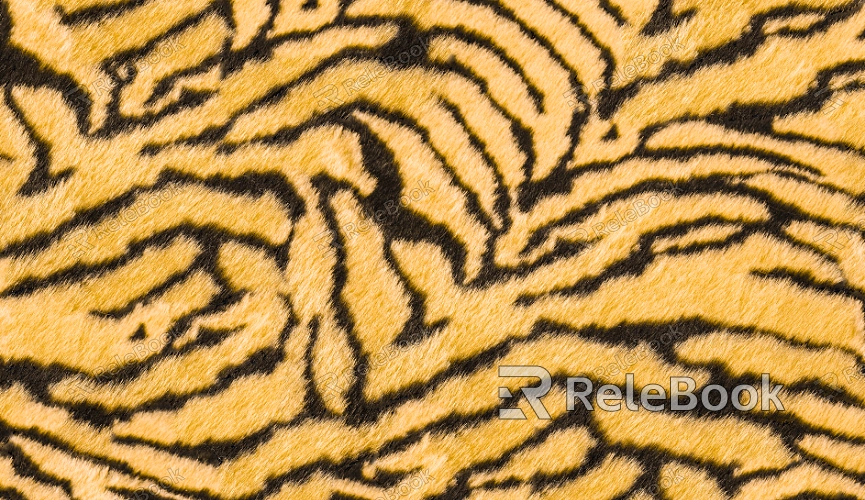
Color and Patterns: Different animals have unique colorations and patterns, like tiger stripes, zebra stripes, and leopard spots. Studying the gradient, shape, and distribution of these colors and markings is essential for accurately replicating their characteristics.
Glossiness and Roughness: Some animal fur is shiny, while others are matte, depending on fur structure and orientation. Analyzing these properties helps simulate realistic fur effects.
Structure and Layers: Animal textures are often uneven, composed of tiny hairs and skin folds. Observing these details can help create textures with realistic layering and depth.
Establishing Base Colors
Selecting Main Colors: Start by choosing a primary color. For example, a tiger’s base is orange-yellow, while a leopard’s is pale yellow. Picking the main color provides a solid foundation for the texture.
Applying Gradients: Animal colors in nature usually transition from dark to light. For example, color may lighten from the head to the belly. Using gradient tools creates smooth color transitions, making textures appear more natural.
Adjusting Transparency: At hair edges or where colors change, layer transparency adjustments soften borders and avoid harsh lines.
Adding Hair Details
Using Brushes to Draw Hair: In image-editing software, utilize brushes with various sizes and hardness levels to mimic real fur. Light strokes in the direction of fur growth add to the natural feel.
Adding Noise and Texture Layers: Adding noise or texture layers enhances hair details. For instance, fine noise overlay on fur areas simulates fur roughness.
Refining Hair Length and Direction: Fur length and direction vary across an animal’s body, especially at joints and tails. Adjusting these characteristics for different areas makes the texture more vivid.
Painting Spots and Stripes
Referencing Real Animal Patterns: Spots and stripes are essential elements in animal textures. Reference real animal images to study pattern distribution, shape, and direction, ensuring a lifelike look.
Layered Painting: Separate different regions of stripes and spots into layers to keep details organized. For example, use one layer for larger stripes and another for fine spots for a more realistic effect.
Controlling Edge Blur: The edges of stripes and spots should be slightly blurred to blend them naturally with the base color and avoid sharp lines.
Adding Subsurface Scattering Effects
Warm-Toned Highlights: Animal fur often appears slightly translucent in sunlight, especially in thin areas like ears and tails. Adding a warm-toned highlight layer can create this subtle translucence.
Soft Light and Overlay Modes: Use soft light or overlay layer modes in software to enhance shadow variations in the texture, creating a more three-dimensional look under different lighting conditions.

Using Displacement and Bump Maps
Creating a Displacement Map: Displacement maps add a three-dimensional effect to animal fur. Convert fur textures to grayscale to create a displacement map that adds depth to the fur.
Setting Bump Effects: Using bump maps fine-tunes hair details, enhancing small variations that add realism under different lighting.
Blending and Gradient Adjustments
Edge Color Transitions: The edges of animal fur typically have soft color transitions. Use different colors for edges and center areas, blending smoothly for natural transitions.
Hue and Saturation Tweaks: Adjusting hue and saturation for different body areas creates depth in animal color tones, making textures look more realistic in diverse settings.
Enhancing Micro-Details in Fur
Simulating Fine Hair and Skin Texture: Add micro-hairs and texture in areas like the ears and tail. Adjusting brush size to create fine hair detail can enhance texture realism.
Adding Particles or Small Details: Use particle brushes in Photoshop to create hair grain or slight noise, enhancing the natural look of the texture.
Testing and Light Adjustment
Setting Light Angle: Load the texture in 3D software and test it under different lighting angles. Side or back lighting can emphasize the layered quality of the fur.
Multi-Angle Testing: Observe the model from multiple angles to ensure the texture appears realistic from all perspectives.
Context and Environment Testing
Scaling the Texture: Adjust the texture scale based on model size so that details are neither too large nor too small for the scene’s requirements.
Environment Testing: Place the model in various settings to verify its consistency under outdoor, indoor, and other lighting conditions.
Following these steps will help designers create high-quality animal textures that bring life to scenes or characters. Tools like GIMP, Substance Painter, and Photoshop can assist in crafting intricate hair and skin details, enhancing overall texture quality. For designers looking for additional resources or model support, Relebook offers a wide array of 3D models and materials to elevate your visual creations to a new level.

