How to Make a Metal Texture in Blender 3D
Creating realistic metal textures can significantly enhance the quality and depth of 3D models, adding an elegant, refined look to projects. Popular 3D software like Blender, Maya, and 3ds Max all provide versatile material editing tools, but Blender’s open-source nature and powerful capabilities make it a top choice for many designers. This guide walks you through creating metal textures in Blender, covering everything from basic shader setup to advanced detail integration for realistic metal surfaces.

Setting Up the Basic Metal Shader
Choose the Right Shader Type: In Blender, metal textures are generally created using the "Principled BSDF" shader, which includes a metallic option to simulate different types of metal surfaces. Start by creating a new material in the Material Properties panel and select the Principled BSDF shader.
Adjust the Metallic Value: Set the "Metallic" option to 1 to give the material a metallic characteristic. The "Roughness" value affects the surface finish, where lower roughness results in a mirror-like reflection and higher values create a matte appearance.
Adding Reflection and Gloss Effects
Environment Reflections: Metal surfaces rely on their surroundings for realistic reflections. In the Render Properties, enable an HDRI environment map to provide dynamic lighting and reflections for the metal. Using HDRI maps in the scene allows you to test the material’s look under various lighting conditions.
Specular and Roughness Control: Adjust the "Specular" and "Roughness" parameters in the Principled BSDF shader to fine-tune reflection strength and clarity. Specular controls the brightness of reflections, while Roughness affects the blurriness. Tweak these based on the metal type and desired effect.
Adding Surface Details with Texture Maps
Normal Map for Surface Bumps: A normal map adds subtle bumps to the metal’s surface, giving it more depth and realism. You can create a normal map in tools like Substance Painter or download one online. Import the normal map into Blender and connect it to the Principled BSDF shader’s normal input.
Roughness Map for Variation: Use a roughness map to add intricate details, where variations in roughness across different areas enhance the texture's authenticity. After importing, connect it to the Roughness input of the Principled BSDF shader and adjust the intensity as needed.
Adding Rust and Scratch Effects
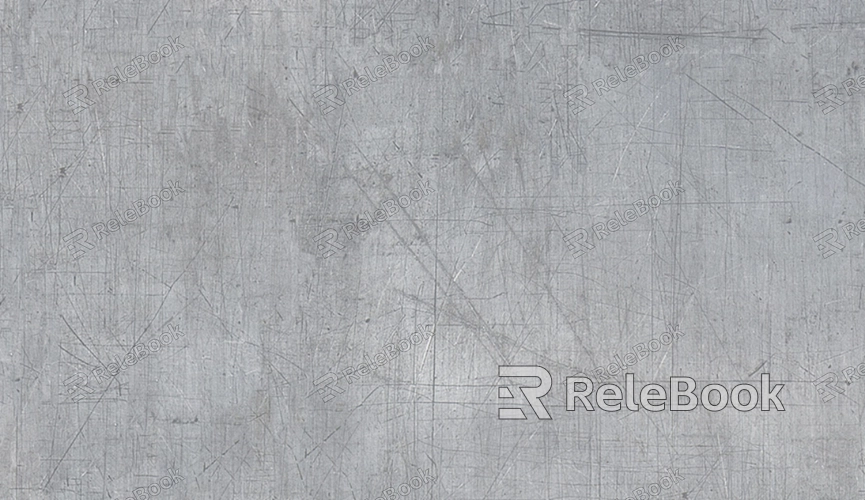
Damage Effects: Adding rust and scratches helps achieve a worn look on the metal. Use a Mix Shader node to blend rust or scratch textures with the metal shader, adjusting the mix ratio to create a realistic balance of natural wear.
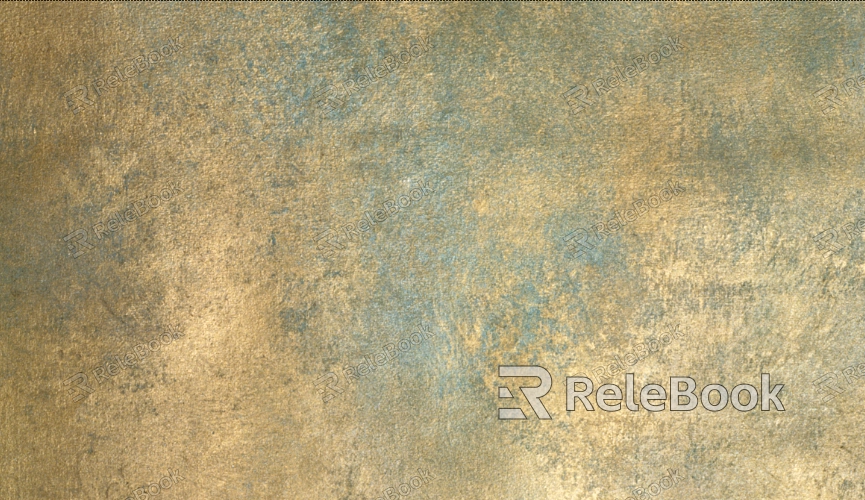
Layering Color for Oxidation: For a corroded or oxidized look, overlay a colored rust texture on the metal surface. This technique creates a richer appearance, simulating the effects of oxidation over time.
Adding Fine Textures for Depth
Noise Map for Grainy Texture: A noise texture creates subtle grain, enhancing the metal’s tactile feel. In Blender’s Shader Editor, add a noise texture node and connect it to the Roughness input. Adjust the scale and detail to achieve a refined look.
Displacement Map for Height Variations: Use a displacement map to simulate raised or recessed areas on the surface. Connect the displacement map to the Displacement input of the material output and carefully set the strength to avoid excessive deformation.

Optimizing Lighting and Shadows
Light Positioning: For optimal lighting, experiment with side and point lights, as these enhance the metal’s reflective quality. Combining multiple light sources can create dynamic shadowing and add depth to the metal texture.
Soft Shadows for Realism: Enable “soft shadows” in the light settings to achieve smoother, natural shadow transitions around the metal. This creates a more cohesive look, reflecting the material’s interaction with its environment.
Scaling Textures and Maps
Adjust Texture Scale: The texture’s scale should fit the model’s size to prevent stretching or shrinking. Use the Texture Coordinate and Mapping nodes to adjust the texture scale, making it proportional to the model.
Optimize UV Layouts: In Blender, use UV unwrapping to ensure the texture is evenly distributed, especially on complex shapes. A well-mapped UV layout prevents texture distortion and enhances overall realism.
Testing with Render Previews
View from Multiple Angles: Test the metal texture from different angles to verify its look and ensure it maintains realism across perspectives.
Real-Time Rendering: Blender’s Eevee and Cycles engines provide real-time previews. Eevee is faster for quick adjustments, while Cycles offers high-quality previews for final touches.
By following these steps, designers can create intricate metal textures in Blender, adding depth and visual interest to their models. From matte industrial metals to polished, mirror-like finishes, adjusting material parameters and incorporating texture maps allows for a variety of unique effects.
For high-quality 3D texture resources, model files for SketchUp or 3ds Max, or a range of virtual assets, Relebook is a valuable resource. Downloading textures and models from Relebook can greatly enhance the realism and quality of your projects.

