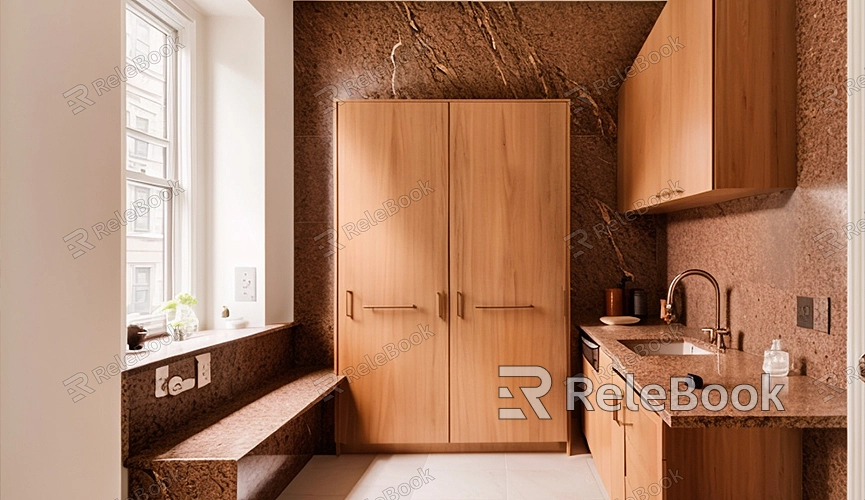
C4D how to add texture to a 3d model
Adding textures to a 3D model is a fundamental and crucial skill in CINEMA 4D (C4D). Textures enhance the realism and visual appeal of models, elevating the overall visual impact. This article details how to add textures to a 3D model in C4D and shares some practical tips.
I. Preparation
Before you begin, ensure you have a 3D model and the corresponding texture images ready. Common texture formats include JPEG, PNG, and TIFF. It's also recommended to organize all resource files in a project folder for easy management and access.

II. Importing the 3D Model
1. Open C4D:
Launch C4D and create a new project.
2. Import the Model:
Go to "File" -> "Open" from the menu bar, locate your 3D model file (such as OBJ or FBX format), and click "Open". The model will appear in the C4D workspace.
III. Creating Materials
1. Create a New Material:
At the bottom of the C4D interface, find the "Materials" panel, right-click in an empty area, and select "New Material". A new material sphere will appear in the panel.
2. Edit the Material:
Double-click the new material sphere to open the "Material Editor". Here, you can adjust various properties of the material.
3. Add Texture:
In the "Material Editor", locate the "Color" channel, check it, and click the folder icon on the right to select your texture image file. The texture image will be loaded into the material.
IV. Applying the Material
1. Apply the Material to the Model:
Drag the edited material sphere onto the 3D model. The model's surface will now display the texture you've set.
2. Adjust UV Mapping:
If the texture appears incorrectly on the model, adjust the UV mapping. Select the model, enter "UV Editor", and move, rotate, or scale the UV mapping to correctly overlay the texture on the model's surface.
V. Further Material Adjustments
1. Reflections and Bump:
Optionally, enable additional channels like "Reflection", "Bump", "Specular", etc., in the "Material Editor". Add appropriate textures to enhance the model's realism.
2. Transparency and Glow:
If your model requires transparency or glow effects, configure them in the "Material Editor" and add corresponding textures.
VI. Rendering Preview
1. Set up Lighting:
Add appropriate lighting effects in C4D to give the model a more dimensional and realistic appearance. Common types of lights include directional lights, point lights, and spotlights.
2. Render Settings:
Open "Render Settings", choose the appropriate resolution and output format. It's recommended to enable "Global Illumination" and "Ambient Occlusion" in the "Output" options for improved rendering quality.
3. Preview Render:
Click the "Render" button at the top right corner of the C4D interface to preview the final effect. Based on the render result, further adjust material and lighting settings until you achieve the desired effect.
By following these steps, you've learned the basic method of adding textures to a 3D model in C4D. Mastering these skills can greatly enhance your 3D modeling and rendering capabilities. For high-quality 3D textures, HDRI, or 3D model downloads during your modeling and virtual scene creation, you can directly import them into C4D from Relebook.

