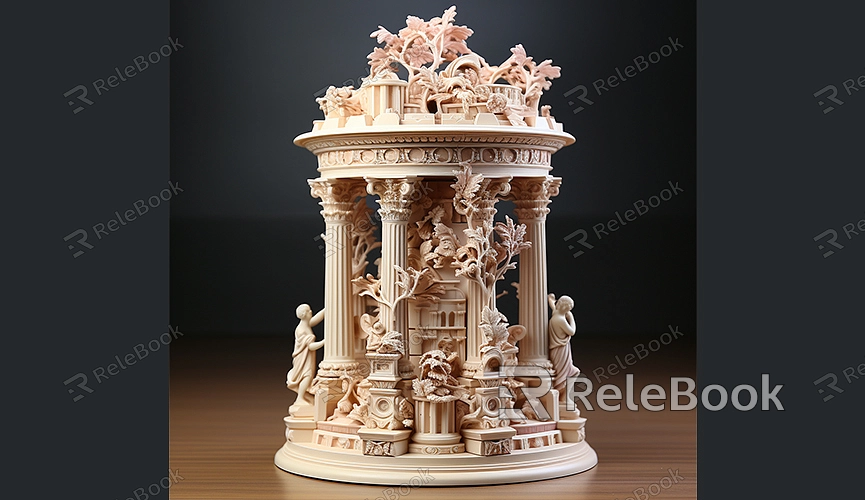
Tutorial for Creating Roman Column Models
How to create a European-style Roman column model? Crafting a Roman column model in 3D modeling software requires an understanding of classical architecture and a grasp of fundamental modeling techniques. Many 3D modeling software platforms enable the creation and rendering of highly realistic and textured 3D models. Today, I'll introduce a foundational Maya tutorial for modeling Roman columns, hoping it proves helpful.

Part One: Creating the Cylinder
1. Tool Selection:
In the "Polygon Modeling" toolkit, choose "Create" > "Polygon Primitives" > "Cylinder."
2. Editing the Cylinder:
Use the "Move," "Rotate," and "Scale" tools to adjust the cylinder's position, size, and orientation.
Convert the cylinder into an editable mesh object.
3. Adding Subdivision Surfaces:
Select the entire cylinder, then click "Mesh" > "Subdivide" > "Add Subdivision" to increase the detail level.
Part Two: Adding Capital and Base
1. Creating a Sphere:
In the "Polygon Modeling" toolkit, choose "Create" > "Polygon Primitives" > "Sphere."
2. Editing the Sphere:
Use the "Move," "Rotate," and "Scale" tools to adjust the sphere's position, size, and orientation.
Adjust the sphere's segments for better shaping.
3. Merging with the Cylinder:
Select the sphere and cylinder, then click "Mesh" > "Combine" > "Boolean" to merge them together.
4. Duplication and Adjustment:
For the base, repeat the above steps but position the sphere at the bottom of the cylinder.
Adjust the size and position of each part as needed.
Part Three: Adding Ornamental Elements
1. Creating Rectangular Planes:
In the "Polygon Modeling" toolkit, choose "Create" > "Polygon Primitives" > "Plane."
2. Editing the Rectangular Planes:
Use the "Move," "Rotate," and "Scale" tools to adjust the planes' position, size, and orientation.
Employ "Extrude" or "Bevel" tools to add thickness and edges.
3. Adding TurboSmooth:
Select the rectangular plane, then click "Modifiers" > "TurboSmooth."
Adjust iterations and segments to increase surface smoothness.
4. Duplication and Placement:
Duplicate these ornamental elements and place them at different locations on the column, such as the top and bottom of the capital and base.
Part Four: Materials and Rendering
1. Material Creation:
Open the "Hypershade" window, create a new Lambert or Phong material node.
Set appropriate material colors and properties like roughness, reflection, etc.
2. Applying Materials:
Connect the material to the Roman column.
Right-click on the material node and select "Assign to Object" to complete this step.
3. Rendering the Scene:
Configure render settings such as resolution, anti-aliasing, etc.
Click the "Render" button to generate images.
This tutorial is a basic guide; actual Roman column modeling might involve more complex steps and techniques. For better results, exploring more Maya features like sculpting, texture mapping, and using additional plugins or tools for modeling may be beneficial.

