Maya Game Scene Modeling Tutorial
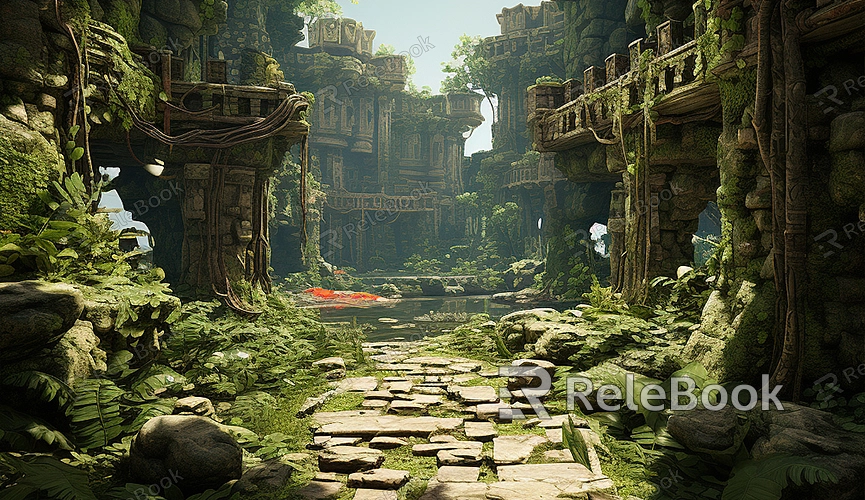
How to create and render an awesome game scene using Maya? Maya is a robust software for 3D modeling, animation, and rendering, widely employed in game development for scene creation. Its powerful capabilities in virtual model scene creation and rendering make it an ideal choice. Let's delve into a basic Maya game scene modeling tutorial!

Part One: Setting Up the Workspace
1. Open Maya and create a new scene.
2. Go to the top menu bar, select "Windows" > "Layouts" > "Four Views" to open four viewports (front, side, top, and perspective).
Part Two: Building the Terrain
1. Using a Plane:
Choose the "Polygon Modeling" toolkit from the toolbar.
Click "Create" > "Polygon Primitives" > "Plane" to generate a plane.
2. Editing the Plane:
Adjust the plane's size and position using the "Move," "Rotate," and "Scale" tools.
Perform these operations in the top or side views.
3. Subdividing the Plane:
Enter "Edit Mesh" mode.
Select the entire plane, then click "Mesh" > "Subdivide" > "Add Subdivisions" to increase detail level.
Part Three: Adding Model Elements
1. Importing Models:
If there are pre-made models, import them into Maya.
Select "File" > "Import," locate the model file, and open it.
2. Placing Models:
Drag and drop models onto the terrain, adjusting their position and size using the "Move," "Rotate," and "Scale" tools.
3. Duplicating Models:
For elements you need to replicate, such as trees or rocks, use the "Instance" or "Reference" function.
Select the model to copy, then click "Edit" > "Instance" or "Reference."
Part Four: Setting Lighting and Shadows
Enable shadows for each light source.Adjust shadow parameters like softness, color, and distance.
Part Five: Materials and Textures
1. Creating Materials:
Open the "Hypershade" window.
Generate new material nodes, specifying suitable colors and properties.
2. Applying Materials:
Connect materials to respective models.
Right-click on the material node and choose "Assign to Object."
3. Applying Texture Maps:
Import required texture files.
Connect textures to the appropriate input ports of the material nodes.
Part Six: Rendering and Output
1. Configuring Render Options:
Open the "Render Settings" window.
Configure resolution, anti-aliasing, and other parameters.
2. Rendering the Scene:
Click the "Render" button to generate images.
3. Exporting Models and Textures:
If you need to export models and textures to a game engine, choose suitable formats like .fbx or .obj.
This tutorial provides a basic guide. Actual game scene modeling may involve more complex steps and techniques. Creating better game scenes involves utilizing Maya's functionalities like sculpting, particle systems, and fluid simulations.

