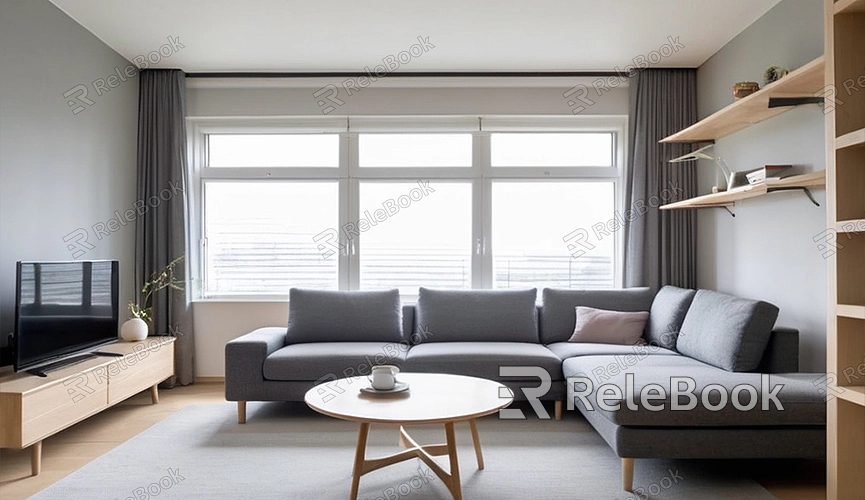
How to Make Glossy in Blender Render
In 3D modeling and rendering, adding glossiness can enhance the realism and aesthetic appeal of scenes. Blender, as a powerful 3D software, offers rich tools and material options to help achieve this effect. This article will detail how to create glossy effects in Blender render, guiding you through the process to master this technique.
Setting Up Blender Workspace
First, open Blender and create a new project. Ensure you are using the latest version of Blender to access its newest features and improvements. Within Blender’s interface, you'll find the 3D view, properties panel, and timeline among other tools. For convenient glossiness creation, select the "Shading" layout from the interface, which provides easy access to material and node editors.
Creating a Base Model
Next, create a basic model to apply glossy effects. You can choose any preferred model such as a simple cube, sphere, or more complex objects. Press Shift+A in the 3D view to add the desired basic model to your scene. Adjust its position and size to fit appropriately.

Applying Materials
In Blender, materials are crucial for achieving glossy effects. Select your model and navigate to the materials options in the properties panel. Click the "New" button to create a new material for your model. Choose "Principled BSDF" as the material type, a versatile shader capable of creating various material effects.
Setting Glossiness Parameters
Within the material settings, locate the "Specular" and "Roughness" parameters. Specular controls the intensity of glossiness—higher values increase glossiness. Roughness controls the scattering of glossiness—lower values intensify glossiness. Adjust these parameters according to your needs until you achieve the desired glossy effect.
Additionally, use the "Metallic" parameter to enhance a metallic glossiness effect if your model requires it.
Using Node Editor
For finer control over glossiness effects, utilize Blender's node editor. Click on the "Shader Editor" tab in the properties panel to access the node editor. You will see a default "Principled BSDF" node and a "Material Output" node. By adding and connecting different nodes, you can achieve more complex and realistic glossiness effects.
For example, add an "Image Texture" node and connect a glossiness map to the "Roughness" input of the "Principled BSDF" node. This enhances realistic gloss details on your model.
Adjusting Lighting
Lighting significantly impacts glossiness effects. In Blender, you can add various light sources such as point lights, spotlights, and area lights. Adjust the position, intensity, and color of light sources to alter how glossiness is displayed. It’s recommended to experiment with different lighting setups to find the best glossiness effect.
Rendering Settings
After setting up glossiness effects, the final step is rendering. In Blender's render settings, select your preferred rendering engine—Cycles or Eevee. Cycles is a physically-based rendering engine offering high-quality glossiness effects, while Eevee provides real-time rendering with faster results. Choose the engine that suits your needs and adjust rendering parameters such as resolution, sampling, and light bounces.
Once settings are finalized, click the "Render" button to start rendering. Wait for Blender to complete the rendering process. After rendering, you can view the final glossy effect in the image viewer. If results are not satisfactory, return to adjust materials, lighting, and rendering settings until achieving desired outcomes.
By following these steps, you can easily create realistic glossy effects in Blender. Whether for product showcases, architectural visualizations, or animation projects, glossiness adds visual appeal and realism to your creations. For high-quality 3D textures, HDRI, or downloadable 3D models to enhance your modeling and virtual scenes, consider downloading them from Relebook. This article aims to help you master the art of creating glossiness effects in Blender.

