How to make render in blender
Blender is a powerful open-source 3D modeling and animation software, and its rendering capabilities are highly appreciated by users. In this article, we'll explore how to render in Blender to create high-quality 3D images and animations.
Installation and Preparation
First, ensure you have the latest version of Blender installed. When you open Blender, you'll see a default scene containing a cube, a light, and a camera. We'll use this default scene to demonstrate the basic rendering steps.
Setting Up the Camera
The camera setup is crucial as it determines your rendering perspective.
1. Select the camera and press the "0" key to enter the camera view.
2. Use the "G" key to move the camera and the "R" key to rotate it, adjusting to an appropriate angle.
3. In the properties panel on the right, you can adjust the camera's focal length, depth of field, and other parameters to achieve a better perspective.
Adding Materials and Textures
Materials and textures determine how your model will look when rendered. Let's add a simple material to the default cube.
1. Select the cube and click the "Material" tab in the properties panel on the right.
2. Click the "New" button to create a new material.
3. Choose your preferred color in the "Base Color" option.
4. To add a texture, click the small dot next to "Base Color," select "Image Texture," and then load the texture image you want.
Setting Up Lighting
Lighting is essential in rendering as it affects the brightness and shadows of your scene.
1. Select the default light and click the "Light" tab in the properties panel on the right.
2. You can adjust the light type (e.g., point light, spotlight, sun), intensity, and color.
3. For better effects, try adding multiple lights to simulate natural lighting.
Render Settings
Before rendering, you need to adjust the render settings to ensure high-quality results.
1. Click the "Render" menu in the top toolbar and select "Render Settings."
2. In the properties panel on the right, choose the appropriate rendering engine (e.g., Eevee or Cycles).
3. Adjust the render resolution, sample count, and other parameters to improve quality.
4. In the "Output" options, choose the save path and file format for your render results.
Rendering an Image
After completing the above settings, you can start rendering an image.
1. Click the "Render" menu in the top toolbar and select "Render Image."
2. Blender will start calculating and generating the final rendered image, which may take a few seconds to several minutes, depending on the scene complexity and your computer's performance.
3. Once rendering is complete, you can view and save the rendered result in Blender's image editor.
Rendering an Animation
If you need to render an animation, follow these steps:
1. Set animation keyframes on the timeline, adjusting the positions and parameters of models, lights, and the camera.
2. Click the "Render" menu in the top toolbar and select "Render Animation."
3. Blender will render the animation frame by frame and save the results to the specified output path.
Using Relebook Resources
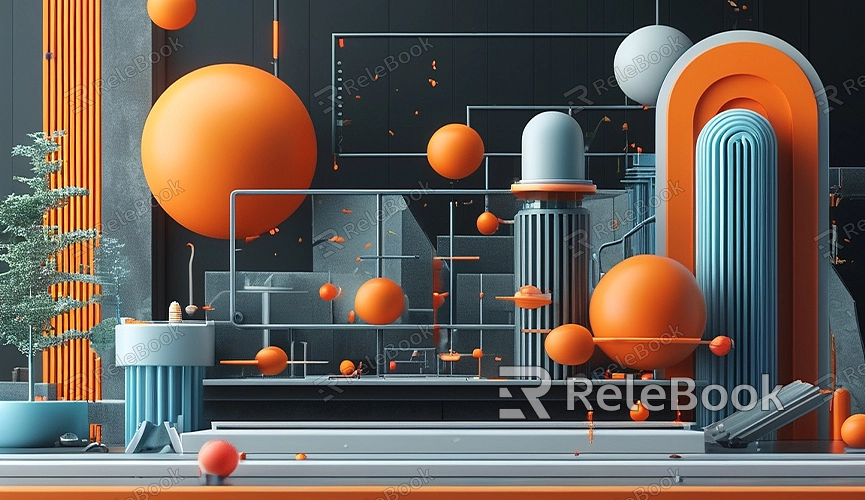
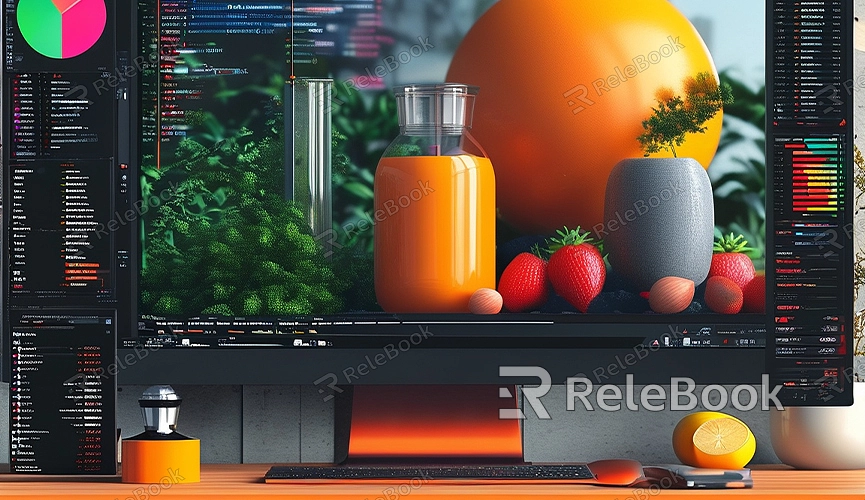
High-quality 3D textures and HDRI images can significantly enhance your rendering effects when creating models and virtual scenes. If you need a variety of high-quality 3D textures, HDRIs, or 3D model downloads, you can get them from Relebook. After downloading, simply import the textures and 3D models into Blender for convenient use.
By following this guide, you should now have a basic understanding of how to render in Blender. From camera setup, adding materials and textures, to lighting adjustment and render settings, each step is crucial. Hopefully, these tips will help you achieve better results in your 3D modeling and animation projects, creating more dynamic and realistic works.
