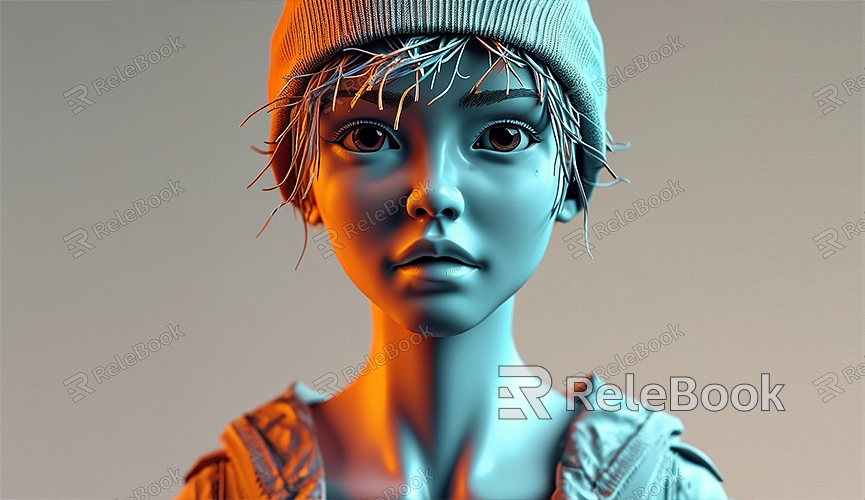
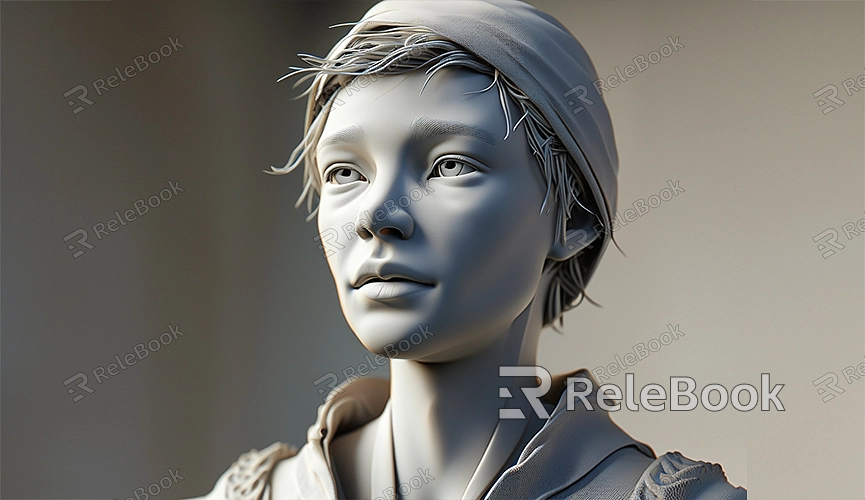
MAYA how to make 3d model of your face
Creating a personalized 3D model of your face is an exciting and challenging task, particularly in animation and game development, where accurately translating facial features into a digital model can bring unique style to your digital creations. This article will guide you through the process of making a 3D model of your face using Maya.
Preparation
Before starting, ensure you have high-quality photos of your face. These photos will serve as reference materials during the modeling process. It is best to use both front and side views to capture facial features and proportions accurately.
Importing Reference Images
1. Launch Maya: Open the Maya software and create a new project.
2. Create Reference Images: In the View menu, select Create Reference Image and import the prepared front and side photos into Maya. Ensure the images are clearly visible in both the front and side views.
Creating the Base Model
1. Add Base Geometry: From the Create menu, select Polygon and choose either a Sphere or Cube as the base geometry for the face model.
2. Adjust Shape: Use the Select and Move tools to adjust the base geometry to roughly match the facial outline. In Modeling mode, use the Stretch and Scale tools to modify the shape of the geometry.
Refining Facial Features
1. Add Details: Use the Sculpt tool to refine facial features, including the eyes, nose, and mouth. Sculpt and adjust vertices to capture the fine details of your face accurately.
2. Model Facial Structure: Add more details to the model, such as cheekbones, chin, and forehead structure. These details will make the model look more realistic. Use the Knife tool to add edges and faces, making the model more detailed.
Texturing and Material
1. Create Materials: Create new materials in Maya and apply them to the face model. Choose appropriate colors and glossiness to match real skin effects.
2. Paint Textures: Use texture painting tools to add detail textures like skin tone, wrinkles, and freckles. You can create texture maps using external software (like Photoshop) and then import them into Maya.
3. Map Textures: Use the UV Mapping feature in Maya to apply texture maps to the model’s surface. Ensure the texture aligns correctly with each part of the model for the best effect.
Animation and Adjustment
1. Add Bones: If you plan to animate the model, add a skeletal system in Maya. Use the Rigging tools to set up bones and joints, enabling facial expressions and movement.
2. Adjust Facial Expressions: Use Maya’s Blend Shapes feature to set up different facial expressions. Adjust these expressions to make the model appear more natural and lively in animations.
Rendering and Exporting
1. Set Up Rendering: Configure the scene’s lighting and rendering parameters in Maya to ensure the model looks its best in the final render.
2. Export Model: Once all settings are complete, export the model in a suitable format, such as .obj or .fbx. These formats can be easily imported into other 3D software for further processing.
Creating your own 3D face model can enhance your modeling skills and add a personal touch to your digital creations. As you become more proficient with Maya, the process will become more efficient and precise.
If you need high-quality 3D textures, HDRIs, or downloadable 3D models while creating models and virtual scenes, you can download them from Relebook. Importing these textures and models directly into your project can save time and improve the quality of your work, making your models more vivid and realistic.
