How to Make 3D Models for Minecraft
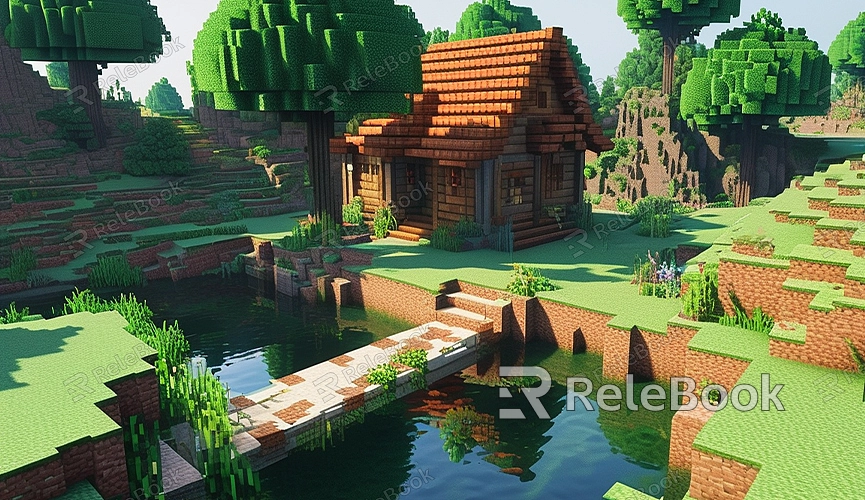
Minecraft is a creative sandbox game where players can build freely within a minimalist block style. As the game has evolved, the demand for custom content, especially 3D models, has increased significantly. These models can greatly enhance the visual appeal and fun of the game. This guide will walk you through the process of making 3D models for Minecraft, allowing you to incorporate your own creativity into the game.
Preparation
Before you start making 3D models, you need to prepare some basic tools and software. Here are the necessary steps and tools for creating 3D models:
- Choose Modeling Software: There are several software options for creating 3D models for Minecraft, such as Blender, Maya, and 3ds Max. Blender is a free and powerful modeling tool that is ideal for both beginners and professionals.
- Understand Minecraft Model Formats: Minecraft uses specific model formats (e.g., .obj or .mcmodel). Before you start modeling, familiarize yourself with these formats to ensure compatibility.
- Install Relevant Plugins: To facilitate the import of 3D models into Minecraft, you may need to install plugins or tools like MCEdit or Amulet Editor. These tools help you import and adjust models within the game.
Creating 3D Models
Here are the basic steps for creating Minecraft 3D models using Blender:
1. Create a Base Model
In Blender, start by creating a new project and adding a basic geometric shape (such as a cube). Minecraft models are often composed of simple cubes or geometric shapes, so starting with a cube is a good approach.
- Open Blender: Launch Blender and create a new project.
- Add Base Shape: In Blender’s “Add” menu, select “Mesh” and choose a cube. This cube will serve as the foundation for your model.
2. Detail Modeling
After creating the base model, you can start adding more details. This involves adjusting shapes, adding textures, and refining the edges of the model.
- Edit Mode: Switch to “Edit Mode” and use Blender’s various modeling tools to modify and refine the model. For example, use the “Scale” and “Extrude” tools to change the shape of the cube.
- Add Details: Use tools like “Subdivision” and “Cut” to add more details to your model. Ensure that your model looks clear and visually appealing within the context of Minecraft.
3. Add Textures
To make the model look more realistic in Minecraft, you need to apply textures. Blender supports various texture formats, which help in coloring and detailing your model.
- UV Unwrapping: Enter “UV Editing” mode to unwrap the model onto a 2D plane. This allows you to apply textures to different parts of the model.
- Apply Textures: In Blender, select the “Materials” tab, create a new material, and assign a texture image to it. Use textures such as wood grain or stone patterns to match Minecraft’s style.
4. Export the Model
After creating the model and textures, you need to export it in a format supported by Minecraft. Blender allows you to export models in various formats, such as .obj.
- Choose Export Format: In Blender, go to the “File” menu, select “Export,” and choose the appropriate format (e.g., .obj) for export.
- Set Export Options: Configure the export options as needed, such as mesh, textures, and materials. Make sure to select the correct options to preserve the model’s integrity.
Importing into Minecraft
To import 3D models into Minecraft, you need to use specific tools like MCEdit or Amulet Editor. These tools assist in importing and adjusting your exported model files within the game.
- Install Tools: Download and install MCEdit or Amulet Editor and follow their documentation for setup.
- Import the Model: In MCEdit or Amulet Editor, select the option to import models, choose your exported model file, and import it into the Minecraft world.
- Adjust Position: Use the tools to adjust the model’s position and orientation to ensure it displays correctly in Minecraft.
Testing and Optimization
Testing your 3D model in Minecraft is crucial to ensure it displays properly and is compatible with the game environment. You may need to make some optimizations to improve the model’s performance and visual effects.
- Test the Model: Enter Minecraft and review the appearance and functionality of the model. Ensure it integrates well with the game environment and does not produce any unexpected visual effects.
- Optimize Performance: If the model causes performance issues in the game, consider simplifying the model’s details or reducing texture resolution. Optimizing the model can improve game performance and smoothness.
Creating 3D models for Minecraft is a creative task that allows you to showcase your unique style within the game. If you need high-quality 3D textures, HDRIs, or 3D model downloads while creating models and virtual scenes, you can obtain them from Relebook. After downloading, simply import the textures and 3D models into your project. I hope these steps help you successfully create impressive 3D models!
