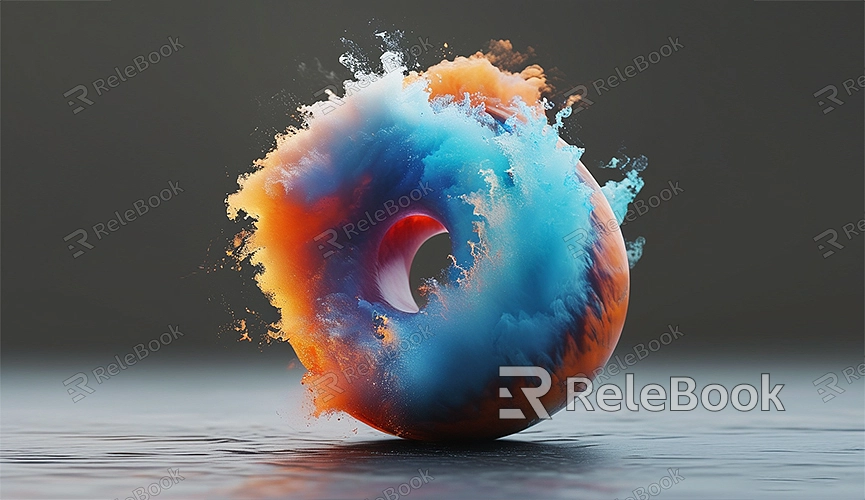
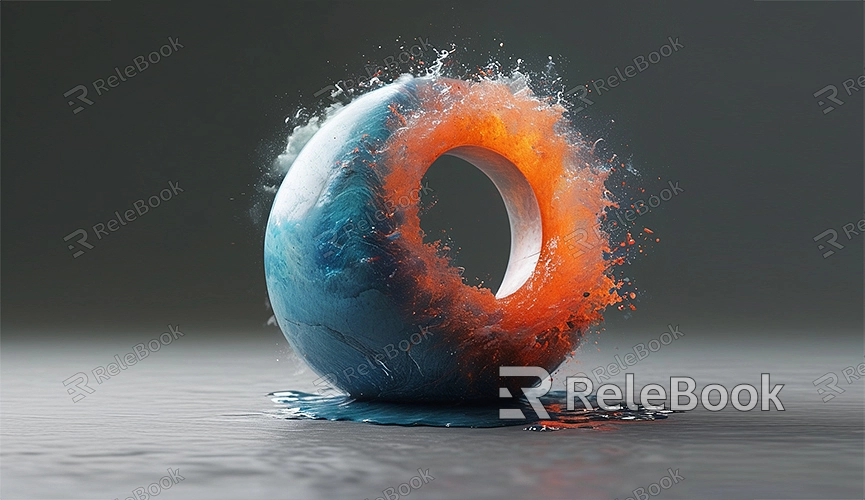
How to make object dissolve in blender render
Creating a dissolve effect in Blender can add dramatic flair to your animations and enhance their visual appeal. Whether you're working on a short film, commercial, or game animation, a dissolve effect can provide surprising and engaging results. This guide will walk you through the process of creating a dissolve effect in Blender.
1. Preparation
First, ensure you have Blender installed and open. If you haven’t installed it yet, download and install the latest version from Blender's official website. Once installed, open Blender and create a new project.
2. Create a Basic Model
Before you can create the dissolve effect, you need a basic model. You can either import an existing model or create a new one in Blender. Here’s a simple way to model something:
1. Open Blender and delete the default cube.
2. In the top menu, select “Add” and then choose a basic geometric shape, such as “UV Sphere” or “Cylinder.”
3. Adjust the position and size of the model to fit your needs.
3. Apply Materials and Textures
To make the dissolve effect more realistic, you need to add materials and textures to your model. Follow these steps:
1. In the “Material Properties” panel on the right, click the “New” button to create a new material.
2. Choose a color under “Base Color” or add a texture in the “Textures” tab.
3. Use the Shader Editor in the “Shading” workspace to further adjust material properties.
4. Create the Dissolve Effect
The key to the dissolve effect lies in using Blender's “Shader” features. We will use a “Gradient Texture” to achieve this effect. Follow these steps:
1. In the “Shading” workspace, ensure you have selected your model and added a basic material.
2. In the Shader Editor, add a “Gradient Texture” node (press Shift+A, then select “Texture” > “Gradient Texture”).
3. Add a “Color Ramp” node (Shift+A, select “Converter” > “Color Ramp”).
4. Connect the “Color” output of the “Gradient Texture” node to the “Factor” input of the “Color Ramp” node.
5. Add a “Mix Shader” node (Shift+A, select “Shader” > “Mix Shader”), and connect it to the material output.
6. Connect the “Color” output of the “Color Ramp” node to the “Fac” input of the “Mix Shader” node.
7. Add a “Transparent BSDF” shader node (Shift+A, select “Shader” > “Transparent BSDF”), and connect it to one of the inputs of the “Mix Shader” node.
8. Finally, connect your basic material shader to the other input of the “Mix Shader” node.
5. Animate the Dissolve Effect
To make the dissolve effect more dynamic, you need to animate it. Follow these steps:
1. Ensure your timeline is set to the starting frame of the animation.
2. Adjust the “Position” slider in the “Gradient Texture” node to the starting position of the dissolve.
3. Right-click on the “Position” slider and select “Insert Keyframe.”
4. Move the timeline to the end frame of the animation, adjust the “Position” slider to the end position of the dissolve, right-click again, and insert another keyframe.
6. Render the Dissolve Effect
Once the dissolve effect is complete, render it as a video or image sequence. Here’s how:
1. In the top menu, select “Render” > “Render Settings.”
2. In the “Output” panel, choose the file format and save location.
3. In the “Render” panel, click the “Animation” button to start rendering.
By following these steps, you’ll have successfully created a dissolve effect in Blender. If you need high-quality 3D textures, HDRIs, or 3D model downloads for your projects, you can download them from Relebook. After downloading, simply import the textures and models into your project. I hope this guide helps you master dissolve effects in Blender and enhances your animation skills.
