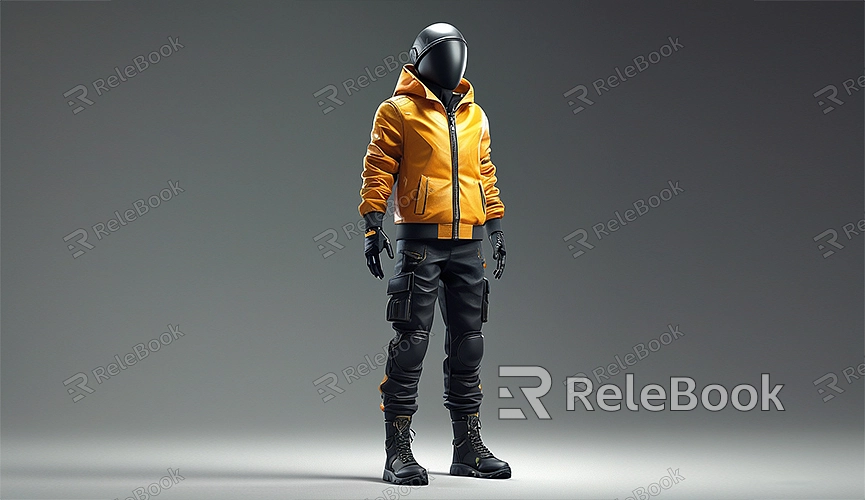
C4D how to make 3d models of people
Cinema 4D (C4D) is a powerful tool for 3D modeling, animation, and rendering. Creating 3D models of people is a common application in C4D, but it can seem complex for beginners. This article will provide a detailed guide on how to create 3D models of people in C4D, aiming to help you through the process.
Preparation
Before you begin, ensure that Cinema 4D is installed and that you are familiar with its basic interface and tools. Creating a 3D model of a person requires reference materials, such as photos or sketches, to help you model more accurately.
Creating Basic Shapes
Start by using C4D's basic geometric shapes. Choose a basic shape, like a cube or sphere, as the starting point for your character model. Adjust the size and proportions of the shape to roughly match the proportions of the person you want to model.

Building the Skeleton
A skeleton is the foundation of a 3D model, especially for character models. Use C4D's "Skeleton Tool" to create a basic skeletal structure. This skeleton should include major joints and bones, such as the spine, arms, legs, and head. Make sure each joint is placed correctly to help achieve better results during rigging and animation.
Refining the Model
Once the basic shape and skeleton are in place, start refining the model. Use the "Polygon Modeling Tools" to add details and sculpt features like muscles, clothing, and other characteristics. Tools such as "Extrude," "Subdivision Surface," and "Boolean Operations" can be used to add and modify model details.
For more realism, refer to anatomical diagrams or real-life photos. Continuously adjust and optimize different parts of the model until you are satisfied with the overall result.
Texturing and Materials
Texturing and materials are crucial for making your 3D model look realistic. C4D provides extensive material editing tools, allowing you to create textures for skin, clothing, hair, and more. Import your prepared texture images and apply them to the appropriate parts of the model.
If you need high-quality 3D textures, HDRI, or 3D models for creating models and virtual scenes, you can download them from Relebook. After downloading, you can directly import the textures and 3D models into your project.

Rigging and Animation
Rigging connects the model to the skeleton, enabling animation. Use C4D's "Weight Tool" to assign weights to the model, ensuring that each bone’s movement correctly influences the corresponding parts of the model. Be meticulous with weight adjustments to avoid issues like stretching or distortion during movement.
Once rigging is complete, use C4D’s "Timeline Tool" to create animations. Set keyframes and adjust the pose and movements for each frame to produce smooth animation effects.
Rendering and Output
After completing all modeling, texturing, and animation work, you can start rendering. Choose appropriate rendering settings, including resolution, lighting, and shadow parameters. C4D’s rendering engine is powerful and can produce high-quality images and animations.
Once rendering is complete, you can output the results in various formats, such as image sequences, videos, or 3D files. Choose the format that best suits your needs and save it to your computer.
Tips and Tricks
- Use Reference Materials: Using reference materials is crucial for creating character models. Real-life photos, anatomical diagrams, and other 3D models can help you model more accurately.
- Keep the Model Simple: Start with a simple model. As you add details, you can gradually increase the polygon count and complexity.
- Save Frequently: 3D modeling is a complex process, so save your work frequently to avoid data loss.
With this guide, you should have a good understanding of the basic steps and techniques for creating 3D models of people in Cinema 4D. If you need high-quality 3D textures, HDRI, or 3D models for your projects, you can download them from Relebook and directly import the textures and models into your project.

