How to Make 3D Models in Illustrator
In the field of graphic design, Adobe Illustrator is a powerful tool primarily used for 2D graphics. However, with some techniques and methods, you can also create impressive 3D models in Illustrator. This article will provide a detailed guide on how to make 3D models in Illustrator, helping you maximize the potential of this software.
Initial Setup and Preparation
Start by opening Adobe Illustrator and creating a new document. Choose an appropriate canvas size based on the complexity and detail requirements of the 3D model you plan to create. Once your workspace is set up, you can begin creating basic shapes that will form the foundation of your 3D model.
Creating Basic Shapes
Use Illustrator’s shape tools to draw the basic shapes for your 3D model. For example, if you want to create a 3D cube, start by drawing a square using the Rectangle Tool. For more complex models, you can draw multiple shapes and combine them.

Applying 3D Effects
After creating the basic shapes, use Illustrator’s 3D effects tools to convert these shapes into 3D models. Select the shapes you’ve drawn and go to “Effect” -> “3D” -> “Extrude & Bevel.” In the dialog box that appears, you can adjust parameters such as depth, rotation angles, and surface smoothness.
By tweaking these parameters, you can achieve a basic 3D model. For more detailed adjustments, use additional options in the dialog box, such as “Bevel Depth” and “Lighting Effects.”
Adding Details and Textures
Once you have your basic 3D model, enhance its visual appeal by adding details and textures. Use Illustrator’s “Brush Tool” and “Gradient Tool” to add shadows, highlights, and other details to make the model look more realistic.
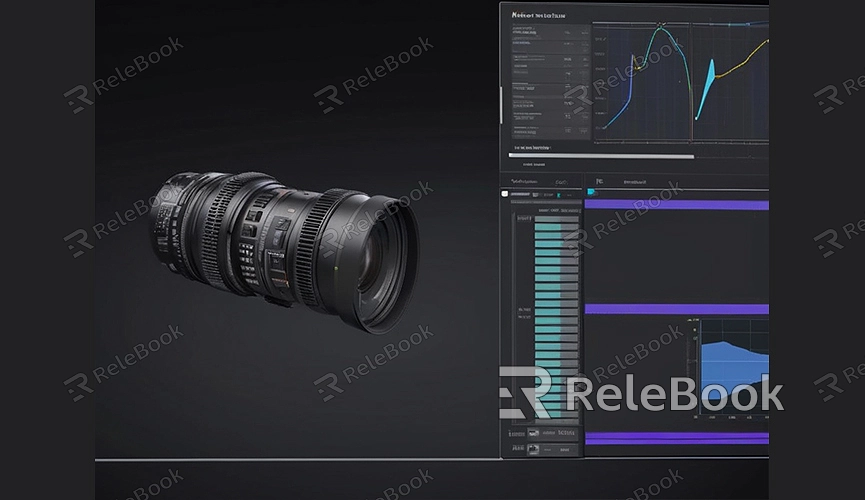
Additionally, you can apply various textures to the model to significantly improve its quality and realism. If you need high-quality 3D textures, HDRI, or 3D models for creating models and virtual scenes, you can download them from Relebook. After downloading, you can directly import the textures and 3D models into your project.
Exporting and Applying
After completing your model, you can export it and apply it to your design projects. Illustrator offers several export options, so choose the format that best suits your needs. Common export formats include PNG, JPEG, and SVG.
If you need to import the 3D model into other 3D software for further editing and rendering, consider using the SVG format, as it supports vector graphics and maintains high quality and editability.
Tips and Considerations
Here are some tips to improve efficiency and results when creating 3D models in Illustrator:
- Use Keyboard Shortcuts: Mastering commonly used keyboard shortcuts can speed up your workflow. For instance, holding down the Shift key maintains the shape’s proportions, and holding down the Alt key quickly duplicates shapes.
- Layer Management: Using layers helps you better organize and manage different parts of the model. Create separate layers for different shapes and details to make editing easier.
- Reference Images: For complex 3D models, using reference images can help you accurately capture shapes and details, avoiding potential pitfalls.
By following this guide, you now understand the basic steps and techniques for making 3D models in Adobe Illustrator. Although Illustrator is not a dedicated 3D modeling software, with proper techniques, you can still create impressive 3D effects. If you need high-quality 3D textures, HDRI, or 3D models for your projects, you can download them from Relebook. After downloading, you can directly import the textures and 3D models into your design.
