How to Make a 3D Carbon Atom Model Project
Creating a 3D carbon atom model is an important task in scientific visualization and education. Carbon atoms are the fundamental building blocks of all organic matter, and understanding their structure is crucial for learning chemistry and physics. This article will guide you through creating an accurate and visually appealing 3D carbon atom model, covering tool selection, modeling steps, and rendering settings.
Choosing Tools and Preparation
Before starting your 3D carbon atom model, selecting the right tools and preparing is essential. Here are some commonly used tools and resources:

- Blender: A powerful open-source 3D modeling software suitable for detailed modeling and rendering.
- Maya: A professional software for advanced 3D modeling and animation.
- Cinema 4D: A tool ideal for creative modeling and animation.
- 3D Model Libraries: Platforms like Relebook, where you can download high-quality 3D textures and model resources to enhance modeling efficiency.
Steps to Create a 3D Carbon Atom Model
1. Creating the Basic Structure
1. Launch Modeling Software: Open your chosen 3D modeling software, such as Blender or Maya.
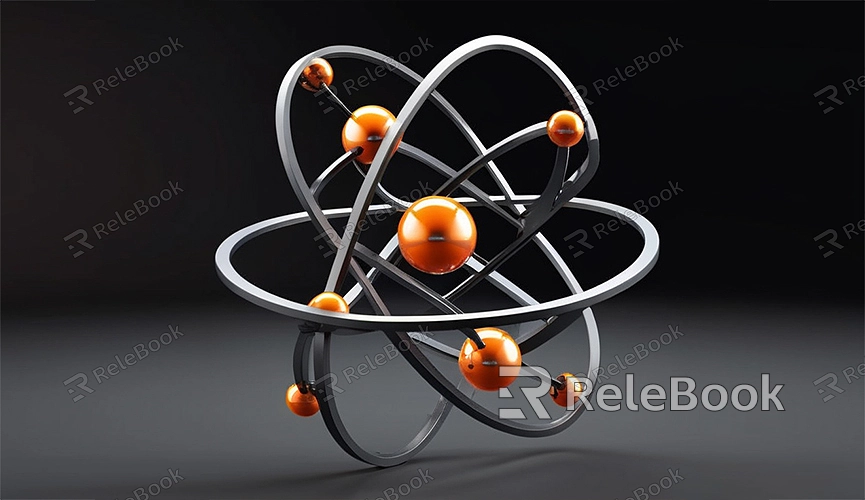
2. Create a Sphere: The core structure of the carbon atom is its nucleus, which can be represented by a sphere. Select the "Add" function, then choose Sphere and set the appropriate radius.
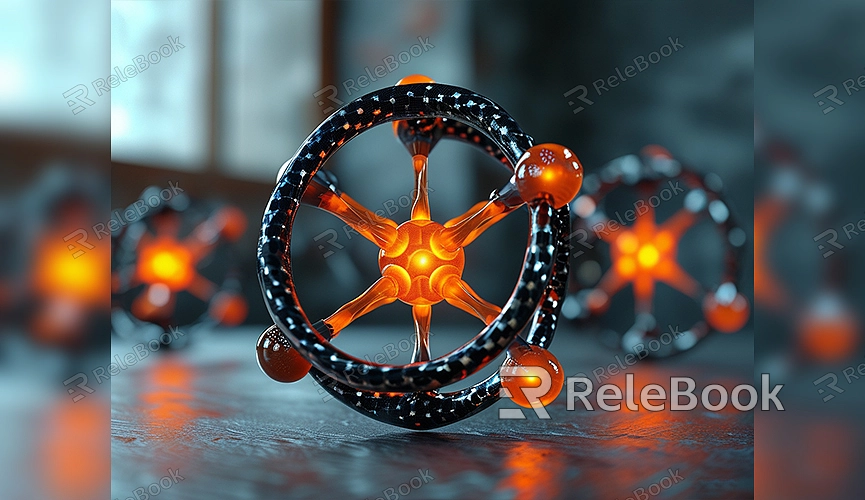
3. Add Electron Orbits: A carbon atom has 6 electrons, which can be represented by electron orbits around the nucleus. Use a Ring or Torus to represent the electron orbits and set them to appropriate positions and sizes.
2. Refining the Model
1. Add Electrons: Use small spheres to represent electrons and place them on the orbits. Ensure the number and positions of electrons accurately depict the carbon atom's electron configuration.
2. Adjust Materials and Textures: Add appropriate materials and textures to the model to make it more realistic. Different colors can be used to distinguish between the nucleus and the electron orbits.

3. Rendering and Output
1. Set Up Lighting: Add suitable lighting to the scene to ensure all parts of the model are clearly visible. Use different types of lights to simulate realistic lighting effects.
2. Adjust Camera Angle: Position and angle the camera to render the model from the best perspective. Ensure that all details of the atom model are clearly displayed.
3. Render the Image: Select the appropriate render settings and start rendering. Adjust the render quality as needed to achieve high-resolution images.
Tips for Enhancing Efficiency
- Use Resource Libraries: If you need high-quality 3D textures and HDRIs or want to download 3D models for creating scenes, Relebook is a great resource. Download the necessary textures and models, and import them directly into your project to save time and improve model quality and realism.
- Utilize Templates: Many 3D modeling software offer templates or presets to speed up modeling. Modify and adjust these templates to meet your project needs.
- Save Regularly: Regularly save your work progress during the modeling process to prevent data loss due to unforeseen circumstances.
Creating a 3D carbon atom model is not only a challenge to your 3D modeling skills but also an application of scientific knowledge. By selecting the right tools, modeling accurately, and rendering appropriately, you can create a carbon atom model that is both visually appealing and scientifically accurate. Remember, if you need high-quality 3D textures and HDRIs or want to download 3D models, Relebook is an excellent resource. Downloading the necessary textures and models from Relebook can enhance modeling efficiency and ensure the quality of the final result.

