How to Adjust HDR Settings
In the workflow of 3D modeling and rendering, fine-tuning HDR (High Dynamic Range) settings is crucial. HDR images capture and display details from both the brightest and darkest parts of a scene, providing a more realistic lighting effect and visual experience. Properly adjusting HDR settings is an essential step to achieving the desired rendering results in your projects. This guide explores how to adjust HDR settings in different scenarios, helping you optimize your workflow and improve the quality of your final work.
1. Selecting the Right HDR File
Understanding HDR File Types: HDR files come in various formats such as HDRI, EXR, and others, each with unique characteristics and applications. When choosing an HDR file, it’s important to consider its resolution and the distribution of light information. Higher resolution HDR files typically offer more detailed lighting, making them suitable for rendering large scenes.
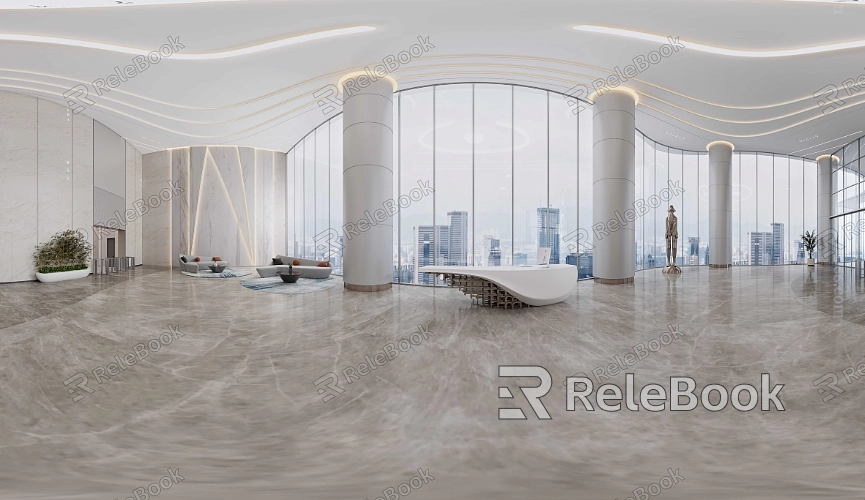
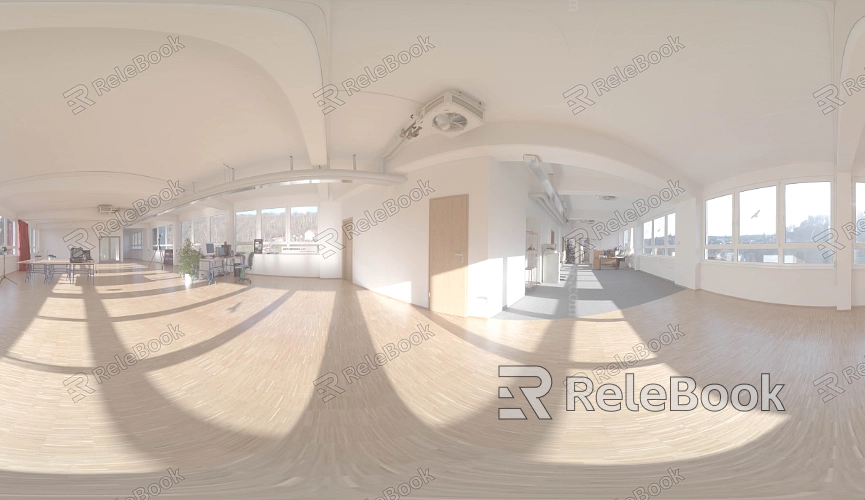
Matching Scene Requirements: Different scenes require different HDR files. For example, indoor scenes often need soft and even lighting, while outdoor scenes may benefit from HDR files that include intense sunlight. Selecting the right HDR file based on the specific needs of your scene can significantly enhance the realism of your renderings.
2. Adjusting Exposure Settings
Manual Exposure Control: Many 3D software programs allow you to manually adjust the exposure values to control the overall brightness of the HDR. Increasing the exposure value brightens the scene, making the image clearer, while decreasing it can create a low-light or nighttime effect.
Automatic Exposure Adjustment: Some software offers automatic exposure features that adjust HDR settings based on the lighting conditions of the scene. This can help designers quickly find the right exposure levels in complex lighting environments, saving time on repetitive adjustments.
3. Optimizing Tone Mapping
Applying Local Tone Mapping: Tone mapping is a technique used to convert HDR images into a range that can be displayed on standard devices. Through local tone mapping, you can adjust the highlights and shadows separately in an image, preventing issues like overexposure or underexposure.
Using Tone Curves: Adjusting tone curves allows you to fine-tune the brightness and contrast distribution within an image. Proper curve settings ensure smooth transitions in brightness across different areas, enhancing the naturalness of the visual effect.
4. Controlling Light Source Intensity
Adjusting Light Source Intensity: When using HDR as an environmental light source, the intensity settings directly impact the overall brightness of the scene. Properly adjusting light source intensity can result in more even lighting and prevent issues like overexposure or overly dark shadows.
Utilizing Physical Sky Models: Some 3D software provides physical sky models that simulate real-world lighting environments. By balancing the brightness of the sun and sky, you can further optimize HDR settings to make the scene’s lighting appear more natural and realistic.
5. Enhancing Effects with Post-Processing
Brightness and Contrast Adjustments: After rendering, you can further tweak the brightness and contrast using post-processing software like Photoshop or After Effects to ensure the final output meets your project requirements. This step is especially important for projects where precise control over the image's visual effects is necessary.
Multiple Exposure Blending: By combining multiple exposures of an HDR image, you can create a composite that achieves the perfect balance of brightness across all areas. This technique is particularly useful in scenes where retaining more detail is essential.
6. Testing and Verification
Multi-Device Testing: Since different devices may display brightness differently, it’s wise to test your adjusted HDR settings across multiple devices to ensure consistent results on various displays.
Feedback-Based Adjustments: Based on test results and feedback, you can further refine the HDR settings to achieve the desired rendering effect. This process helps designers better understand how different settings impact the final outcome, enabling more confident adjustments in future projects.
Adjusting HDR settings is a process of experimentation and refinement. By effectively using the techniques and tools discussed above, you can precisely control the brightness and lighting effects of your images, ensuring they perform well in various scenes. This not only improves the quality of the final render but also adds more visual impact to your work. If you’re interested in learning more about HDR and 3D modeling, Relebook offers a wealth of resources and tutorials for you to explore.
