How to Make a Bump Map Texture?
Understanding Bump Maps
Before diving into the creation process, it’s important to understand what a bump map is. In simple terms, a bump map is a grayscale image that simulates surface detail on a 3D model. The lighter areas of the map represent raised surfaces, while the darker areas represent indents. When applied to a 3D model, the bump map alters the way light interacts with the surface, giving the illusion of depth without actually modifying the model’s geometry.
Tools You’ll Need
To create a bump map, you’ll need a few basic tools:
1. 3D Modeling Software: Programs like Blender, Maya, or 3ds Max are commonly used for applying bump maps to models.
2. Image Editing Software: Adobe Photoshop or GIMP are excellent choices for creating the bump map texture.
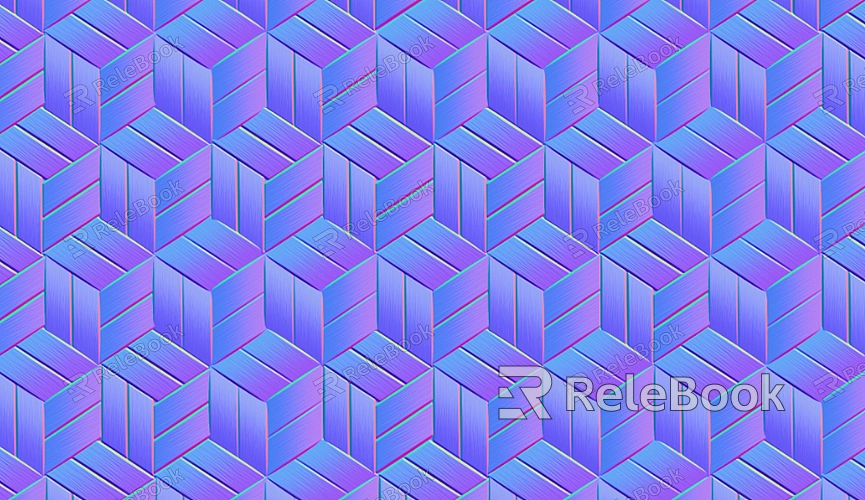
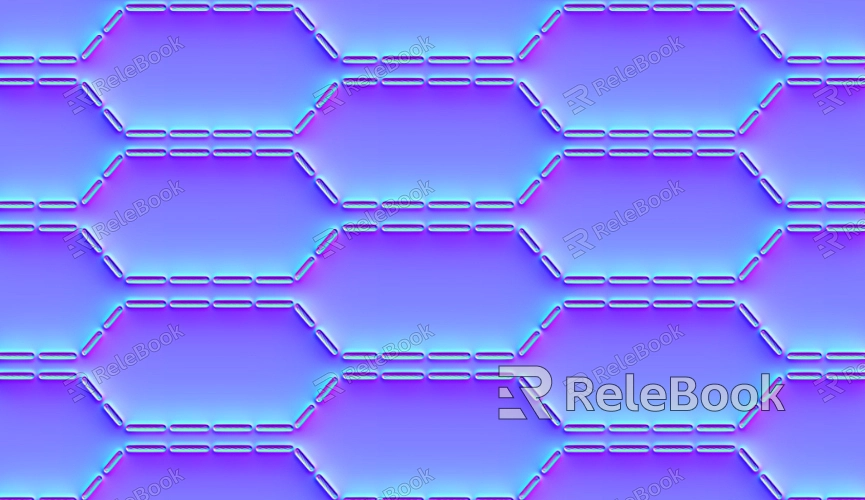
3. A High-Quality Texture Image: The quality of your bump map will depend on the source image. Choose a texture image with clear details.
Creating a Bump Map
1. Choose and Prepare Your Texture Image
The first step in creating a bump map is selecting a texture image that you want to replicate on your 3D model. This could be anything from wood grain to stone to fabric. Ensure that the image has sufficient detail, as this will directly impact the effectiveness of the bump map.
Once you’ve selected your image, you may need to adjust the brightness and contrast to emphasize the details. This can be done using your image editing software. Higher contrast will help define the raised and indented areas more clearly when the bump map is applied.
2. Convert the Image to Grayscale
Bump maps rely on grayscale values to simulate depth. In your image editing software, convert your texture image to grayscale. This step is crucial because it simplifies the image into shades of gray, where white represents the highest points, and black represents the lowest.
In Photoshop, you can do this by going to Image > Adjustments > Black & White or simply desaturating the image. Make sure the details you want to stand out are visible in this grayscale version.
3. Adjust Levels and Contrast
After converting the image to grayscale, the next step is to adjust the levels and contrast to refine the details further. You want to ensure that the light and dark areas of the image are well-defined. In Photoshop, this can be done by going to Image > Adjustments > Levels.
By dragging the sliders, you can increase the contrast between the light and dark areas, which will make the bump map more effective. Be careful not to overdo it, as too much contrast can lead to an unrealistic effect.
4. Apply Gaussian Blur
To prevent the bump map from appearing too harsh or pixelated, apply a slight Gaussian blur to the grayscale image. This step smooths out the transitions between the light and dark areas, creating a more natural and believable texture.
In Photoshop, you can apply Gaussian blur by going to Filter > Blur > Gaussian Blur. A radius of 1-2 pixels is usually sufficient, but this can vary depending on the resolution of your image.
5. Save Your Bump Map
Once you’re satisfied with your grayscale image, save it in a format that supports bump maps, such as PNG or JPEG. Make sure to keep the resolution high enough to capture all the details, but not so high that it unnecessarily increases the file size.
Applying the Bump Map to Your 3D Model
Now that you have your bump map ready, it’s time to apply it to your 3D model. The process varies slightly depending on the software you’re using, but the general steps are similar.
1. Load Your 3D Model
Open your 3D modeling software and load the model you want to apply the bump map to. Make sure the model is UV unwrapped properly, as this will affect how the bump map is applied.
2. Apply the Bump Map
In your material editor, find the section where you can add a texture map. This is where you’ll load the bump map you created. In most software, you’ll need to specify that this texture is a bump map or height map, not a color texture.
3. Adjust Bump Map Intensity
After applying the bump map, you’ll likely need to adjust its intensity. This controls how pronounced the bump effect will be on your model. Increase the intensity for a rougher texture or decrease it for a subtler effect.
4. Test Renders
To see how your bump map looks, perform test renders. This will show you how the light interacts with the surface and whether the bump map is creating the desired effect. If necessary, please go back and adjust the bump map or its intensity until you get the perfect look.
FAQ
What is the difference between a bump map and a normal map?
A bump map uses grayscale values to simulate depth, while a normal map uses RGB values to create a more detailed and accurate surface texture. Normal maps are often preferred for more complex surfaces.
Can I create a bump map from any image?
Yes, but the quality of the bump map depends on the detail and contrast of the original image. High-resolution images with clear details work best.
Do bump maps work in all 3D modeling software?
Most modern 3D modeling software supports bump maps. However, the method of applying them may vary, so it’s important to consult your software’s documentation.
How can I make my bump maps more realistic?
Adjust the levels and contrast carefully, apply a slight Gaussian blur, and test the map on your model. Fine-tuning these elements can greatly enhance realism.
Where can I find high-quality textures for my bump maps?
You can find a wide range of textures on websites like Relebook, where you can download both 3D models and textures to use in your projects.
