What is Texture in 3D Models?

Understanding Texture in 3D Models
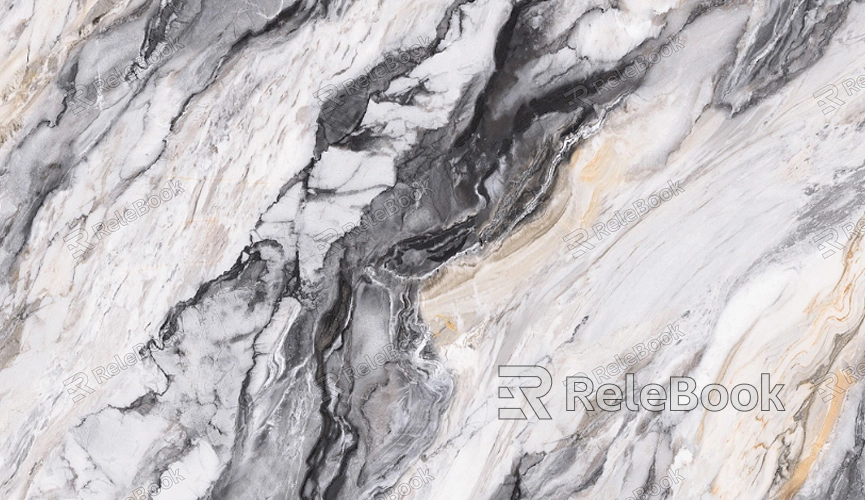
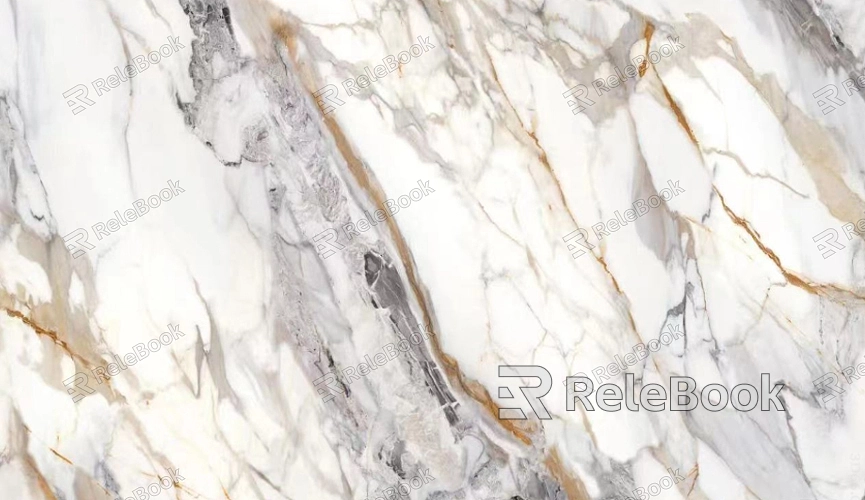
At its core, texture in 3D modeling refers to the surface quality of a model. It encompasses the way a model appears to the eye when light interacts with its surface. Textures are typically 2D images or patterns that are applied to the surface of a 3D model to give it color, detail, and sometimes even the illusion of physical material properties. When textures are properly applied, they can make a simple 3D model look incredibly complex and realistic.
Textures can simulate various material properties, such as wood grain, metal sheen, fabric weave, or rough stone surfaces. These textures are often created using image files that are “mapped” onto the 3D model’s surface. The process of applying these images to a model is known as texture mapping.
Types of Textures
There are several types of textures used in 3D modeling, each serving a specific purpose to enhance the appearance and realism of the model.
1. Diffuse Texture: This is the most common type of texture and is often referred to as the color map. A diffuse texture determines the base color of the model’s surface. It doesn’t take into account how light interacts with the surface; it simply wraps the color image around the 3D model.
2. Specular Texture: This texture defines how shiny or reflective a surface appears. It determines the intensity and color of the specular highlights that are seen when light hits the model. For instance, a metal surface might have a bright, sharp specular highlight, while a rough stone might have a dull, scattered highlight.
3. Normal Map: A normal map is used to create the illusion of depth and detail on a model without increasing its polygon count. It does this by altering the way light interacts with the surface, simulating small bumps, grooves, and other details that would otherwise require more complex geometry.
4. Bump Map: Similar to a normal map, a bump map gives the illusion of texture on a surface by altering the lighting. However, unlike normal maps, bump maps use grayscale images where the brightness of each pixel represents the height of the surface details.
5. Displacement Map: Unlike bump and normal maps, a displacement map alters the geometry of the model based on the texture. This can create real depth, such as the crevices on a rocky surface or the grooves on a wooden plank.
6. Ambient Occlusion Map: This texture simulates the soft shadows that occur in the crevices and folds of an object where light is occluded or blocked. It adds an extra layer of realism by enhancing the depth and contrast of the model.

Importance of Texture in 3D Models
Textures play a vital role in the visual appeal and realism of 3D models. Without textures, even the most detailed models can appear flat and lifeless. Here’s why texture is so important in 3D modeling:
1. Realism: Textures are essential for creating lifelike representations of objects and environments. They allow artists to simulate the complex surface qualities of materials found in the real world.
2. Visual Interest: A well-textured model is far more visually engaging. Textures can add intricate details that draw the viewer’s eye, such as the roughness of a stone wall or the reflective quality of a polished metal surface.
3. Storytelling: Textures can convey a lot of information about an object’s history and context. For example, scratches on a metal surface might suggest wear and tear, while a rusted surface could imply age or neglect.
4. Efficiency: By using textures, artists can create the illusion of complexity without adding more geometry to the model. This is particularly important in gaming and real-time rendering, where performance is a consideration.
How to Apply Textures in 3D Modeling
Applying textures to a 3D model involves a few key steps:
1. UV Unwrapping: Before a texture can be applied, the 3D model must be unwrapped. UV unwrapping is the process of unfolding a 3D model’s surface into a flat 2D plane. This allows the texture to be mapped accurately onto the model.
2. Choosing the Right Texture: Selecting the appropriate texture for your model is crucial. Depending on the material you want to simulate, you may need to create or source different types of textures, such as diffuse, specular, and normal maps.
3. Texture Mapping: Once the texture is chosen, it’s applied to the model using texture mapping techniques. This involves placing the texture image onto the unwrapped UV map, ensuring that it aligns correctly with the model’s surface.
4. Adjusting Material Properties: After applying the texture, you may need to adjust the material properties within your 3D software. This includes tweaking parameters like glossiness, reflectivity, and bumpiness to achieve the desired effect.
5. Rendering and Refinement: Finally, you’ll render the model to see how the texture interacts with light. This step may involve several iterations of refinement, adjusting both the texture and material settings to get the perfect look.
Challenges in Texturing
Texturing can be challenging, especially for complex models or when aiming for hyper-realistic results. Some common challenges include:
1. Seam Visibility: During UV unwrapping, seams are created where the 3D model is “cut” to unfold into a 2D map. If not handled properly, these seams can be visible on the final model, disrupting the texture’s continuity.
2. Stretching and Distortion: Poor UV mapping can lead to textures being stretched or distorted on the model’s surface, which can break the illusion of realism.
3. Resolution Issues: Using low-resolution textures can result in a pixelated or blurry appearance, especially when viewed up close. High-resolution textures require more memory and processing power, which can be a trade-off in real-time applications.
4. Consistency: Achieving consistent texture quality across different parts of the model can be difficult, particularly when working with large surfaces or when blending multiple textures.
The texture is an indispensable aspect of 3D modeling, breathing life into otherwise flat and dull models. Remember that textures are more than just decorative elements—they are essential tools for bringing your creations to life. To explore a wide range of 3D models and textures for your projects, visit the Relebook website to download resources that will help you take your work to the next level.
FAQ
Why is UV unwrapping important in 3D texturing?
UV unwrapping is essential because it ensures that the texture wraps around the 3D model accurately. Without proper UV mapping, textures can appear stretched, distorted, or misaligned, ruining the model's realism.
How can I prevent texture stretching on my 3D model?
To prevent texture stretching, ensure that your UV map is evenly distributed and that there are no overlapping UVs. Using high-quality textures and proper UV scaling can also minimize stretching.
What role does a specular map play in texturing?
A specular map controls the shininess and reflectivity of a model's surface. It defines how light interacts with different parts of the texture, making some areas appear more reflective than others.
How do I choose the right texture resolution for my project?
The texture resolution should match the scale and importance of the object in your scene. For close-ups or hero objects, use higher-resolution textures. For background or less prominent objects, lower resolutions are sufficient to save on memory and processing power.

