How to Convert an Image to HDR
In the world of 3D modeling and rendering, HDR (High Dynamic Range) images play a crucial role in enhancing the realism and visual impact of rendered scenes. Whether it's in architectural visualization, product design, or visual effects for films, HDR images allow designers to simulate realistic lighting conditions within 3D environments. Commonly used in software like Blender, 3ds Max, and Cinema 4D, designers often need to convert standard images into HDR format to achieve better lighting effects. This article will explore the process of converting images to HDR, detailing each step and providing important considerations.
1. Understanding HDR: Concepts and Benefits
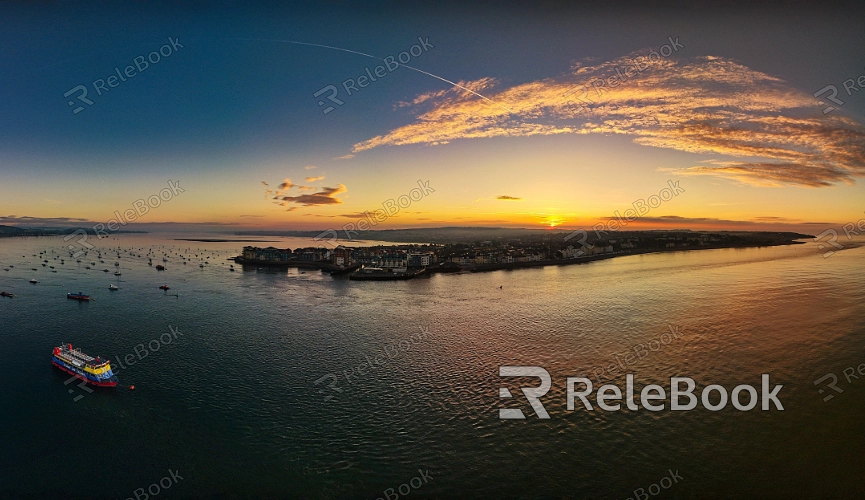
HDR images are created by capturing and merging multiple photographs taken at different exposure levels. This results in a single image with a much wider range of brightness than a standard image. In 3D rendering, using HDR images provides more realistic lighting and reflection effects, thereby improving the overall visual quality of the scene.
Wider Dynamic Range: Unlike traditional images, HDR retains all the details from the darkest shadows to the brightest highlights, making the rendered scenes richer and more vivid.
Enhanced Detail: HDR images preserve more detail, especially in complex lighting conditions, leading to more lifelike and convincing results.
2. Preparation: Capturing Multiple Exposure Images
To convert a standard image to HDR, you first need to capture multiple images at different exposure levels. These images should cover the full range of details from the darkest to the brightest parts of the scene. Typically, 3 to 7 photos are taken to ensure complete detail capture.
Choosing the Right Exposure Range: When shooting, make sure the exposure range is wide enough to capture both the darkest and brightest details in the scene. The Auto Exposure Bracketing (AEB) feature can simplify this process.
Ensuring Camera Stability: Keep the camera steady when capturing different exposures to avoid misalignment, which can cause issues during HDR merging.
3. Merging Images: Creating the HDR Image
After capturing the different exposures, the next step is to merge them into a single HDR image using software. During this process, the software automatically identifies and combines the best details from each exposure, producing the final HDR image.
Selecting the Right Software: Popular HDR merging software includes Photoshop, Photomatix Pro, and Luminance HDR. Some 3D design software like Blender and 3ds Max also have built-in HDR merging capabilities.
Adjusting Parameters: Designers can tweak settings such as white balance and tone mapping during the merging process to ensure the final HDR image meets the project’s requirements.
4. Post-Processing: Optimizing the HDR Image
The merged HDR image often requires post-processing to achieve the best visual results. In this step, designers can fine-tune the brightness, contrast, saturation, and other parameters to enhance the image.
Tone Mapping: Tone mapping converts the HDR image into a format suitable for display devices by adjusting the color and brightness levels, ensuring the image looks optimal across different screens.
Detail Enhancement: Post-processing tools can be used to enhance the details in the HDR image, such as adjusting highlights and shadows to ensure that every part of the image is clearly visible.
5. Applying HDR in 3D Software
Once the HDR image is ready, it can be applied in 3D software to enhance the lighting, reflections, and refractions within the scene.
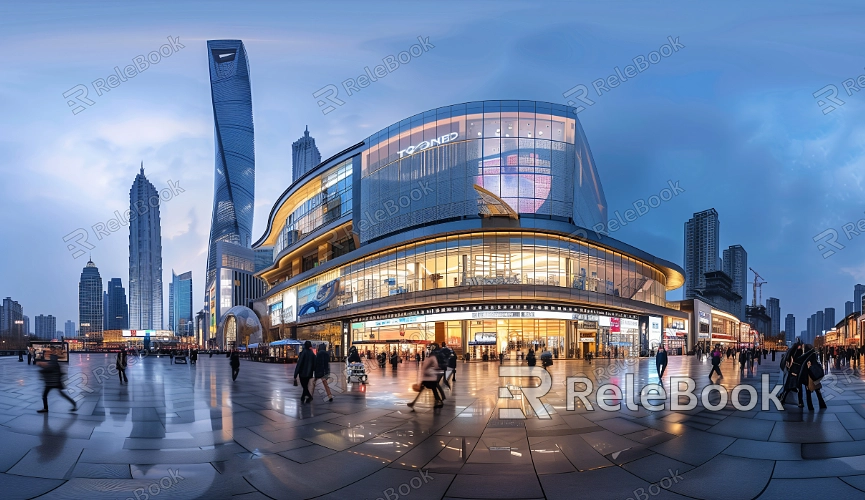
Environment Lighting: Applying HDR images to environment lighting allows objects in the scene to receive more realistic lighting, making the entire scene more lifelike.
Reflections and Refractions: Using HDR images on materials like glass and metal enhances reflections and refractions, simulating more complex light interactions.
6. Evaluation and Adjustment: Ensuring HDR Effectiveness
After applying the HDR image to a 3D scene, designers should evaluate the rendering results and make any necessary adjustments. By fine-tuning the HDR image’s parameters, the final render can meet the project’s expectations.
Testing Render Quality: Before fully implementing the HDR image, conduct test renders to check if the lighting and detail rendering meet the desired outcomes.
Adjusting Exposure and Color: Based on the test results, make necessary adjustments to the HDR image’s exposure and color settings to ensure it performs optimally in the scene.
By understanding and mastering the process of converting images to HDR, 3D modeling and rendering designers can significantly enhance the visual impact of their work, creating more realistic and compelling scenes. If you’re looking for high-quality HDR image resources, 3D textures, SketchUp models, or 3ds Max models, Relebook offers a great selection. Downloading and integrating these resources into your 3D software can effectively elevate the quality of your projects.
