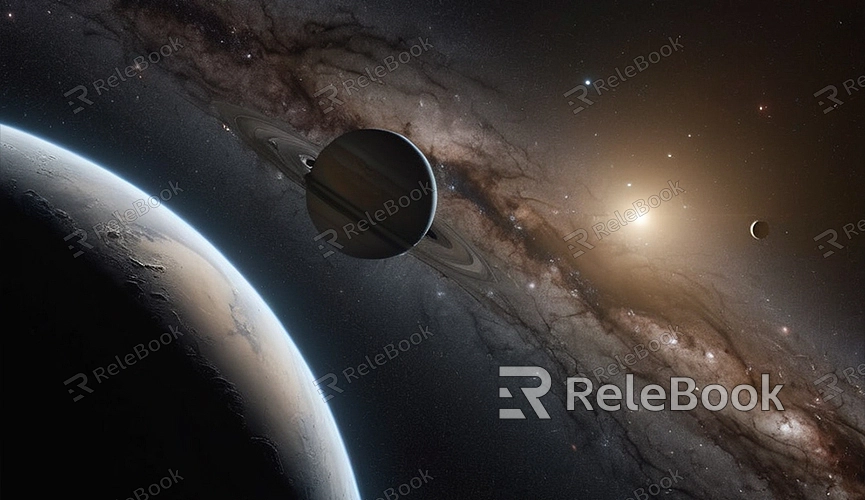
How to render a scene thats too large blender
Handling and rendering large scenes in Blender can be a challenge. Whether you're creating a vast virtual environment or showcasing a complex world in a game, you may encounter difficulties due to the sheer size of the scene. This article will introduce some practical methods and tips to help you effectively render large scenes, making your creations both efficient and stunning.
1. Optimize the Scene
Before starting the rendering process, optimizing your scene is crucial. Ensure every element in the scene is properly adjusted to avoid unnecessary details and high-poly models that consume too many resources.

- Remove Unnecessary Objects: Check every object in the scene and delete those that are not necessary or won't appear in the final render. This reduces the rendering burden.
- Simplify Models: For overly complex models, consider reducing their polygon count. Blender has simplification tools that help decrease model complexity while maintaining sufficient visual detail.
- Use Instancing: For repetitive objects (like windows in a building or trees), use instancing instead of creating multiple independent objects. This saves memory and improves rendering efficiency.
2. Split the Scene
When a scene is too large, splitting it into smaller sections for rendering is a wise choice. This reduces the load of each render and facilitates post-production compositing.
- Create Segmented Scenes: Divide the large scene into smaller areas, render each section separately, and then composite these rendered images together in post-production.
- Use Render Layers: Blender's Render Layers feature allows you to render different elements of a scene separately. For example, you can render the background, foreground, and midground separately and then combine them during compositing.
3. Adjust Rendering Settings
Adjusting rendering settings can effectively improve rendering efficiency and quality. Depending on your hardware configuration and rendering needs, adjust the following settings:
- Reduce Sample Count: In the Cycles rendering engine, the sample count directly affects rendering quality and time. For preview renders, use a lower sample setting and increase the sample count for the final render.
- Enable Appropriate Optimization Options: Blender has several optimization options, such as enabling the "Simplify" feature, which reduces unnecessary details during rendering and speeds up the process.
- Use Resolution Adjustment: For large scenes, conduct test renders at lower resolutions to ensure everything is correct before rendering at high resolution. This can significantly reduce rendering time and computational resource consumption.
4. Utilize Compositing Tools
Blender's compositing tools are powerful for handling and combining rendered images. After splitting the scene for rendering, use the compositing tools to seamlessly merge multiple rendered results, creating the final scene image.
- Use the Compositor: Blender's Compositor allows you to combine multiple render layers and images, and perform post-processing adjustments such as color correction and blur.
- Apply Masks and Effects: During compositing, you can use masking techniques to handle details in different areas and add effects like depth of field and glow to enhance the rendering effect.
5. Optimize Hardware Resources
Rendering large scenes requires strong hardware support. Ensure your computer configuration is suitable for high-load rendering tasks.
- Utilize GPU Rendering: If your computer has a powerful graphics card, opt for GPU rendering. GPUs typically offer higher rendering efficiency than CPUs.
- Increase Memory and Storage: Ample memory and storage space are crucial for handling large scenes. Ensure your computer has sufficient RAM and disk space to store and process rendering data.
6. Post-Processing
Finally, post-processing can further enhance image quality and visual effects after rendering is complete.
- Perform Color Correction: Use image editing software to adjust the colors of the rendered image to achieve the best effect.
- Remove Noise and Imperfections: Clean up noise and imperfections in the render using post-processing software to improve image clarity and quality.
Rendering large scenes is indeed a challenging task, but by optimizing the scene, adjusting rendering settings, splitting the scene, and utilizing Blender's compositing tools, you can effectively overcome these difficulties. If you need high-quality 3D textures and HDRIs, or 3D model downloads for creating models and virtual scenes, you can download them from Relebook. After downloading, you can directly import the textures and 3D models into your projects for use. Hopefully, these tips will help you successfully complete your Blender rendering projects and create breathtaking visual effects!

