How to Create HDR Images
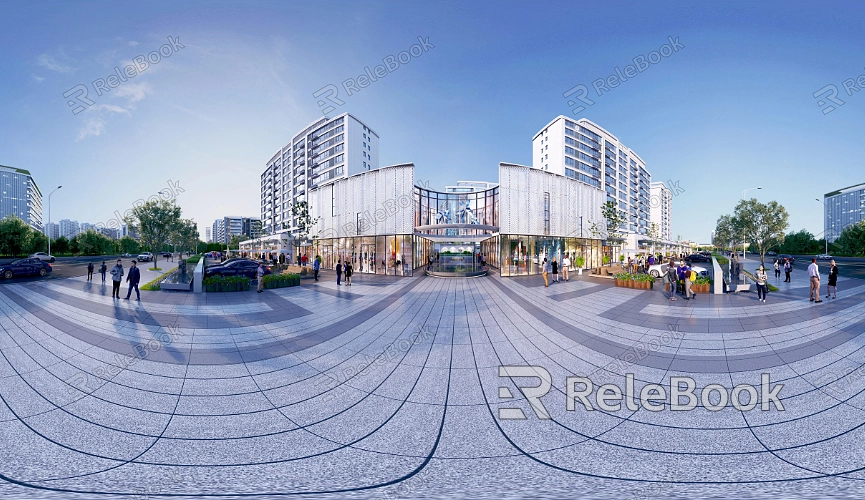
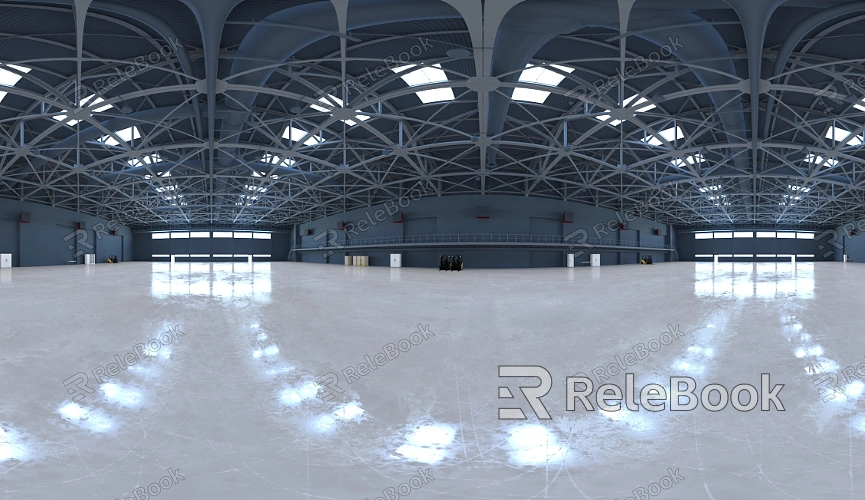
In the realm of 3D modeling and rendering, creating HDR (High Dynamic Range) images is a common practice, especially when working with software like Blender, 3ds Max, and Cinema 4D. HDR images are invaluable in architectural visualization, product design, and visual effects for films, as they effectively simulate realistic lighting conditions. This article provides a comprehensive guide on how to create HDR images, detailing each step and offering key insights along the way.

1. Understanding HDR Images and Their Benefits
HDR images are created by capturing and combining multiple photos taken at different exposure levels, resulting in a single image with a wide range of brightness. In 3D rendering, using HDR images can provide a more accurate lighting representation for scenes, better capturing the nuances of reflections and shadows.
Wide Dynamic Range: Unlike standard images, HDR images retain details from the darkest shadows to the brightest highlights, making the rendered scene richer and more lifelike.
Enhanced Detail: HDR images are particularly useful in complex lighting conditions, preserving more details, which results in a more realistic final render.
2. Preparation: Capturing Multiple Exposures
The first step in creating an HDR image is to capture several photos at different exposure levels. These photos should cover the full range of details from the darkest to the brightest parts of the scene, typically requiring 3 to 7 images.
Choosing the Right Exposure Settings: Ensure that each photo has a broad exposure range to capture both shadows and highlights in the scene. Using the Auto Exposure Bracketing (AEB) feature can simplify this process.
Maintaining Camera Stability: When capturing photos at different exposures, it's crucial to keep the camera stable to avoid misalignment between the images.
3. Image Combination: Creating the HDR Image
After capturing the photos with varying exposures, the next step is to use software to merge them into a single HDR image. Most software offers an automatic merging function that generates an image containing all the detailed information.
Selecting the Right Software Tools: Popular HDR merging software includes Photoshop, Photomatix Pro, and Luminance HDR. Additionally, some 3D design software like Blender and 3ds Max have built-in HDR merging capabilities.
Adjusting and Optimizing Parameters: During the merging process, you can adjust parameters such as white balance and tone mapping to ensure the final HDR image meets your design requirements.

4. Post-Processing: Enhancing the HDR Image
Once the HDR image is created, it typically requires some post-processing to achieve the best visual effect. Adjusting brightness, contrast, and saturation can further optimize the image's appearance.
Tone Mapping Adjustments: Tone mapping is a crucial step in converting the HDR image into a format suitable for display on various devices. By adjusting the colors in different brightness areas, you can ensure that the image looks ideal across different screens.
Detail Enhancement and Correction: During post-processing, you can use tools to enhance image details, such as refining highlights and shadows, making the image clearer and more defined.
5. Applying HDR Images in 3D Software
After creating and optimizing the HDR image, it can be imported into 3D software to enhance the lighting, reflection, and refraction effects within a scene.
Using HDR for Environmental Lighting: In a 3D scene, applying an HDR image as environmental lighting can provide a more realistic light effect, making the entire scene appear more authentic.
Enhancing Reflections and Refractions: Using HDR images on materials like glass and metal can significantly improve reflection and refraction effects, simulating more complex light and shadow interactions.
6. Evaluating and Adjusting the Rendered Effect
Once the HDR image is applied to the 3D scene, designers need to evaluate the rendered effect and make adjustments as necessary to ensure that the final result meets the project’s requirements.
Testing the Rendered Effect: Before fully implementing the HDR image, it's advisable to run test renders to check whether the lighting and detail representation are as expected.
Optimizing Exposure and Color Settings: Based on the test results, adjust the HDR image's exposure and color parameters to achieve the best possible effect in the scene.
By understanding and mastering the process of creating HDR images, 3D modeling and rendering designers can significantly enhance the visual impact of their work, bringing scenes to life with greater realism. If you’re in need of high-quality HDR image resources, 3D textures, Sketchup models, or 3ds Max models, Relebook is an excellent choice. Download the resources you need from Relebook and integrate them into your 3D software to elevate the quality of your projects.

