How to Create an HDR Image in Photoshop
HDR (High Dynamic Range) images are essential for capturing and displaying a broader range of brightness levels within a scene. This technique is commonly used in 3D software like 3ds Max, Blender, and Cinema 4D to create more realistic lighting effects. However, Photoshop is also a powerful tool that designers can use to create and edit HDR images, enhancing the realism of their projects. This article will explore the steps to create an HDR image in Photoshop, helping designers make the most of this technique to improve the quality of their work.
1. Capture a Suitable Photo Sequence
The first step in creating an HDR image is to capture a set of photos with varying exposures. Typically, this sequence includes at least three photos: one with normal exposure, one overexposed, and one underexposed.
Keep the Camera Steady: Using a tripod is essential to avoid camera shake during the shoot, ensuring that each photo is aligned with the others.
Manual Exposure Control: It’s recommended to shoot in manual mode, keeping the aperture and ISO constant while adjusting the shutter speed to change exposure levels.
Shoot in RAW Format: Whenever possible, shoot in RAW format as it retains more image details, providing greater flexibility during the HDR merging and editing process.
2. Import Photos into Photoshop
After capturing the photo sequence, the next step is to import these images into Photoshop for processing. Photoshop offers robust features for managing and editing these images.
Create a Project Folder: To better organize and manage the photos, it’s advisable to create a new project folder in Photoshop and import all related images into it.
Check Image Alignment: Once imported, ensure that each photo is properly aligned to avoid issues during the HDR merging process.
3. Merge Photos to Create the HDR Image
Once the photos are imported into Photoshop, you can begin merging them to create an HDR image.
Select and Open Photos: In Photoshop, select the photos you want to merge and open them all.
Launch the HDR Merging Tool: Go to the menu bar and select “File” > “Automate” > “Merge to HDR Pro.” Photoshop will automatically align and merge the images, generating a new HDR image.
Adjust the “Remove Ghosts” Option: During the HDR merging process, you can adjust the “Remove Ghosts” option to deal with any misalignment caused by moving objects or camera shake.
4. Optimize and Adjust the HDR Image
The merged HDR image usually requires further adjustments to achieve the best possible results. Photoshop provides various tools to help designers optimize the exposure, contrast, and color of the image.
Adjust Exposure and Contrast: Use the sliders in the “Adjustments” panel to fine-tune the overall brightness and contrast of the image.
Correct White Balance: Adjusting the white balance ensures that the colors in the image accurately reflect the lighting conditions of the scene.
Make Local Adjustments: With Photoshop’s “Dodge” and “Burn” tools, you can make localized adjustments to specific areas of the image, enhancing details and contrast where needed.
5. Apply Filters and Post-Processing
After completing the basic adjustments, you can apply filters and other post-processing techniques to further enhance the image.
Enhance with Filters: Photoshop offers a wide range of filters, such as “Gaussian Blur” and “Sharpen,” that can be used to improve the visual impact of the HDR image.
Detail Enhancement: Through careful “Noise Reduction” and “Sharpening,” you can refine the image details, making them more precise and clear.
6. Export and Save the HDR Image
Once all adjustments are complete, you can export the HDR image for use in 3D modeling or rendering projects.
Choose an Export Format: Depending on the project requirements, select the appropriate export format, such as JPEG, TIFF, or PSD.
Set Resolution and Quality: Adjust the image’s resolution and quality in the export settings to ensure optimal display across various devices and scenes.
Save the File: Click the “Save” button to store the processed HDR image in the designated location, ready for use in your future design work.
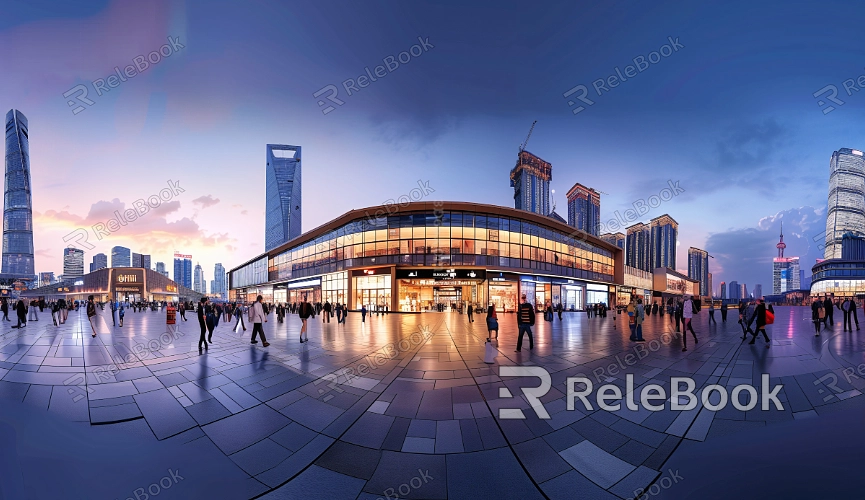
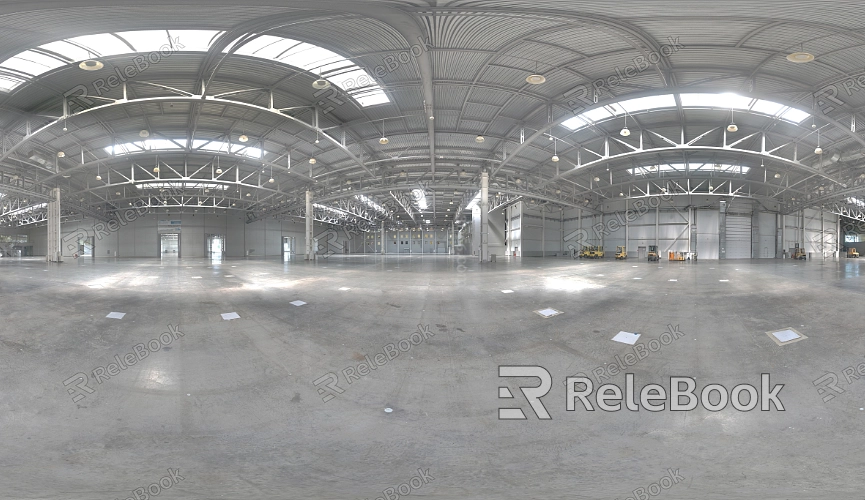
Mastering the technique of creating HDR images in Photoshop allows 3D modeling and rendering designers to significantly enhance the lighting and detail of their work, bringing it closer to realistic scenes. If you’re looking for high-quality HDR images, 3D textures, or other related resources, consider visiting Relebook. On Relebook, you can easily find these assets to help you efficiently complete your design projects.
