How to Create Textures for 3D Models
In the world of game development, animation production, virtual reality (VR), and augmented reality (AR), textures play a crucial role in enhancing visual realism and creating an immersive experience. As a 3D rendering designer, I’ve often encountered the challenge of applying textures to models in complex scenes. Over the years, I’ve gathered a set of techniques and best practices that make this process more efficient and effective. In this article, I’ll guide you through the essential steps of creating textures for 3D models, helping you tackle common challenges and improve your workflow. By the end, you’ll be well-equipped to handle various texturing needs, ensuring a smoother and more productive design process.
Let’s dive into the details of how to create textures, from preparing the 3D model, selecting the right textures, to UV unwrapping, material creation, and optimizing your work.

1. Prepare Your 3D Model
Before you start texturing, it’s essential to ensure your 3D model is ready for the process. Issues like incorrect normal directions, poor topology, or overlapping vertices can severely impact the final texture application. Here are a few important steps I always take to prepare the model:
Check Normal Directions: If the normals are inverted or incorrect, your textures may appear distorted or reversed. You can fix this by recalculating the normals in your modeling software.
Clean Up Duplicate Vertices: Duplicate vertices can cause rendering issues, making the surface appear uneven. Use the “merge vertices” tool to clean up the model.
Optimize Topology: Good topology helps ensure your texture wraps smoothly and evenly around the model. This is especially important for avoiding texture stretching or distortion, leading to a more natural look.
2. Choose the Right Textures
The choice of textures is crucial to how your model will look in the final render. Common texture types include diffuse maps, normal maps, and reflection maps. You should select textures based on the needs of your project and the characteristics of the model:
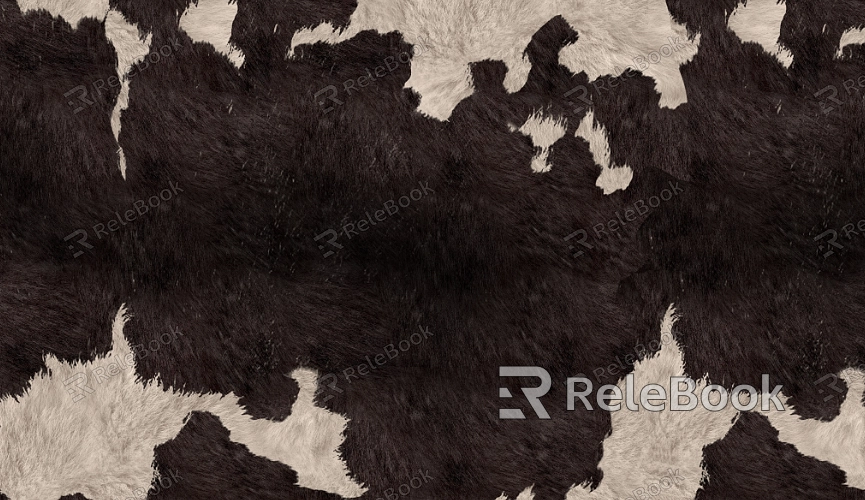
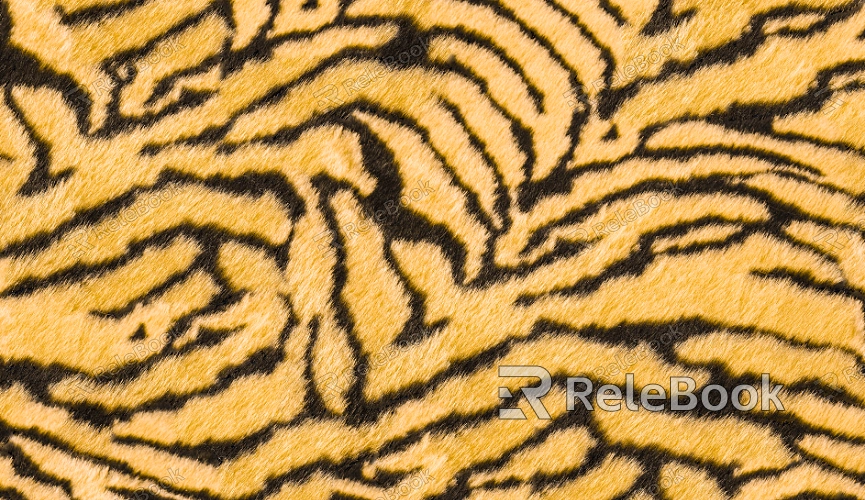
Diffuse Textures: These are the most common and are used to represent surfaces like walls, floors, and skin. Common formats include JPG, PNG, and TGA.
Normal Maps: These add depth and surface detail by simulating bumps and grooves, making the model appear more three-dimensional and enhancing visual effects.
Reflection Maps: Often used for materials like metal, glass, or water, reflection maps simulate the glossy or reflective properties of surfaces.
When choosing textures, I always consider the project's aesthetic goals, the type of material, and the performance demands. If you find it challenging to source high-quality textures, check out Relebook. It offers a vast library of 3D texture assets that can save you time and improve your project’s visual quality.
If searching for high-quality textures feels like a daunting task, or if you're unsure how to create them, you can head over to Relebook and download beautiful 3D textures directly from Relebook.
3. UV Unwrapping
UV unwrapping is the process of flattening the 3D model's surface into a 2D plane, allowing textures to be applied properly. A clean and precise UV unwrap is the foundation of effective texturing. Here are the steps I follow when unwrapping UVs:
Unwrap the UVs: In your modeling software, unwrap the UVs to ensure no overlapping regions. This prevents textures from stretching or misaligning.
Adjust UV Settings: After importing the model into your rendering software, double-check the UV layout. If needed, adjust the UV mapping settings during import to ensure the texture displays correctly.
4. Create Materials and Apply Textures
Once the model is prepared and the UVs are unwrapped, the next step is to create materials and apply the textures. Material settings control how the texture interacts with light and surface properties. Here’s how I approach this:
Create a New Material: In your rendering software, create a new material and assign it the appropriate texture. For example, in software like Element 3D or 3ds Max, you can easily create a new material by selecting the "Create" option.
Load the Texture: Add the texture to the relevant material property, such as the "Diffuse" or "Albedo" slot. The texture will automatically be applied to the material.
Adjust Material Properties: Fine-tune material settings like glossiness, reflectivity, and transparency to achieve the desired visual effect.

5. Fine-Tune the Texture Display
Texture appearance can vary depending on lighting, material properties, and rendering settings. To make the textures look more accurate in different lighting conditions, I adjust several key parameters:
Texture Scaling: By adjusting the “tiling” properties in the material, you can change how the texture repeats on the model’s surface. This helps prevent stretching or excessively small textures.
Normal Maps: Use normal maps to add finer details to the surface, making the model look more detailed. You can adjust the intensity of the normal map to achieve the right balance of detail under different lighting conditions.
Reflection and Lighting Effects: Depending on the lighting setup, tweak the reflection, glossiness, and roughness settings of the material to ensure the texture behaves naturally in various light conditions.
6. Optimize Your Textures
Optimizing textures is an essential step to improve rendering efficiency and performance, particularly in real-time applications like games or VR. Here are some common optimization techniques I use:
Texture Compression: Compress textures to appropriate formats (e.g., PNG, JPG) to reduce their file size without losing too much quality, which helps speed up rendering.
Control Texture Resolution: Choose the right resolution for your textures. Higher resolutions can strain the GPU and slow down rendering, so adjusting the resolution according to the level of detail required can help balance performance and visual quality.
Simplify Material Types: In large-scale scenes, consider using lower-resolution textures or simplifying material nodes to reduce the rendering load.
By following these steps and applying these techniques, you can efficiently create textures for 3D models that meet the visual and performance needs of your project. Whether it’s preparing your model, selecting the right textures, unwrapping UVs, applying materials, or optimizing the final result, these methods will help streamline your workflow and produce high-quality renders.
If you’re looking for high-quality 3D textures, Relebook offers a comprehensive library of professional-grade assets that can save you time and enhance the quality of your work. Visit Relebook today to get the textures you need!

