How to Make HDR Images in Blender
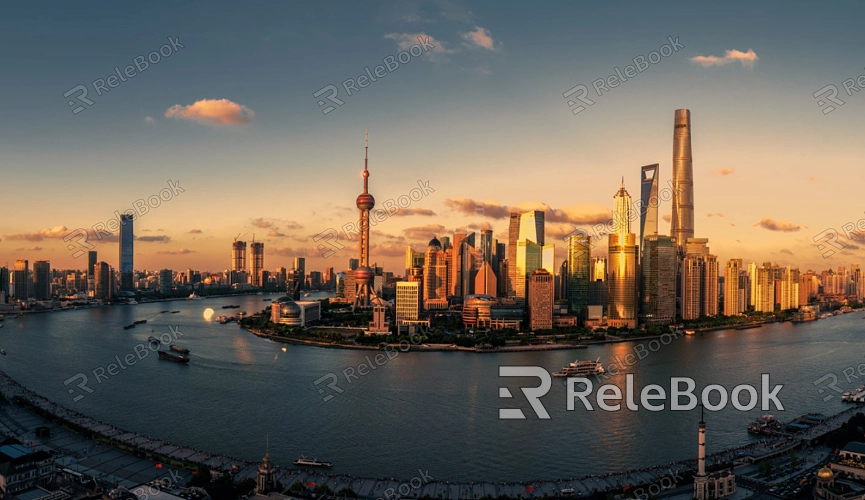
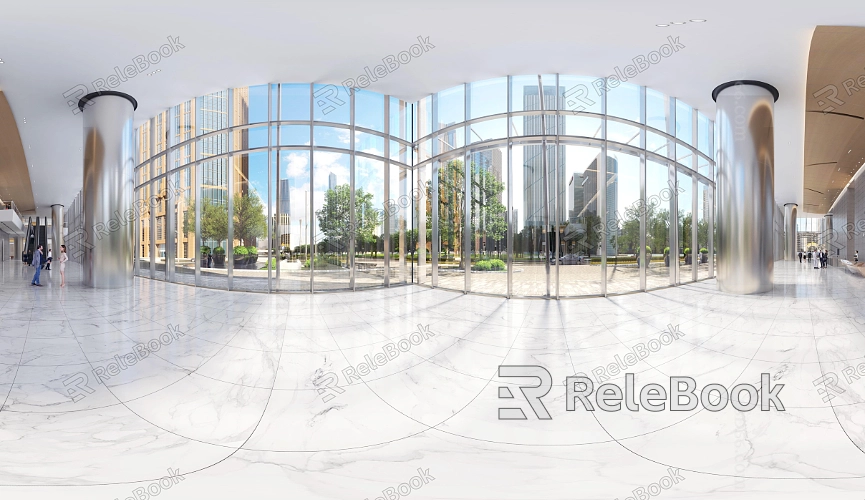
HDR images are commonly used in 3D software like 3ds Max, Maya, and Cinema 4D to enhance rendering, especially when dealing with lighting and environment maps. However, Blender, as a powerful open-source 3D modeling and rendering software, also offers tools for creating and utilizing HDR images. This article will explore how to create HDR images in Blender, providing detailed steps to help designers make the most of this technology.

1. Preparing Image Materials
Before diving into creating an HDR image, the first step is to gather a series of images with different exposures. These images are typically captured using a camera.
Capture Multiple Exposure Photos: Take several photos of the same scene with varying exposures, typically including normal exposure, overexposed, and underexposed shots. These photos will be combined to create the HDR image.
Use RAW Format: To capture more detail, it's recommended to shoot in RAW format. RAW files contain more dynamic range, which is crucial for the HDR blending process.
2. Importing Images into Blender
Once you have your image materials ready, the next step is to import them into Blender to begin the HDR creation process.
Create a New Project: Start by creating a new project in Blender, ensuring that the image resolution and aspect ratio meet your project’s needs.
Import Images: Use Blender’s image import function to bring all the different exposure photos into your project. Ensure the images are properly ordered and aligned to facilitate a smooth blending process.
3. Creating the HDR Image
The process of creating an HDR image in Blender mainly relies on its image blending capabilities.
Stacking Images: Stack the imported images so Blender can process the different exposures and generate the HDR image.
Adjusting Exposure Weights: During the blending process, you can manually adjust the exposure weight of each image to optimize the brightness and contrast of the final HDR image.
Using Compositing Nodes: Blender’s powerful compositing node system allows you to precisely control every detail of the image. By adjusting parameters like exposure, contrast, and saturation through nodes, you can further enhance the quality of the HDR image.

4. Optimizing and Refining the HDR Image
After generating the HDR image, it often needs further optimization to ensure it meets the visual requirements of your project.
Exposure and Contrast Adjustments: Use Blender’s color management tools to fine-tune the exposure and contrast of the HDR image, making it more realistic and dynamic.
White Balance Correction: Adjust the white balance to ensure accurate color reproduction and maintain consistency under different lighting conditions.
Local Detail Enhancement: Utilize Blender’s painting tools to make local adjustments in specific areas of the image, enhancing details and improving the overall quality.
5. Applying HDR Images to a Scene
Once the HDR image is created, it can be applied within a Blender scene, either as an environment map or as lighting texture.
Setting Up Environment Maps: Assign the HDR image as an environment map for the Blender scene to significantly enhance the rendering quality, making the lighting more realistic.
Using HDR for Lighting: Apply the HDR image within Blender’s lighting settings to provide a more natural illumination effect, especially when dealing with complex light and shadow scenarios.
6. Exporting the HDR Image
After optimizing and refining your HDR image, the final step is to export it for use in other projects.
Choose the Right Export Format: Depending on your project needs, select an appropriate HDR image format, such as OpenEXR or Radiance HDR.
Adjust Export Settings: Before exporting, you can tweak the image’s resolution, quality, and color depth to ensure the exported HDR image meets your project specifications.
Mastering the process of creating HDR images in Blender can greatly enhance the visual quality of your work, making the lighting in your scenes appear more lifelike. If you're in need of high-quality HDR images, 3D textures, or other related resources, Relebook is a great resource. On Relebook, you can easily find the tools and assets you need to complete your design projects more efficiently.

