How to Manually Blend Images to Create HDR
High Dynamic Range HDR technology captures a broader range of brightness levels in a scene, making renderings appear more realistic. This technique is frequently used in fields like architecture, product visualization, and visual effects for film. When working with 3D modeling software such as Blender, 3ds Max, or Cinema 4D, it's often necessary to blend multiple images with different exposures to create a single HDR image. This guide will walk you through the steps to manually blend images for HDR creation and provide practical tips to enhance your renderings.
1.Understanding the Basics of HDR
Characteristics of HDR Images
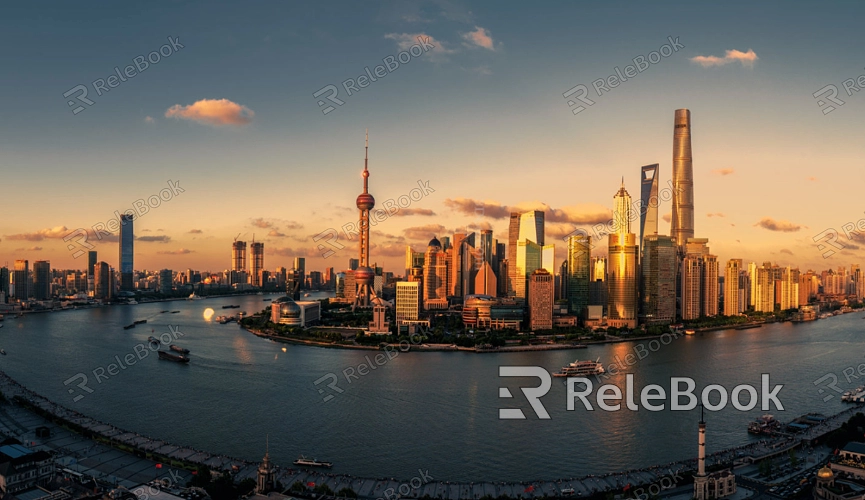
HDR images can record a wider range of brightness compared to standard images, allowing for more accurate simulation of real-world lighting effects in renders. HDR captures not only the details of a scene but also preserves rich information in shadows and highlights.
Why Manual Blending is Necessary
While some software can automatically generate HDR images, manual blending provides greater control. By adjusting the exposure settings and blending methods for each image, designers can achieve a customized HDR result that meets specific needs.
2.Preparing Your Image Materials
Capturing Multiple Exposures
Use a camera to capture a series of images of the same scene, ensuring each has a different exposure setting. Typically, you'll need images with normal, over, and underexposure to cover the full range of brightness.
Ensuring Image Alignment
Keep the camera in a fixed position during shooting to avoid misalignment between images. If displacement or distortion occurs, use image editing software to adjust and align the images.
3.Blending Images
Using HDR Blending Software
Several software options are available for manually blending HDR images, including Photomatix, Adobe Photoshop, and HDR Efex Pro. These tools offer robust blending features to merge images with different exposures into a single HDR image.
Aligning and Merging Images
Start by aligning the images. Most HDR software includes automatic alignment features, but manual adjustments may sometimes be necessary. Then, use blending algorithms to merge the images, retaining detail and balancing brightness.
Adjusting Image Parameters
After blending, adjust the image’s contrast, brightness, and color balance to achieve the best result. Ensure that both highlights and shadows retain detail and that the overall brightness range is even.
4.Exporting and Applying HDR Images
Saving the HDR Image
Save the blended HDR image in an appropriate format, such as OpenEXR or Radiance RGBE. Choose high-quality saving options to maintain the image’s details and dynamic range.
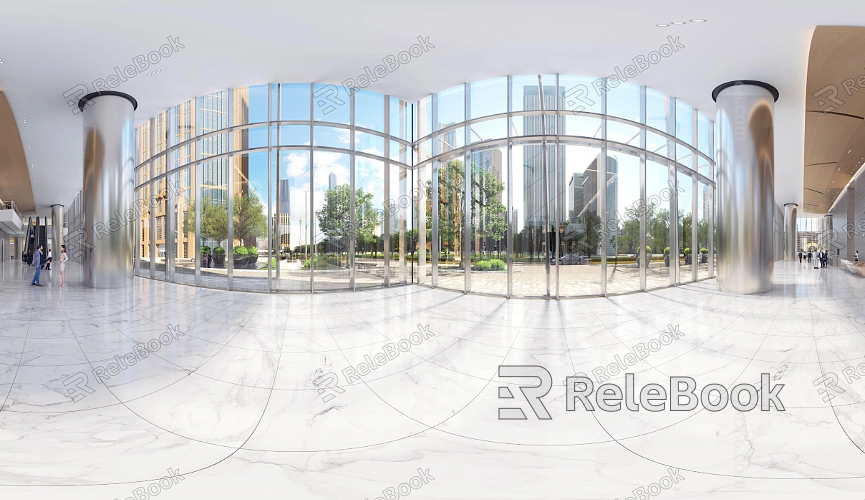
Applying HDR in 3D Software
Import the HDR image into your 3D modeling and rendering software as an environment map or light source. Adjust lighting settings to ensure the HDR image effectively enhances the scene's realism and detail.
Testing and Refining
Test the HDR image in your actual render to check if it meets the desired visual effect. Make further adjustments as needed to optimize image quality and rendering results.
Manually blending HDR images not only offers more precise control but also helps designers achieve more realistic lighting effects in their work. By mastering these steps, designers can handle and utilize HDR images more flexibly, improving the quality and impact of their projects.
If you're looking for high-quality HDR image resources, 3D textures, SketchUp models, or 3ds Max models to enhance your models and virtual scenes, Relebook offers a wide range of options to help you achieve exceptional visual results in your projects.
