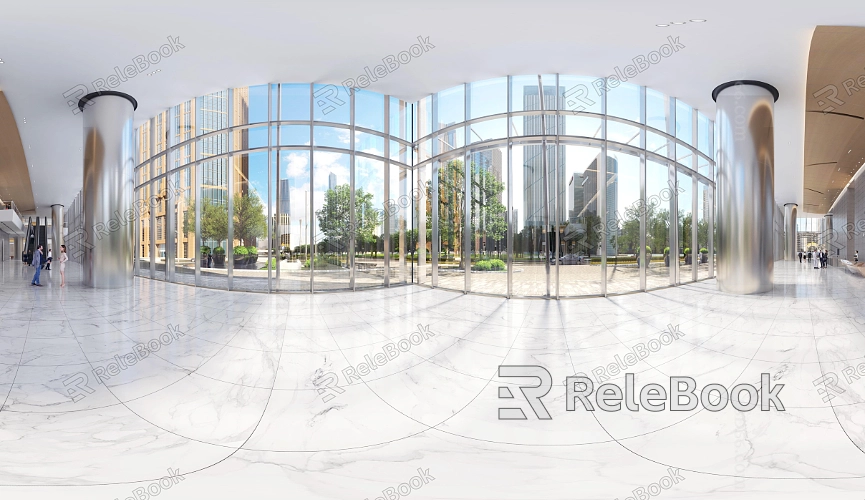
How to Calibrate HDR
In 3D software like Blender, 3ds Max, or Maya, HDR (High Dynamic Range) images are widely used to create more realistic lighting and color in scenes by capturing a broader range of brightness and color information. However, to achieve optimal results, calibrating HDR images is crucial for ensuring accurate and consistent lighting effects. This article will guide you through the process of HDR calibration, helping designers maximize the potential of this technology in their projects.

1. The Importance of HDR Calibration
Enhancing Render Quality
HDR images are often employed to provide detailed environmental lighting, reflections, and refractions. If an HDR image is not properly calibrated, it can lead to lighting that is either too bright or too dim, negatively impacting the overall render quality. Calibration ensures that the HDR image's lighting effect harmonizes with other elements in the scene, ultimately enhancing the realism of the render.
Preventing Color Distortion
Uncalibrated HDR images may cause color distortion, especially in high-contrast scenes. By calibrating HDR images, you can ensure that colors are accurately represented, avoiding unnatural color transitions or saturation issues in your renders.
2. Steps to Calibrate HDR
Import the HDR Image
The first step is to import the HDR image that needs calibration into your 3D software. In Blender, 3ds Max, or Maya, this is typically done through the environment lighting or background settings. Once imported, you can preview its effect in the viewport and prepare for calibration.
Initial Adjustment of Brightness and Contrast
After importing, the next step is to adjust the brightness and contrast of the HDR image. This process helps establish a suitable baseline, ensuring that the image looks natural within the scene. Fine-tuning these parameters can prevent the HDR image's lighting from appearing too overpowering or too subdued.
Apply Tone Mapping
Tone mapping is a critical step in HDR calibration, allowing you to compress the high dynamic range of the HDR image into a viewable range while retaining lighting and color details. In your software, you can control the brightness and color transitions by adjusting the tone mapping curve, resulting in a more natural effect.

3. Further Optimizing HDR Calibration
Test Rendering
After the initial calibration, performing a test render is essential. This helps you evaluate how the calibrated HDR image performs in the actual render, identifying potential issues such as uneven lighting or color inaccuracies. By conducting test renders, you can further tweak the settings to ensure the final result meets your expectations.
Adjusting the Exposure Range
Depending on the needs of your scene, you might need to adjust the exposure range of the HDR image. Increasing or decreasing the exposure can alter the intensity of the lighting effect, making it better suited to the visual requirements of your project. Through multiple tests and adjustments, you can determine the most appropriate exposure settings.
Fine-Tuning Saturation and Color Balance
During HDR calibration, fine-tuning saturation and color balance is also crucial. Proper saturation settings can enhance the color representation of the image, while adjusting color balance ensures consistent tones across the scene. By optimizing these parameters, you can further improve the visual appeal of your render.
4. Real-Time Preview and Final Confirmation
Real-Time Preview of Adjustments
Most 3D software offers a real-time preview feature that allows you to see the effects of HDR calibration as you make adjustments. This feature is particularly useful for spotting issues immediately and making quick corrections without needing to render the entire frame. Real-time previews ensure that every step of the HDR calibration process brings the intended improvements.
Final Render Confirmation
After calibrating the HDR image and completing all adjustments, performing a final, full render is necessary to confirm the results. This step ensures that all calibration efforts have achieved the desired effect and provides a reliable foundation for the final output.
By meticulously calibrating HDR images, you can achieve more realistic lighting effects and color representation in your 3D scenes, thereby elevating the overall quality of your project. If you're looking for high-quality HDR image resources, 3D textures, SketchUp models, or 3ds Max models to create models and virtual scenes, Relebook offers a wide range of options to help you achieve outstanding visual results in your projects.

