How to Create New Textures in Live Home 3D
Live Home 3D is a powerful home design software that offers intuitive tools for creating and editing textures. In my experience as a 3D designer, whether it’s the exterior of an architectural model or the interior design of a home, the right texture can make a huge difference in the overall visual impact. In this article, I’ll share my experience with creating new textures in Live Home 3D and provide some practical tips to help you improve your design projects.

1. Understanding the Role of Textures in Design
Textures are essential in 3D modeling, especially in architectural visualization and interior design. They add intricate detail to models and simulate material characteristics, such as wood, brick, or glass. Using appropriate textures can bring your design to life and make it appear more realistic.
Common Use Cases: Many interior designers and architects use Live Home 3D to create virtual spaces. In these designs, walls, floors, and ceilings all require textures to represent different material effects. The right texture helps make the design more concrete and helps clients or teams better understand the final look of the project.
Other Common Software: Besides Live Home 3D, other popular design software like Blender, 3ds Max, and Revit are frequently used in the architecture and interior design industry. These tools also allow for importing and customizing textures to achieve highly detailed results.
In this article, I’ll walk you through how to create new textures in Live Home 3D, providing tips to enhance the quality of your design.
2. Preparing Texture Materials
The first step in creating a new texture in Live Home 3D is to prepare the materials. The quality of the textures you choose will significantly impact the final result.
Choosing the Right Material Type: There are several types of textures you can use, such as Diffuse (Color) maps, Normal maps, and Roughness maps. Different types are suitable for different design needs. For example, for a wooden floor, you might want to use a color map and a normal map to simulate the wood grain; for walls, a roughness map can add a layer of realism.
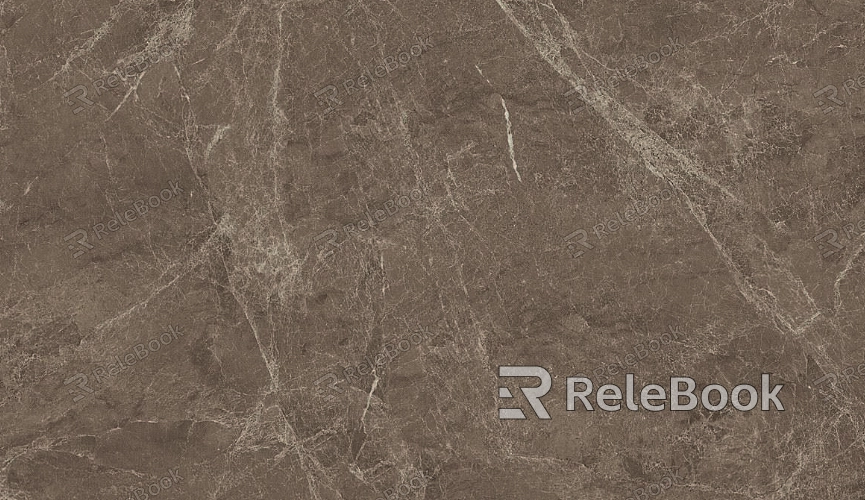
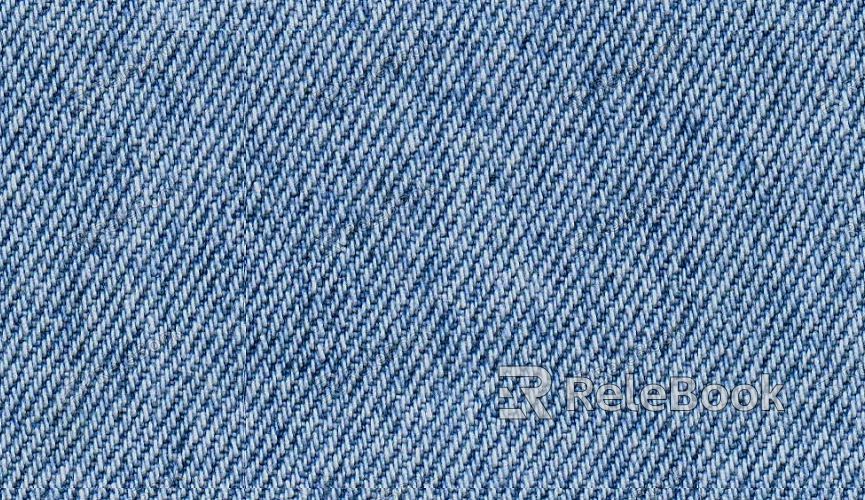
Source of Materials: If you find searching for high-quality 3D textures time-consuming or complicated, you can access Relebook to download premium 3D textures directly at Relebook Textures.
3. Importing Textures into Live Home 3D
Once you have your texture materials ready, the next step is to import them into Live Home 3D and apply them to your models.
Open Your Project: Start by opening Live Home 3D and selecting the project you’re working on. Whether it's a newly created room model or an existing design, you can begin applying textures right away.
Importing Textures: In the software interface, select the object or surface where you want to apply the texture. Navigate to the “Materials” or “Textures” settings and click the “Import” button. Choose your texture files. Live Home 3D supports a variety of texture formats, so make sure your files are compatible with the software.
Applying Textures: After importing the texture, you can adjust its “scale,” “rotation,” and “tiling” options to ensure it fits properly on the model’s surface.
4. Adjusting UV Mapping
To ensure the texture fits correctly, adjusting the UV mapping is essential. Proper UV unwrapping prevents texture distortion or repetition.
UV Unwrapping: If you’ve already unwrapped the UVs in an external program, you can directly import the model into Live Home 3D. If not, you’ll need to use Live Home 3D's built-in tools to unwrap the model’s UVs.
Adjusting UV Coordinates: Depending on the complexity of your model, you may need to tweak the UV coordinates. Ensure that the texture doesn’t stretch or overlap, allowing it to unfold naturally on the surface.

5. Creating and Adjusting Material Properties
In Live Home 3D, textures and materials go hand in hand. By adjusting material properties, you can make the texture appear more dynamic and realistic.
Material Settings: Select the appropriate material type for your model, such as glossy or reflective materials. For walls, you may opt for a matte material, while for metals or glass surfaces, a glossy or reflective material would be more suitable.
Adjusting Material Properties: Adjust the roughness, reflectivity, transparency, and other material properties to change how the texture behaves. For example, increasing the roughness can make the surface appear rougher (ideal for stone or concrete), while decreasing the roughness will make it smoother (great for metal or glass).
6. Rendering Settings and Optimization
The final appearance of your texture is also influenced by rendering settings. Proper lighting and render optimization can significantly enhance the texture’s visual effect.
Lighting Settings: In Live Home 3D, set up appropriate light sources and adjust their angles and intensity to help bring your textures to life. Especially in interior design, the placement and choice of light sources have a major impact on how the textures are visualized.
Render Optimization: To improve rendering efficiency, you can choose the right texture resolution for previews. Using lower-resolution textures for test renders helps speed up the process and allows you to see the effect quickly without lengthy render times.
7. Post-Processing Adjustments
After rendering, post-processing adjustments are crucial to fine-tuning the texture’s appearance.
Detail Refinement: Inspect the rendered textures for any unnatural stretching, warping, or blurriness. If needed, use an image editing software (like Photoshop) to correct the details.
Post-Processing: Once the render is complete, you can make further adjustments within Live Home 3D, tweaking brightness, contrast, and color tones to enhance the texture’s visual appeal.
By following these steps, you can create high-quality, realistic textures in Live Home 3D. Whether you’re applying basic textures to a model or fine-tuning material settings, these actions will significantly improve the rendering quality and visual fidelity of your designs. By selecting the right texture materials, adjusting UV mapping, and optimizing render settings, you can not only save time but also increase your efficiency in design.
If you’re looking for high-quality textures or more resources to support your projects, Relebook offers an extensive library of textures and materials that can help take your design to the next level. Check it out and get started today!

