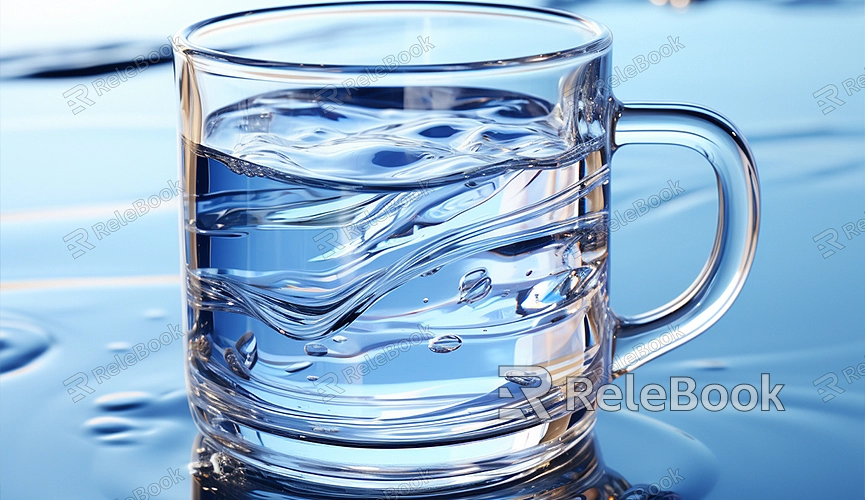
Maya Cup Modeling Tutorial
Creating a 3D cup model in Maya is a fundamental yet enjoyable task. Maya not only allows for the creation of various 3D models but also excels in building virtual scene models. Its powerful rendering capabilities enable Maya to render models or virtual scenes with enhanced realism quickly. Today, let's briefly introduce the steps to create a cup model in Maya. Hope you enjoy it.

Step 1: Launch Maya
Firstly, open the Maya software and familiarize yourself with its interface. This includes the top menu bar, view windows, and various tool panels.
Step 2: Set Units and Reference Images
In "Preferences" or "Settings," select the appropriate units (such as centimeters or meters) to ensure the correct scale of your model. If you aim for precision based on a specific cup, import a reference image of the cup as a background.
Step 3: Create Basic Shapes
Click on the "Create" panel and choose "Polygon Primitives" from the dropdown menu. Select the "Cylinder" tool. Then, click and drag the left mouse button in the view window to create the desired cylinder.
Step 4: Edit Geometry
Select all faces of the cylinder and use transformation tools (move, rotate, scale) to adjust its position, orientation, and size on different axes, making it look like a cup.
Step 5: Add Details
To make the cup model more realistic, add more details. For instance, select the faces around the rim and use the extrusion tool to extend them outward. You can use a similar method to create the handle of the cup.
Step 6: Materials and Textures
To enhance realism, assign a material to the cup. In the "Hypershade" panel, choose a material type, such as plastic or glass. Adjust material properties like color and reflectivity in the attribute editor. If needed, load texture maps from the "Texture Editor" and apply them to the model.
Step 7: Lighting and Shadows
In the "Create" panel, choose a type of light source, like point light or spot light. Place the light source appropriately in the scene and adjust its properties (color, intensity, decay). Enable shadows in the "Render Settings."
Step 8: Rendering and Post-Processing
Configure render settings according to project requirements, such as resolution, output format, and anti-aliasing. After rendering, perform post-processing in Photoshop or other image editing software, including color correction and special effects compositing.
Step 9: Save and Export
Save your model project regularly during the modeling process. After completion, export the model in different formats as needed for use in other software.If you need it, I recommend downloading 3D textures from Relebook. There is no better choice than this.

