How to Create HDR Images for 3D
In the workflow of 3D scene rendering—whether in game development, film production, or architectural visualization—the quality of lighting and environment maps plays a crucial role in determining the realism of the final output. HDR (High Dynamic Range) images, in particular, can significantly enhance the visual impact of a scene by adding a greater sense of realism. This article will walk you through the process of creating HDR images for 3D and offer practical tips to help you achieve the best results across various 3D software platforms.

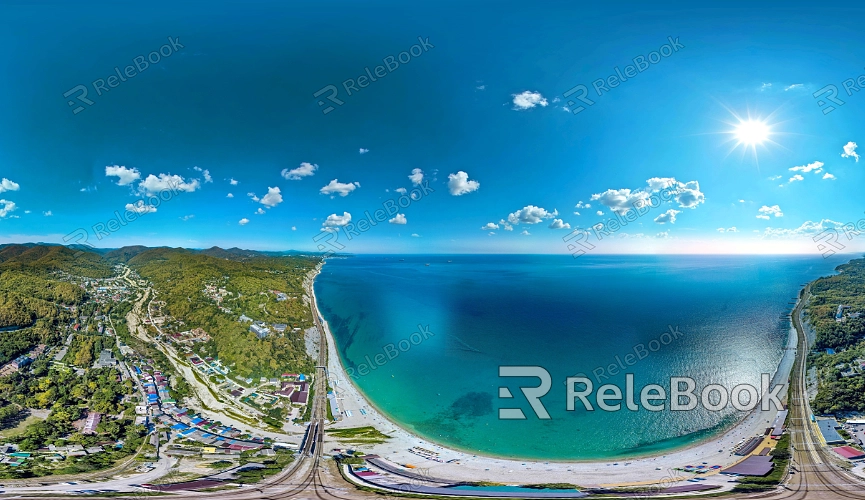
1.Overview of HDR Images and Their Applications
The Importance of HDR Images
HDR images capture a wide range of light details, from the darkest shadows to the brightest highlights, making them particularly effective for simulating real-world lighting environments. Unlike traditional LDR (Low Dynamic Range) images, HDR images contain much more brightness information, allowing for more accurate representation of the play of light and shadow in the real world.
Usage of HDR Images in 3D Software
Popular 3D software like Maya, Blender, 3ds Max, and Cinema 4D widely support HDR images. By using HDR images in these programs, designers can better control lighting and reflections within a scene, creating more lifelike visual effects.
2.Basic Steps to Create HDR Images
Prepare Your Equipment
To create high-quality HDR images, you’ll first need a camera that allows manual exposure adjustments. Common choices include DSLR or mirrorless cameras. Additionally, a sturdy tripod is essential to ensure camera stability during shooting.
Choose the Right Shooting Environment
Select a scene with a complex lighting environment, such as a sunrise, sunset, or an interior with contrasting light and shadow. These settings can fully showcase the advantages of HDR imaging by capturing a rich range of brightness levels.
3.Key Techniques for Capturing HDR Images
Take Multiple Exposure Shots
The key to creating HDR images lies in capturing several shots with different exposures. Typically, you’ll need to take three to five photos at varying exposure levels: normal, overexposed, and underexposed. These photos will later be combined in post-processing to form a single HDR image.
Ensure Alignment and Eliminate Ghosting
When shooting multiple exposures, it’s crucial to keep the camera in a fixed position to avoid misalignment. Using a tripod and a timer can effectively prevent camera shake, ensuring that the images are perfectly aligned.
4.Post-Processing HDR Images
Combine HDR Images
Use specialized software such as Photoshop, Photomatix, or HDR Efex Pro to merge the differently exposed images into a single HDR image. During this process, you can adjust the dynamic range to ensure that details in both the highlights and shadows are preserved.
Color Correction and Adjustment
After creating the HDR image, you might need to perform color correction and adjustment. By tweaking the white balance, contrast, and saturation, you can make the HDR image more closely resemble the actual lighting conditions of the scene and enhance its visual impact.
5.Applying HDR Images in 3D Software
Import HDR Images
In 3D software, HDR images are typically used as environment maps or light sources. By importing an HDR image, designers can apply it to the sky or ambient light of a scene, influencing the overall lighting. If creating HDR images seems too complex or time-consuming, you can directly access high-quality HDR resources from platforms like Relebook.
Optimize Lighting Settings
After applying an HDR image, you may need to fine-tune the lighting settings. For example, you can adjust the intensity of the light, exposure, and light distribution to ensure that the final render meets your expectations.
6.Enhancing the Final HDR Image
Utilize Reflections and Refractions
HDR images can be used not only as light sources but also to influence the reflections and refractions on surfaces within a scene. By adjusting the reflectivity and refractive index of materials, you can make surfaces more accurately reflect their environment, enhancing the realism of the scene.
Test Renders and Adjustments
Before final rendering, conducting several test renders is necessary. By continuously adjusting the lighting and material settings, you can gradually optimize the overall look of the scene, ensuring that the final output achieves the desired visual effect.
By creating and applying HDR images for 3D, you can significantly improve the lighting realism and visual impact of your scenes. Every step, from capturing high-quality multiple exposure photos to post-processing and application in 3D software, is crucial.
If you’re looking to further enhance the quality of your renders, consider exploring additional HDR image resources and other tools related to 3D design. Relebook offers a wealth of HDR images, 3D textures, SketchUp models, or 3ds Max models, helping you achieve outstanding results in your creations. Visit Relebook today to discover more possibilities and take your work to the next level.
