How to Make a Realistic Glass Texture in 3ds Max?
Glass is one of the more challenging materials to simulate in 3D, as it combines transparency, reflectivity, and light refraction, all of which must be carefully balanced to achieve a lifelike result. In this article, we will explore the key techniques and settings to create a glass texture that looks as realistic as possible. We’ll guide you through the essential steps, from material creation to rendering, and offer tips on refining your texture to perfection.

Understanding Glass Materials in 3ds Max
The first step in creating a realistic glass texture is understanding the core properties of glass that make it appear natural. Glass is a complex material that interacts with light in various ways: it refracts light, reflects its surroundings, and allows light to pass through with minimal distortion. To simulate this in 3ds Max, you’ll need to focus on key factors such as transparency, refraction, reflection, and the index of refraction (IOR). The IOR is a crucial setting when working with glass, as it determines how much light bends as it passes through the material. For most types of glass, an IOR value of around 1.5 is standard.
Creating the Base Glass Material in 3ds Max
Now that you understand the characteristics of glass, it’s time to start creating the material. In 3ds Max, you can use either the standard material or the more advanced physical material for glass. While the Standard Material has been traditionally used for glass, the Physical Material is more physically accurate and integrates well with modern rendering engines like V-Ray or Arnold.
To start, open the Material Editor in 3ds Max and create a new material. If you're using the physical material, select it and begin adjusting the parameters. Set the base color to pure white or a very light tint, as glass typically has little to no color of its own. Next, adjust the transparency or refraction value to 100%—this ensures that the material is fully transparent.

Adjusting the Reflection and Refraction
Reflection and refraction are the most critical aspects of creating realistic glass. In 3ds Max, reflections are controlled by the Reflect parameter, while refraction is governed by the Refraction parameter. To achieve realistic reflections, set the Reflect parameter to a high value, usually close to 1.0, to simulate how glass surfaces reflect the environment. If you're using V-Ray, you can enable Fresnel reflections, which will cause the reflection to vary depending on the angle of the view, adding realism.
For refraction, the next essential setting is the Index of Refraction (IOR). As mentioned earlier, the IOR for glass typically ranges between 1.4 and 1.6, with a value of 1.5 being the most common. Setting the correct IOR will allow light to bend realistically as it passes through the glass, simulating how light behaves when interacting with the material.
Adding Detail with Bump and Reflection Maps
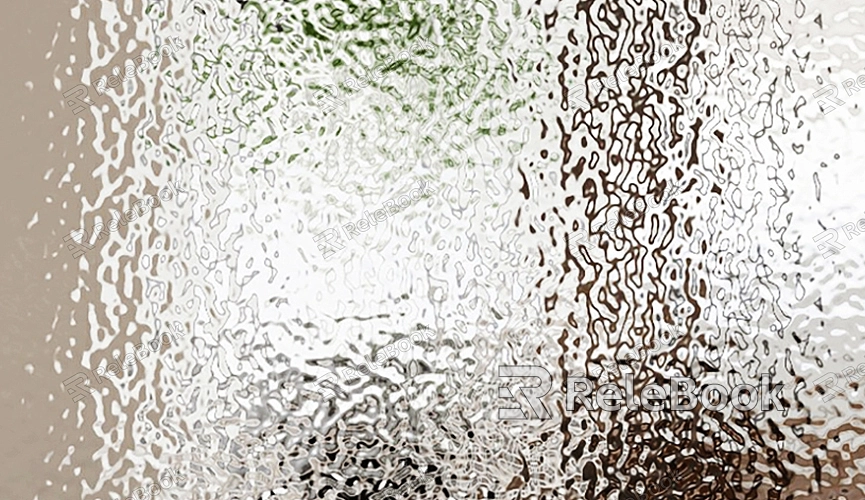
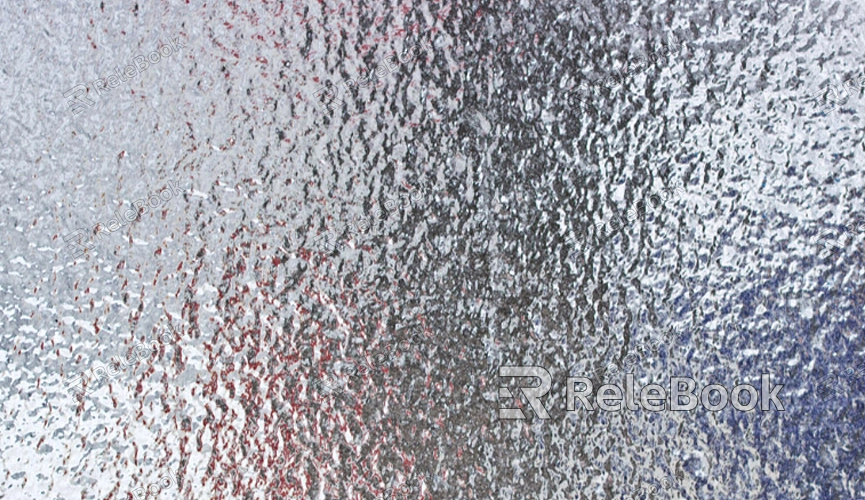
Glass is not always perfectly smooth, and adding subtle imperfections will make your glass texture appear more natural. Using bump maps or normal maps is an excellent way to introduce small surface variations without altering the underlying geometry. You can use a variety of textures, such as slightly worn-out glass, scratches, or even a frosted glass look, depending on the effect you want to achieve.
Reflection maps can also enhance the realism of your glass. These maps simulate how the glass reflects its environment, whether it's a polished surface reflecting the surroundings or a more diffuse reflection for matte or frosted glass. A reflection map can be added to the reflection slot in your material, and by adjusting its glossiness, you can control the sharpness of the reflection.
Fine-Tuning the Render Settings
Once you've set up the glass material, it’s important to adjust the render settings to get the best result. Glass materials often require more computational power to render due to the complex nature of light interaction. In the Render Setup menu, ensure that the Global Illumination (GI) and Final Gather settings are enabled for more accurate lighting simulations. Additionally, you may need to tweak the render quality settings to ensure the glass looks smooth and crisp in the final image, especially if you’re using a renderer like V-Ray or Arnold.
Lighting and Scene Setup for Realistic Glass
Lighting plays a critical role in how your glass material will appear in a scene. Since glass interacts with light in intricate ways, it’s essential to have appropriate lighting to highlight its transparency and reflectivity. Ideally, use a combination of light sources, such as HDRI (High Dynamic Range Imaging) for environmental lighting and direct light sources like spotlights or area lights to create soft reflections and highlights on the glass surface.
Position your lights carefully to emphasize the translucency and reflections in the glass. If you're using HDRI for background lighting, ensure that the image has a good balance of bright and dark areas to create a realistic lighting environment. Additionally, place reflective objects or elements in the scene so that the glass will reflect these objects on its surface, further enhancing the realism.
Using Caustics for Added Realism
Caustics are the light patterns that occur when light passes through transparent materials like glass and refracts onto nearby surfaces. This effect can be especially striking when working with liquids or highly transparent glass objects, like crystal glasses or vases. To simulate caustics in 3ds Max, you will need to enable the Caustics option in the renderer settings.
For V-Ray users, the Caustics settings can be found in the V-Ray Render Setup menu under the “Caustics” tab. You can control the strength and clarity of the caustics here. Keep in mind that enabling caustics can increase render times, so it’s a good idea to only use them when they add a noticeable effect to the scene.
Post-Processing for Final Touches
After rendering your scene, you can further enhance the glass texture through post-processing. In Photoshop or similar software, you can adjust the contrast, saturation, and brightness to perfect the appearance of your glass material. Adding small touches like slight glow, reflections, or color adjustments can help to make the glass look even more realistic.
You can also use post-processing techniques to simulate imperfections such as dust, fingerprints, or water droplets on the glass surface. These minor details can make a big difference in creating a realistic glass texture that feels tangible and believable.
Creating a realistic glass texture in 3ds Max requires a thorough understanding of the material’s properties and how it interacts with light. By adjusting the transparency, refraction, reflection, and lighting, you can achieve a convincing glass material that enhances your 3D models. Don't forget to incorporate finer details such as bump maps and reflections, and fine-tune your render settings for the best results. With practice, you'll be able to create glass textures that stand out in your 3D scenes. For further enhancement and easy access to 3D models and textures, check out the high-quality resources available on the Relebook website for your next project.
FAQ
Why does my glass texture look cloudy or frosted?
This could be due to incorrect refraction settings or the presence of a bump map with too much detail. Try reducing the bump map strength or adjusting the IOR to a more typical value (around 1.5) to improve the clarity.
How can I make my glass reflections look more realistic?
To improve the realism of glass reflections, enable Fresnel reflections in the material settings. This will cause the reflection strength to vary based on the angle of the viewer, mimicking the way light reflects off real glass surfaces.
Why is my glass not refracting light properly?
Ensure that the IOR is set correctly (typically between 1.4 and 1.6) and that you’re using a renderer capable of handling refraction, such as V-Ray or Arnold. You should also check your scene's lighting to ensure it’s illuminating the glass correctly.
What is the best renderer for realistic glass materials?
Both V-Ray and Arnold are excellent choices for rendering realistic glass materials. V-Ray is known for its speed and precision in handling reflections and refractions, while Arnold offers physically accurate simulations of light and materials.
How can I add imperfections to my glass material?
To add imperfections to glass, use bumps or normal maps with subtle details like scratches or slight distortions. You can also add a noise texture to the Reflection or Refraction slots to simulate surface roughness.

