How to Render a Video After Editing in Blender
Blender is not only a powerful 3D modeling tool but also offers comprehensive video editing features. If you've just completed a video editing project and want to render the final video, Blender is an excellent choice. This guide will walk you through the process of rendering an edited video in Blender, helping you complete your project and achieve high-quality output.
Preparation
1. Import Your Footage
Before rendering, you need to complete your video editing. Open Blender and switch to the Video Editing workspace. Import all your footage into the timeline and perform any necessary cuts, adjustments, and effects. Ensure all edits and effects are in place and previewed correctly.
2. Set Output Parameters
Before you start rendering, it's important to set the output parameters correctly. Go to the render settings panel and configure the following:
- Output Path: Choose a suitable folder to save the rendered video.
- File Format: Select the file format you need, such as MP4 or AVI. MP4 is commonly used for most purposes.
- Encoding Settings: For MP4 format, you can set the video codec to H.264, which is an efficient compression method that maintains video quality while reducing file size.
- Resolution and Frame Rate: Set the video resolution (e.g., 1920x1080) and frame rate (e.g., 24fps or 30fps). These settings will affect the final video’s quality and playback smoothness.
Configure Render Settings
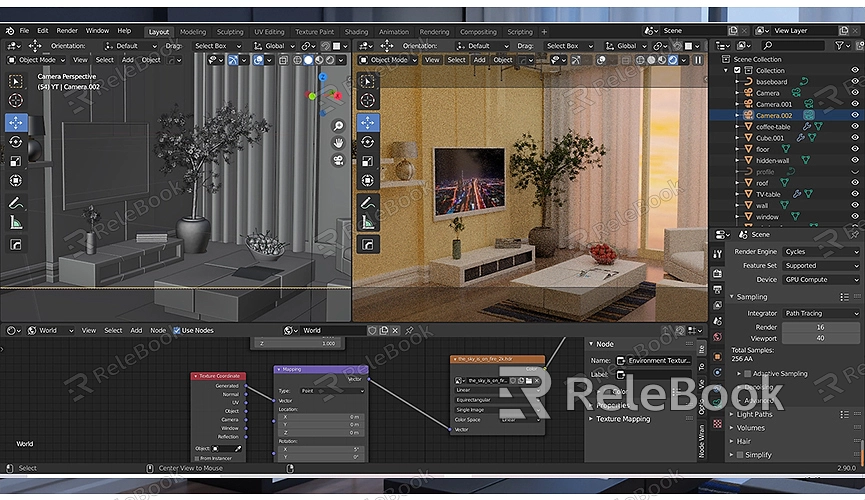
1. Choose a Render Engine
Blender supports multiple render engines, including Cycles and Eevee. When rendering video, select the render engine that suits your needs. Cycles provides high-quality rendering but may require longer rendering times, while Eevee is suitable for real-time previews and fast rendering.
2. Configure Render Settings
In the render settings panel, you can configure additional parameters, including:
- Render Layers: If you need to render multiple views or layers, set them up here.
- Sampling Settings: If using Cycles, adjust the sampling rate to balance rendering quality and speed.
- Output Settings: Ensure the output format is set to “FFmpeg video” and select the appropriate encoding settings.
3. Set the Timeline
In the timeline settings, make sure you’ve selected the correct start and end frames. This determines the length of the video clip you’re rendering.
Start Rendering
After completing all settings, click the “Render” button to start the video rendering process. The rendering time will vary depending on the length of the video, complexity, and computer performance. During rendering, you can monitor the progress and estimate the remaining time.
Post-Processing and Export
1. Check the Rendered Video
Once rendering is complete, review the output video file to ensure it meets your expectations. Play the video and verify that the image quality and audio effects are as desired.
2. Perform Post-Processing (Optional)
If further post-processing is needed, you can use Blender’s built-in Video Sequence Editor or other professional video editing software. You can adjust color, add subtitles, and apply effects to enhance the video further.
Tips for Enhancing the Effect
1. Use High-Quality Assets
To achieve the best video quality, use high-quality assets and textures. If you need a lot of high-quality 3D textures, HDRIs, or model downloads for your project, you can find them on Relebook. Download the textures and 3D models, and import them directly into your project. High-quality assets not only improve rendering results but also make your project more professional and visually appealing.
2. Optimize Render Settings
Adjust render settings to achieve faster rendering speeds and higher quality. In Blender, you can optimize render performance by lowering sample counts, using simplification options, and adjusting light settings.
Rendering an edited video in Blender involves multiple steps, from setting output parameters to configuring render settings and performing post-processing. With this guide, you can effectively complete video rendering and achieve high-quality results. Remember, using high-quality assets and proper render settings will significantly enhance your video’s effect. If you need high-quality 3D textures, HDRIs, or model downloads, visit Relebook for a range of resources that can improve your rendering outcomes.
