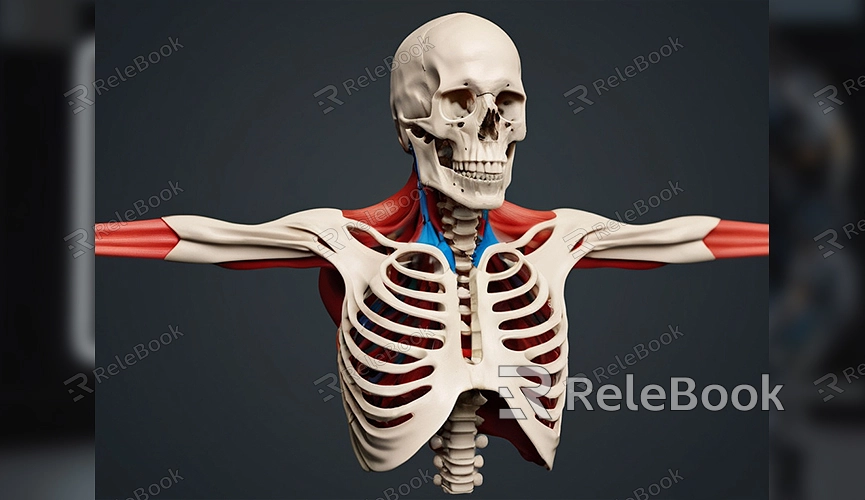
How to Make a 3D Larynx Model
3D larynx models play a crucial role in medical education, animation, and virtual reality. Creating a high-quality 3D larynx model requires both accurate anatomical knowledge and fundamental 3D modeling skills. This guide will take you through the process of making a 3D larynx model in Blender, from modeling to detailing, to help you achieve a satisfactory result.
Step 1: Preparation
1. Gather Reference Materials
The first step in creating a 3D larynx model is to collect detailed reference materials. Obtain anatomical diagrams of the larynx from anatomy books, medical images, and online resources. These references will help you accurately understand the different parts of the larynx, such as the throat, vocal cords, and laryngeal cartilages.

2. Choose Modeling Software
Blender is a powerful, free 3D modeling software suitable for creating various 3D models, including complex medical models. It offers a rich set of modeling tools and plugins, making it ideal for this task.
Step 2: Create Basic Shapes
1. Set Up Blender Workspace
Open Blender and create a new project. First, set up the workspace units and scale to ensure the model’s dimensions match actual anatomical structures.
2. Create the Basic Model
Use Blender’s modeling tools to create the basic shape of the larynx. Start with a simple cube or cylinder and gradually adjust the shape and add subdivisions to approximate the larynx’s real structure. Key modeling tools and techniques include:
- Extrude: Used to stretch and extend faces of the model.
- Scale: Used to adjust the size and proportions of the model.
- Smooth: Used to make the surface of the model smoother and more natural.
Step 3: Refine the Model
1. Add Details
Once you have the basic model, add details such as the vocal cords, laryngeal cartilages, and surrounding muscle structures. Use subdivision and sculpting tools to enhance the model’s detail. Pay special attention to the vocal cords and laryngeal cartilages for a more realistic appearance.
2. Apply Textures
Adding textures is crucial for improving the visual realism of the model. Use Blender’s UV unwrapping tool to unfold the model’s surface into a 2D image, then apply texture images to the model. Ensure the texture resolution is high enough to maintain clarity.
Step 4: Rendering and Output
1. Set Render Parameters
Before rendering your 3D model in Blender, set up the rendering parameters. Adjust lighting, camera angles, and render resolution to ensure the final effect meets expectations. Blender supports various rendering engines, such as Cycles and Eevee; choose the one that suits your needs.
2. Render the Model
Once all settings are configured, start the rendering process. The rendering time will depend on the model’s complexity and the settings used. After rendering, save the result in the desired file format, such as PNG or JPEG.
Tips for Enhancing the Effect
1. Use High-Quality Resources
To further improve your model’s effect, consider using high-quality 3D textures and HDRI resources. If you need a lot of high-quality 3D textures, HDRIs, or model downloads, you can find them on Relebook. Download the textures and 3D models, and import them directly into your project. Relebook offers a wealth of resources that can significantly enhance your modeling process.
2. Post-Processing
After rendering, you can use post-processing to further optimize the image. Blender’s compositor can be used to adjust color, contrast, and details to enhance the final effect.
Creating a high-quality 3D larynx model involves meticulous work and accurate modeling skills. Each step, from preparation to detailing, is crucial for achieving the desired outcome. We hope this guide helps you successfully create a realistic 3D larynx model. Remember, using high-quality textures and resources will significantly enhance your model’s effect. If you need high-quality 3D textures, HDRIs, or model downloads, visit Relebook for a wide range of resources that can improve your modeling results. Happy modeling!

