How to Place an Image as HDR Sky in Rhino
In architectural visualization, product design, and film animation, designers often use HDR images to create realistic sky effects in 3D software like Rhino. HDR images capture a broader range of brightness, providing more authentic lighting in renders. This guide will walk you through the process of setting an image as an HDR sky in Rhino, covering steps, tips, and potential issues along with their solutions.
1.Preparing and Selecting the Right HDR Image
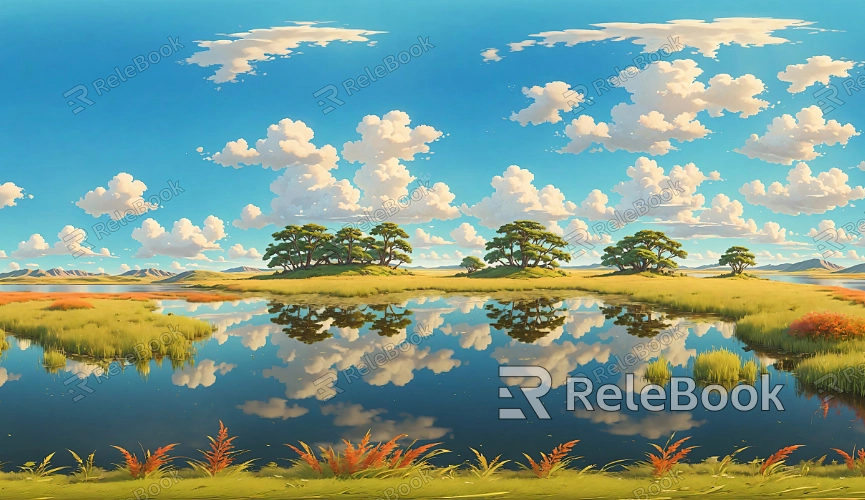
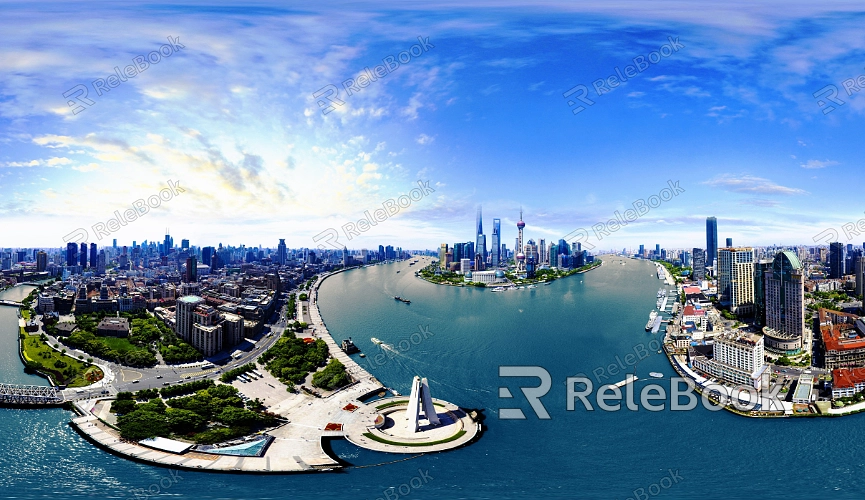
To achieve an HDR sky effect in Rhino, you first need to choose a high-quality HDR image. These images are typically captured with professional photography equipment, providing a complete range of brightness from shadows to highlights. Ideally, the HDR image should feature a wide sky and environment to ensure ample lighting information for the scene.If you find creating these models too complex or time-consuming, or if you're unsure where to start, consider visiting Relebook. You can download high-quality 3D resources directly from https://textures.relebook.com/ to easily enhance your project outcomes.
Ensure High Resolution: Low-resolution HDR images might appear pixelated or distorted in renders. Opt for images with at least 3000 pixels in width for better results.
Match the Scene Style: For instance, if your model is intended to be showcased in a sunset or clear sky environment, select an HDR image that corresponds to those lighting conditions for optimal effect.
2.Importing the HDR Image into Rhino
Once you have selected your HDR image, the next step is to import it into Rhino as an environment texture.
Open Rhino and Access Render Settings: Go to the “Render” settings in Rhino and locate the “Environment” or “Background” settings.
Add HDR Image: Choose “Environment Map” or “Spherical Sky” as the background type, then import the HDR image file you selected.
3.Setting the HDR Image as the Sky Background
After importing the HDR image, you need to configure it as the sky background for rendering.
Choose Image Mapping Type: In the background settings, ensure the image mapping type is set to “Spherical” or “Cubemap” to cover the entire scene correctly.
Adjust Exposure and Brightness: Modify the HDR image’s exposure, brightness, and contrast to achieve the desired sky effect based on your scene’s needs.
4.Adjusting the HDR Image’s Orientation and Angle
To ensure the HDR sky aligns perfectly with your scene, you may need to adjust its orientation and angle.
Rotate HDR Image: Use Rhino’s rotation tools to adjust the HDR image’s position, aligning the light source direction with the scene’s lighting.
Set Pitch Angle: If the position of the sun in the HDR image needs adjustment, change the pitch angle to simulate different sun heights.
5.Adjusting Lighting Intensity and Color
The HDR sky setup affects both the background and the scene’s lighting. Therefore, adjusting the lighting intensity and color is crucial.
Adjust Light Intensity: If shadows in your scene are too harsh or too subtle, tweak the HDR intensity to control the lighting effect.
Color Correction: To ensure the model’s colors harmonize with the background, perform color correction on the HDR image to reduce any unwanted color casts.
6.Testing and Fine-Tuning Render Results
After completing the setup, it’s essential to conduct test renders to ensure the HDR sky effect meets your expectations.
Perform Test Renders: Run low-resolution test renders to evaluate the HDR sky’s effect and its impact on the model’s lighting.
Refine Parameters: Based on the test renders, make further adjustments to exposure, intensity, and color until the best results are achieved.
7.Saving and Exporting the Final Render
Once you are satisfied with the HDR sky effect, proceed to render and save the final results.
High-Resolution Render: Set up a high-resolution render to obtain a clear and detailed image, and enable anti-aliasing options if needed.
Export Image: Save the render in your desired format, such as PNG, JPG, or TIFF, for future use or sharing.
By following these steps, designers can effectively set and optimize HDR sky backgrounds in Rhino, making their projects more realistic and vibrant.
We hope this guide provides practical advice for setting up HDR skies in Rhino. Mastering these techniques will enhance the appeal and visual impact of your design projects. If you’re seeking high-quality HDR images, 3D textures, SketchUp models, or 3ds Max models to create compelling models and virtual scenes, Relebook offers a wide range of options to help you achieve exceptional visual results.
