How to Make a 3D Lion Model
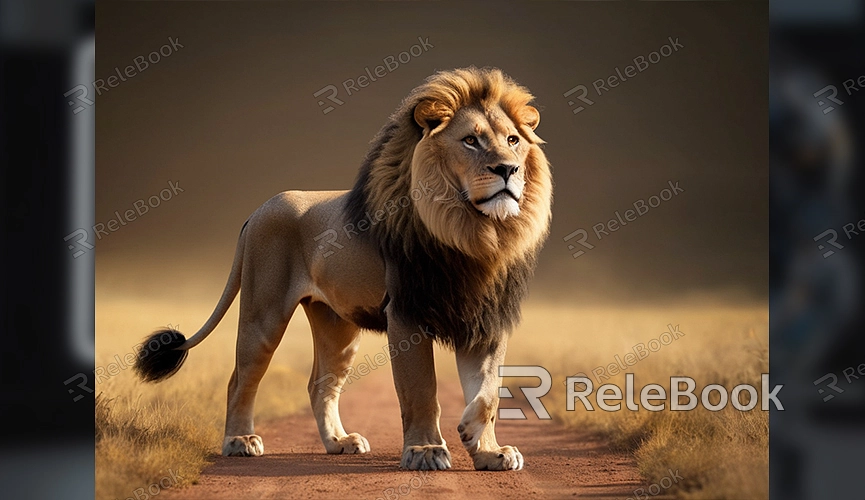
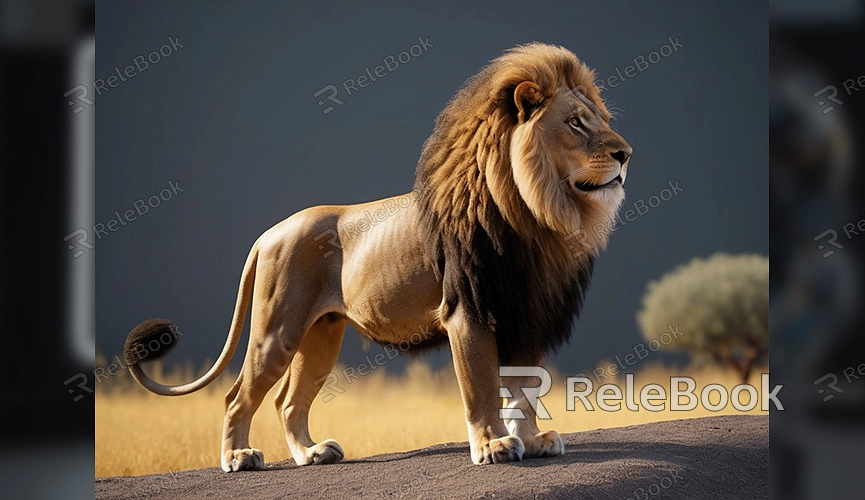
Creating a 3D lion model is a complex yet enjoyable process, suitable for anyone interested in 3D modeling, whether you are an enthusiast or a professional. Whether you’re designing creatures for games or adding characters to animation projects, knowing how to create a realistic 3D lion model is essential. This guide will walk you through the process step by step and provide useful tips to help you create a high-quality 3D lion model.

Preparation
Before you start creating your 3D lion model, make sure you have the necessary 3D modeling software installed, such as Blender, Maya, or 3ds Max, and are familiar with its basic functions. Prepare reference materials, such as photos and anatomical diagrams of lions, which will greatly assist you in creating an accurate lion model.
Design Concept
1. Create Basic Shapes
Launch your 3D modeling software and begin by creating the basic shape of the lion. In Blender, you can start with simple geometric shapes like cubes and spheres to form the preliminary outline of the lion. Begin with the basic shapes for the body, head, legs, and tail. Use subdivision and sculpting tools to refine these shapes and bring them closer to the lion’s real structure.
2. Refine the Model
Once you have the basic shapes, the next step is to refine the model. Add more details, such as muscle lines, skin folds, and the basic structure of the fur. At this stage, use sculpting tools to add finer details and ensure each part conforms to the lion's anatomical structure.

Texturing and Materials
1. Unwrap UVs
To make the lion model look more realistic, you need to create UV maps. UV unwrapping is the process of unfolding a 3D model’s surface into a 2D plane, making it easier to apply textures. In Blender, you can use the “UV Unwrap” tool to accomplish this.
2. Add Textures
Create texture images for the lion, including details for fur and skin, using image editing software. Apply these textures to your model and adjust the UV mapping coordinates to fit naturally on the model’s surface. Using high-quality texture images will enhance the realism of your model.
Fur Creation
1. Generate Fur
Fur is a prominent feature of lions, so special attention is required. In Blender, you can use the “Particle System” to create fur effects. Adjust the fur’s length, density, and color to make it look more natural.
2. Detail Adjustments
Refine the fur details to match the characteristics of a real lion’s fur. You can use the “Hair Sculpting” tool to modify the direction and shape of the fur, adding more natural effects.
Rendering and Optimization
1. Set Up Lighting and Camera
To showcase your 3D lion model at its best, setting up proper lighting and camera angles is crucial. Adjust the position and intensity of the lights to highlight the details of the lion. Also, position the camera to capture the best view of the model.
2. Render the Model
In Blender, select appropriate render settings for the final rendering. Choose between Cycles or Eevee rendering engines and make adjustments as needed. After rendering, review the image to ensure all details of the lion are clear and visible.
Additional Tips
1. Use High-Quality Resources
Using high-quality resources can greatly enhance your efficiency and the final result when creating complex 3D models. If you need many high-quality 3D textures, HDRIs, or model downloads for your project, you can find them on Relebook. Download the textures and 3D models and import them directly into your project. These resources can save you time and improve the detail and realism of your model.
Creating a 3D lion model requires a good understanding of 3D modeling, texturing, and fur creation. By following these steps, you can create a realistic lion model and add dynamic characters to your projects. Remember, using high-quality materials and making detailed adjustments will make your model stand out.

