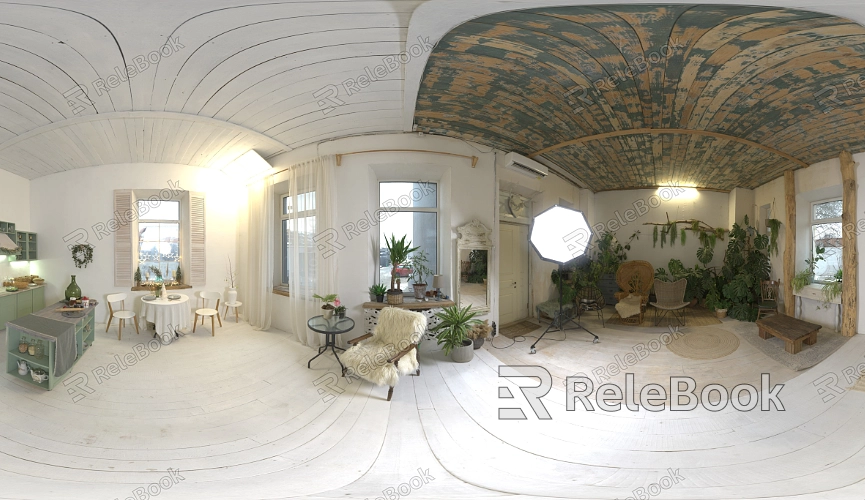
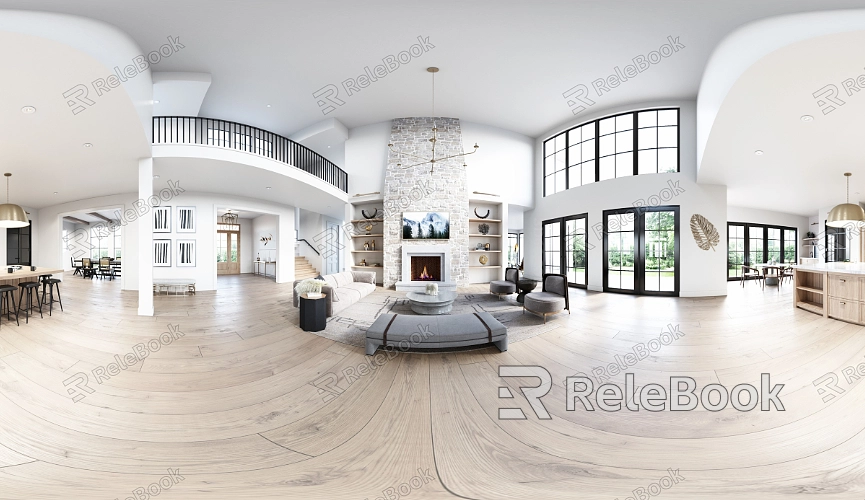
How to Make an HDR Color Texture
In fields like architectural visualization, game development, and film animation, HDR color textures can significantly enhance the realism and visual impact of your work. However, off-the-shelf HDR textures might not always meet the specific needs of your project, making it necessary to create your own. This article will guide you through the process of creating HDR color textures and applying them in common 3D software, helping you achieve the best results for your projects.

1. Preparing the Right Materials
Choosing the Right Photos
The first step in creating an HDR color texture is selecting appropriate photo materials. To capture the full range of lighting and color information in a scene, it's recommended to take multiple photos with varying exposures. This typically requires using your camera’s Automatic Exposure Bracketing (AEB) feature to capture at least three photos that cover the complete dynamic range from shadows to highlights.
Maintaining Photo Consistency
To ensure the quality of your final HDR texture, it’s important to keep the camera stable during the shooting process. Use a tripod to secure the camera and minimize any movement. Additionally, manually setting the focus and white balance can reduce errors caused by automatic adjustments, leading to more consistent photos.
2. Using HDR Software for Image Merging
Choosing the Right HDR Software
There are several software options available for merging HDR images, such as Adobe Photoshop, Photomatix Pro, or HDR Efex Pro. These programs not only combine multiple exposures into a single HDR image but also offer alignment and ghost reduction features, which help improve the quality of the final image.
Creating the HDR Image
After importing the selected photos, use the merging function of the HDR software to generate the HDR image. The software will automatically combine the photos into one image that contains rich lighting and color details, showcasing a broader dynamic range. During the merging process, you can adjust parameters like exposure, brightness, and contrast to achieve the best visual effect.
3. Applying Tone Mapping to Optimize the Image
Understanding Tone Mapping
Since the dynamic range of HDR images typically exceeds the capabilities of display devices, tone mapping is necessary to compress it into a range that can be displayed. The tone mapping function in HDR software helps you convert the HDR image into one with more natural colors and brightness that looks better on a screen.
Selecting the Right Tone Mapping Curve
Depending on the needs of your project, different tone mapping curves can achieve various effects. A linear curve can maintain balanced brightness, while a logarithmic curve enhances shadow details. By adjusting the shape of the mapping curve, you can further optimize the image's color performance and contrast to better fit your design needs.

4. Post-Processing and Optimization
Adjusting Color and Contrast
After completing the initial HDR merge, it’s usually necessary to fine-tune the image’s color balance, saturation, and contrast. These adjustments help create a more vibrant and visually impactful texture, ensuring it better matches the lighting and color needs of your 3D scene.
Noise Reduction and Detail Enhancement
HDR images may sometimes introduce noise or unwanted details in the highlights or shadows. Using noise reduction filters or local adjustment tools can remove these distractions, making the texture cleaner and providing a more accurate visual base for your 3D scene.
5. Exporting the HDR Color Texture
Choosing the Appropriate File Format
Once you’ve finished creating the HDR color texture, the next step is to select the appropriate file format for export. Common HDR formats include HDR, EXR, and TIFF, which can preserve the high dynamic range information, ensuring the texture is fully represented in your 3D software. If you find creating these HDR images too complex or time-consuming, or if you’re unsure where to start, consider visiting Relebook. At https://textures.relebook.com/ , you can easily download high-quality HDR image resources to help you quickly complete your project.
Applying the Texture in 3D Software
Import the exported HDR color texture into 3D software such as Blender, 3ds Max, or Cinema 4D, and apply it to the relevant models or scenes. By adjusting the scale, brightness, and orientation of the texture, you can ensure it matches the scene’s lighting and color, providing a more realistic visual effect.
6. Optimizing Render Settings for Best Results
Choosing the Right Render Engine
Different render engines handle HDR textures in various ways. Choosing a render engine that supports global illumination and ray tracing (such as V-Ray or NVIDIA Iray) can significantly enhance the quality of the final render, making the HDR color texture appear more realistic in the scene.
Adjusting Render Parameters
During the rendering process, adjusting sampling rates and lighting parameters can effectively reduce noise and improve the clarity and realism of the image. Depending on your project’s needs, finding the right balance between render speed and quality will ensure that the final output meets your expectations.
By following the guidance provided in this article, you should now have a good understanding of the basic steps involved in creating HDR color textures and applying them effectively in your projects. If you’re looking for more high-quality HDR image resources or other 3D texture materials, Relebook offers a wide selection to meet your needs. At Relebook, you can easily download and apply these resources, helping you achieve exceptional visual effects in your projects.

