How to Render an Image in Blender with Texture
In 3D modeling and rendering, the use of textures can greatly enhance the realism of your models. Blender, a powerful open-source 3D software, offers extensive features for handling and rendering images with textures. This article will walk you through the steps to render an image with textures in Blender, helping you quickly master this skill.
Preparation
Before you begin, ensure you have the following:
- Blender software installed on your computer.
- A 3D model that you want to apply textures to.
- High-quality texture image files.
Importing and Preparing the Model
First, open Blender and import your 3D model. You can do this by selecting "File" > "Import" and choosing your model file format, such as OBJ, FBX, etc.
After importing the model, ensure that it is in edit mode so you can make necessary adjustments. For example, verify that the model’s normals are facing the correct direction, and that there are no unnecessary vertices or faces on the model’s surface.
Adding and Applying Textures
Once your model is ready, the next step is to add and apply textures. Follow these steps:
1. Select the Model: In Blender, right-click to select your model.
2. Switch to Material Preview Mode: Change the view mode to "Material Preview" so you can see the texture effects more clearly.
3. Add a Material: In the "Materials" tab on the right side, click the "New" button to create a new material for your model.
4. Add a Texture Node: In the "Shading" workspace, use the shortcut "Shift+A" to add an "Image Texture" node. Connect it to the "Base Color" input of the material output node.
5. Load the Texture Image: In the "Image Texture" node, click the "Open" button and select the texture image file you have prepared.
Adjusting Texture Mapping
To ensure the texture is mapped correctly to your model, you may need to make some adjustments:
- UV Unwrapping: In edit mode, select all the faces of the model (press the "A" key), then press "U" to unwrap the UVs. Choose the appropriate unwrapping method, such as "Smart UV Project" or "Project from View."
- Adjust UV Mapping: In the UV Editor, adjust the position and size of the UV islands as needed to ensure the texture is correctly aligned on the model’s surface.
Setting Up Lighting and Camera
Lighting and camera setup are essential for achieving the best rendering results. Here are the basic steps:
- Add Light Sources: Use the "Shift+A" shortcut to add light sources, such as point lights, spotlights, or area lights. Adjust their positions and intensities based on your scene's needs.
- Set Up the Camera: Select the camera object and adjust its position and angle to capture the best view. You can press the "0" key to switch to the camera view for a preview.
Render Settings
Once everything is ready, the final step is to configure the render settings:
- Choose a Render Engine: In Blender’s "Render" tab, choose the render engine you want to use, such as Eevee or Cycles. The Cycles renderer typically provides higher-quality renderings.
- Set Resolution: In the "Output Properties" tab, configure the resolution for the rendered image. You can choose standard resolutions like 1920x1080 or higher depending on your needs.
- Set Sampling: In the "Render" tab, adjust the render sample count. Higher sample counts reduce noise and improve image quality but will increase render times.
Start Rendering
Once all settings are in place, press the F12 key to start rendering. Blender will generate a high-quality image with textures based on your configurations.
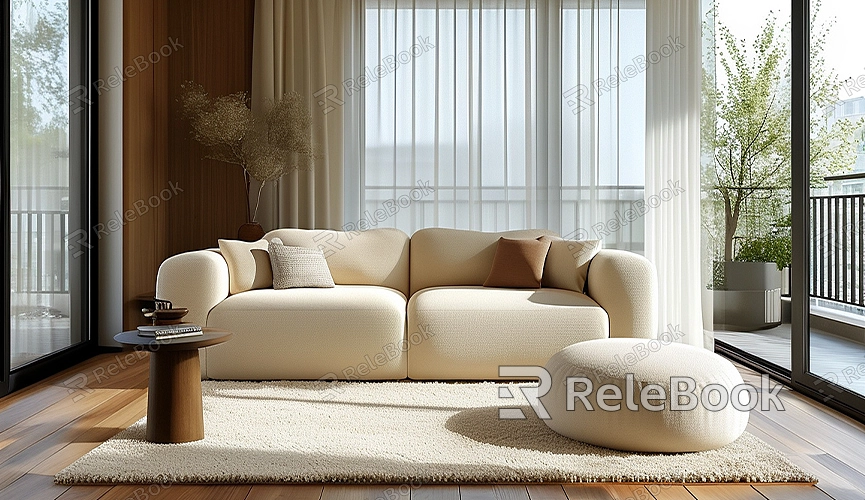
With the steps outlined in this article, you should now have a solid understanding of the process of rendering an image with textures in Blender. From importing your model and applying textures to setting up lighting and the camera, every step is important. If you need high-quality 3D textures, HDRI files, or downloadable 3D models for your projects, you can find them on Relebook. Simply download and import them into your model for immediate use. Hopefully, these tips will help improve your workflow and allow you to create more stunning 3D works.
