How to Make an HDR Texture
In fields like architectural visualization, game development, and film production, HDR (High Dynamic Range) textures play a crucial role in enhancing the realism and detail of scenes. These textures are widely used in popular 3D software like Blender, 3ds Max, and Cinema 4D. However, off-the-shelf HDR textures might not always meet the specific needs of a project, making it essential for designers to know how to create their own HDR textures. This article will guide you through the process of making HDR textures and show you how to apply them effectively in common 3D software.
1.Gathering the Right Materials
Multi-Exposure Photography Techniques: The first step in creating an HDR texture is to capture suitable photo material. By using multi-exposure photography, you can record different lighting and color information from the scene. Utilizing your camera's Auto Exposure Bracketing (AEB) function allows you to take multiple shots with varying exposures, capturing shadows, mid-tones, and highlights to fully represent the scene's dynamic range.
Ensuring Stability During Shooting: Use a tripod to keep the camera stable during shooting to avoid any movement. Additionally, setting the focus and white balance manually helps reduce deviations caused by automatic adjustments, ensuring consistency across the images.
2.Importing and Processing Photos
Importing into Image Editing Software: Import your captured photos into image editing software like GIMP or Photoshop. You can bring in the photos with different exposures as individual layers within a single file.
Aligning the Layers: Despite using a tripod, there might still be slight misalignments between images. Using the alignment tools in your software, you can manually or automatically align the layers to ensure they blend seamlessly in the subsequent compositing steps.
3.Compositing the HDR Image
Blending Layers and Adjusting Exposure: In GIMP or Photoshop, you can manually blend the layers and adjust the exposure to create an HDR effect. By combining the different exposure layers and using blend modes like lighten or screen, you can adjust the transparency as needed to achieve the desired lighting and color effects.
Adjusting Lighting and Contrast: To further enhance the HDR effect, use tools like levels or curves to adjust the lighting and contrast. This helps balance the brightness distribution across the image, highlighting color details and making the image more vibrant.
4.Applying Tone Mapping
Why Tone Mapping Is Necessary: Since HDR images typically contain a wider dynamic range than what display devices can handle, tone mapping is needed to compress this range into a displayable form. By manually adjusting the curves, you can ensure that the image looks more natural on screen.
Choosing the Right Tone Mapping Curve: Selecting the right curve during tone mapping is essential. Linear mapping can maintain overall balance, while logarithmic mapping can enhance shadow details. Adjusting the curve shape further optimizes the color representation of the image.
5.Post-Processing and Optimization
Color and Saturation Adjustments: After the initial HDR image composition, you can further tweak the color balance and saturation to make the colors more vivid. Tools like color balance and saturation adjustments in your image editing software can help achieve this.
Noise Reduction and Detail Enhancement: HDR images may introduce noise in the highlights or shadows. Use noise reduction filters to minimize these artifacts, and sharpening tools to enhance image details, ensuring the texture remains clear.
6.Exporting and Applying HDR Textures
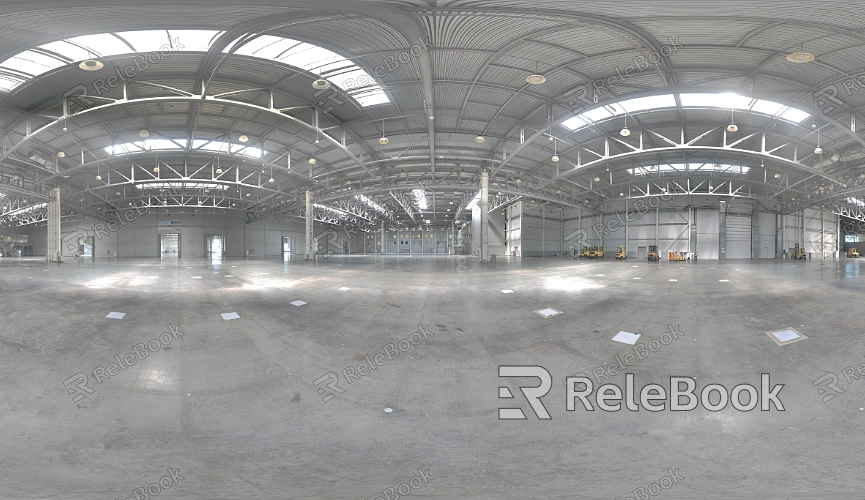
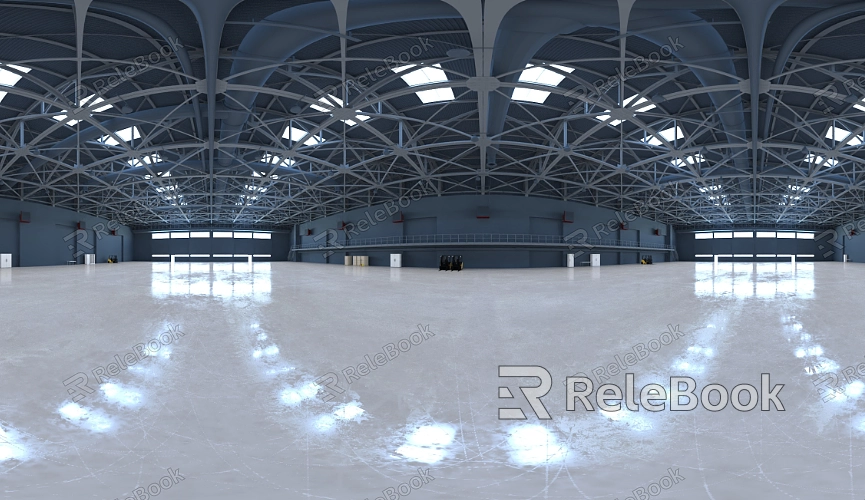
Choosing the Right Export Format: Once your HDR image is complete, select the appropriate file format for export, such as EXR, HDR, or TIFF. These formats preserve the high dynamic range information, ensuring that the texture is fully rendered in 3D software.If you find creating HDR images too complex or time-consuming, or if you're unsure where to start, consider visiting Relebook. You can download high-quality HDR image resources directly from https://textures.relebook.com/ to enhance your project effortlessly.
Applying HDR Textures in 3D Software: The exported HDR texture can be imported into software like Blender, 3ds Max, or Cinema 4D. Adjust the texture’s scale, brightness, and orientation to match the scene’s lighting and colors for optimal visual effects.
7.Optimizing Render Settings
Choosing the Right Render Engine: Different render engines handle HDR textures in various ways. Opt for render engines that support global illumination and ray tracing, such as V-Ray or Cycles, to significantly enhance the final render quality.
Adjusting Render Parameters: Depending on your project’s requirements, tweak render settings like sampling rate, light intensity, and reflection parameters to reduce noise and enhance the clarity and realism of the rendered image.
By following these steps, you can master the basic techniques for creating HDR textures using GIMP or other image editing software and apply them flexibly in your 3D projects. If you're looking for high-quality HDR image resources or other 3D texture materials, consider visiting Relebook. Relebook offers a wide range of high-quality HDR images to help you easily elevate your project’s visual appeal.
