How to Make HDR Textures Fit the Render
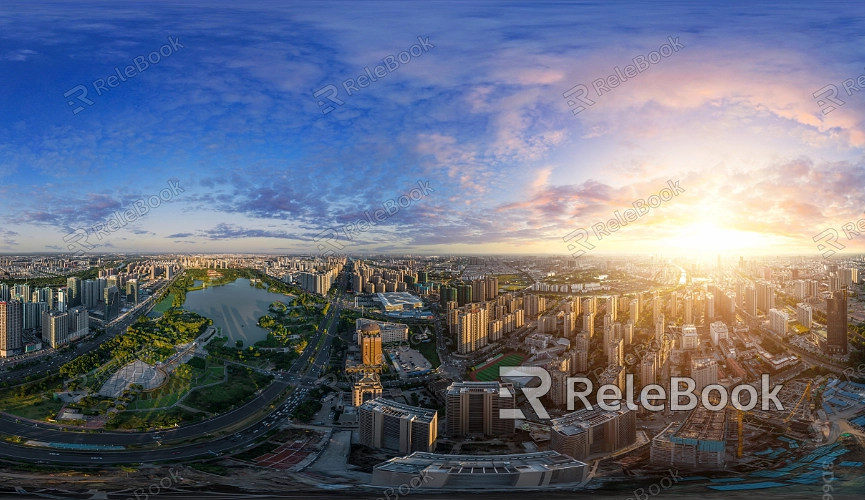
HDRtextures are widely used to enhance lighting quality and realism in various scenes, significantly contributing to rendering projects in architectural visualization, game development, and film production. However, applying HDR textures correctly in rendering can be challenging. Designers often face issues such as improper exposure, color distortion, or texture mismatches with the scene. Therefore, understanding how to adjust HDR textures to better fit rendering needs is crucial for achieving optimal results. This article will explore how to make HDR textures suitable for rendering and discuss optimization techniques across different 3D software.
1.Choosing the Right HDR Texture
Selecting Based on Project Requirements: Different projects have varying lighting needs. For instance, indoor rendering might require softer HDR textures, while outdoor scenes may benefit from textures with higher contrast. When selecting textures, it’s essential to filter them based on the scene's characteristics and lighting demands.
Considering Resolution and Detail: The resolution of an HDR texture directly impacts the final rendering quality. High-resolution textures can deliver more intricate details but may also increase rendering time. Depending on the project’s complexity and hardware capabilities, choosing the appropriate resolution can help balance quality and efficiency.
2.Adjusting Exposure and Contrast of HDR Textures
Exposure Settings: In some cases, the default exposure of an HDR texture may be too high or too low, leading to overly dark or washed-out rendering results. By using exposure control tools within 3D software, you can manually adjust the exposure to achieve the desired lighting effect.
Contrast Adjustment: Beyond exposure, the contrast of an HDR texture plays a significant role in the rendering outcome. Adjusting the contrast can enhance the image’s depth, making the light and shadow transitions more natural.
3.Optimizing Tone Mapping
The Importance of Tone Mapping: HDR textures typically contain a broader dynamic range than most display devices can handle. Tone mapping compresses this range into a more display-friendly format. It helps ensure that textures render with optimal lighting effects, avoiding overexposure or overly dark areas.
Custom Tone Curves: Selecting the appropriate tone mapping curve is crucial during the process. Different curves can alter how the lighting in HDR textures is portrayed. For example, a linear curve maintains overall light balance, while a logarithmic curve can bring out more details in the shadows.
4.Enhancing Color Performance of HDR Textures
White Balance Adjustment: The white balance setting directly influences how colors appear in a scene when using HDR textures. By adjusting white balance, you can ensure that the texture aligns with the scene’s light source temperature, avoiding any color shifts.
Saturation and Color Balance: Excessive or insufficient saturation in HDR textures can detract from rendering realism. Properly adjusting saturation and color balance can make the texture’s colors more vibrant and harmonize them with the scene.
5.Ensuring Texture-Scene Compatibility
Adjusting Scale and Orientation: When applying HDR textures to a scene, it’s crucial to ensure that their scale and orientation match the scene’s composition. Using UV mapping tools within 3D software, you can precisely control how and where the texture is applied.
Consistency in Lighting: To prevent inconsistencies in the rendered lighting, you can adjust the HDR texture’s brightness, contrast, and color temperature to match the other light sources in the scene.
6.Choosing the Right Rendering Engine
Engines Supporting Global Illumination and Ray Tracing: Different rendering engines handle HDR textures in various ways. Opting for engines that support global illumination and ray tracing, such as V-Ray or Cycles, can significantly improve rendering results, making HDR textures appear more realistic in the scene.
Adjusting Render Settings: Depending on the project needs, you can tweak render settings like sampling rate, light intensity, and reflection parameters to reduce noise and enhance the clarity and realism of the rendered images.
7.Post-Processing
Noise Reduction and Sharpening: Even after optimizing HDR textures, the rendered image may still show noise or lack sharpness. Using noise reduction and sharpening tools in image editing software can further refine the image quality, making the textures appear more crisp and clear.
Color Correction: After rendering, color correction tools can be used to fine-tune the overall tone of the image, ensuring the final result meets expectations.
By following these steps, you can optimize HDR textures to fit rendering requirements, maximizing their impact on your project. If you're looking for more high-quality HDR textures, 3D textures, SketchUp models, or 3ds Max models, check out Relebook. Relebook offers a wide range of design resources that can effortlessly elevate your project’s quality.
