How to Combine HDR Images in Photoshop
Many 3D designers working with software like 3ds Max, Blender, and Maya often import HDR images to enhance the brightness and contrast of their scenes. However, creating a high-quality HDR image can be challenging, especially when dealing with multiple exposures. Therefore, mastering the technique of combining HDR images in Photoshop is crucial. This article will guide you through the steps and methods for merging HDR images in Photoshop and explore how to efficiently apply these techniques in real-world projects.
1. The Role and Importance of HDR Images
Enhancing Scene Realism: In 3D design, HDR images capture the full range of light in a scene, from the darkest shadows to the brightest highlights. This ability makes HDR a key factor in boosting realism. By merging HDR images, designers can give their scenes a broader dynamic range, ensuring that fine details and authenticity are preserved during post-production rendering.
Enriching Material Details: Applying HDR images to the surfaces of 3D models can make materials appear more lifelike, especially in reflections, refractions, and shadows. Whether it's glass, metal, or water, HDR images can add intricate light and shadow effects, enhancing the overall material realism.
2. Importing Images into Photoshop
Preparing Multiple Exposures: Before combining HDR images, designers need to prepare a set of images with different exposures. These typically include low, medium, and high exposure shots to cover the full dynamic range of the scene during the merging process.
Importing Images: Once Photoshop is open, designers can use the "File" > "Automate" > "Merge to HDR Pro" function to import these differently exposed images. This tool automatically analyzes and aligns the images, ensuring accuracy in detail throughout the merging process.
3. Adjusting HDR Image Settings
Exposure and Tone Mapping: After importing the images, Photoshop presents an adjustment interface where designers can fine-tune exposure and tone mapping. This step is critical as it determines the brightness, contrast, and color saturation of the final HDR image.
De-ghosting Effects: During the HDR merging process, ghosting can occur due to movement or other factors. Photoshop offers a de-ghosting option, allowing designers to eliminate unwanted double images, thereby improving the clarity of the final image.
4. Enhancing Details and Making Fine Adjustments
Local Adjustments and Detail Enhancement: After completing the initial adjustments, designers can use Photoshop’s "Adjustment Layers" and "Filter" tools for localized adjustments. For instance, they might enhance the brightness or contrast of specific areas or use sharpening filters to increase the clarity of details.
Color Correction: To ensure the accuracy of colors in the HDR image, designers can use tools like "Curves" or "Levels" for color correction. This step helps adjust the overall tone of the image, ensuring the final result meets the design requirements.
5. Exporting and Applying the Image
Exporting the Merged Image: Once all necessary adjustments are made to the HDR image, designers can export it in various formats like TIFF, JPEG, or EXR. These formats allow for further processing in 3ds Max, Blender, or Maya, or for direct application in a scene. If creating these HDR images seems too complex or time-consuming, or you're unsure where to start, consider visiting Relebook. You can download high-quality 3D resources directly from https://textures.relebook.com/, making it easier to enhance your project’s visuals.
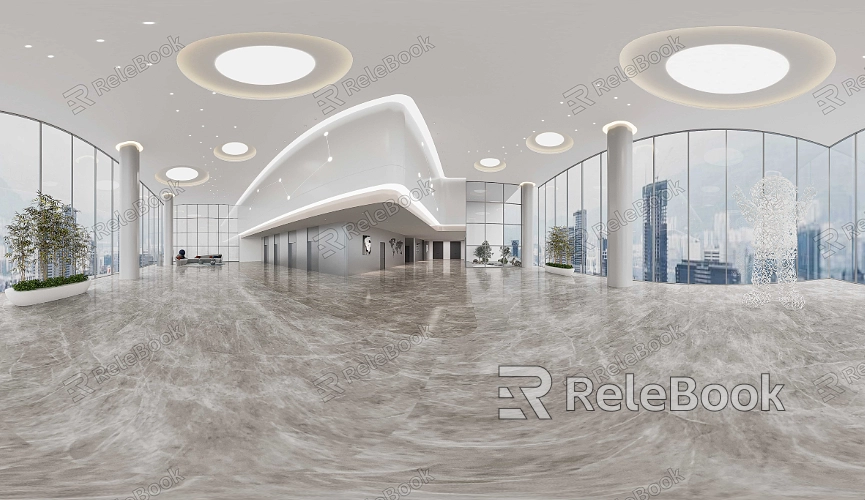
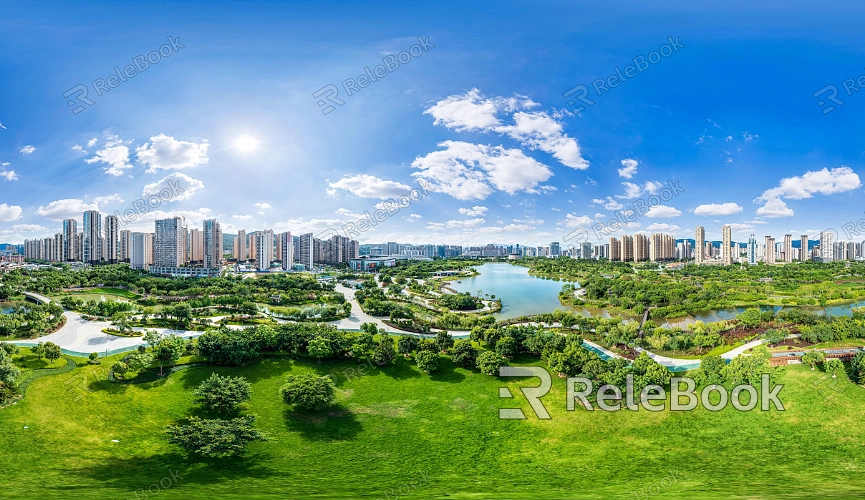
Applying to 3D Scenes: The exported HDR image can be used as environment lighting, reflection maps, or background images in 3D scenes. This application not only enhances the light and shadow effects of the scene but also boosts the realism of materials, leading to more impressive renderings.
6. Optimizing the HDR Merging Process
Using Templates and Presets: To improve workflow efficiency, designers can create templates or presets in Photoshop for HDR merging. These presets can save frequently used exposure, tone mapping, and de-ghosting settings, speeding up the HDR image processing in future projects.
Batch Processing HDR Images: For projects requiring the handling of numerous HDR images, designers can leverage Photoshop's Actions feature for batch processing. By recording and applying the same processing steps, consistency and quality across images can be maintained efficiently.
By mastering the skills to combine HDR images in Photoshop, 3D designers can significantly enhance the visual quality of their work while maintaining an efficient workflow in complex projects. If you’re looking for high-quality HDR image resources, or need 3D textures, Sketchup models, and 3ds Max models, Relebook is an excellent resource. Downloading the necessary assets from Relebook and integrating them into your projects can greatly improve the quality of your work, helping you stand out in the design field.
